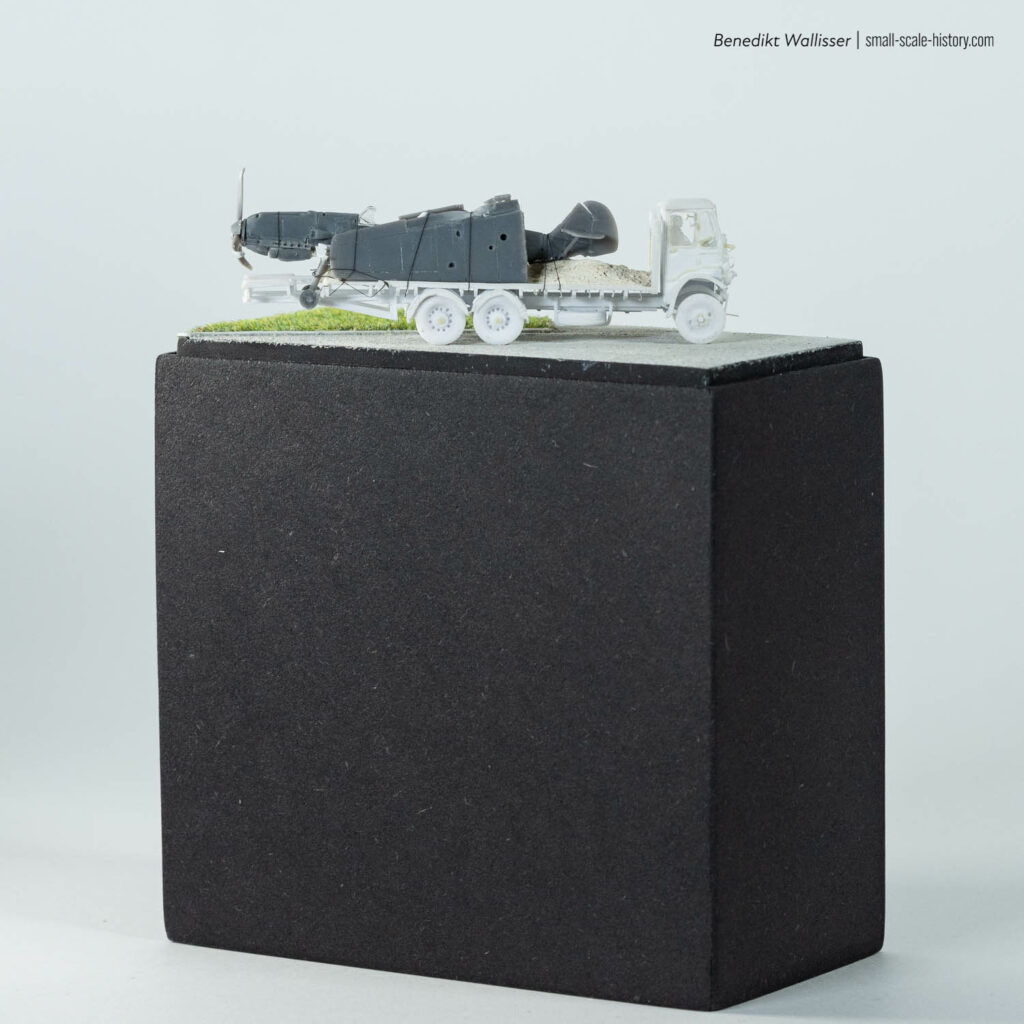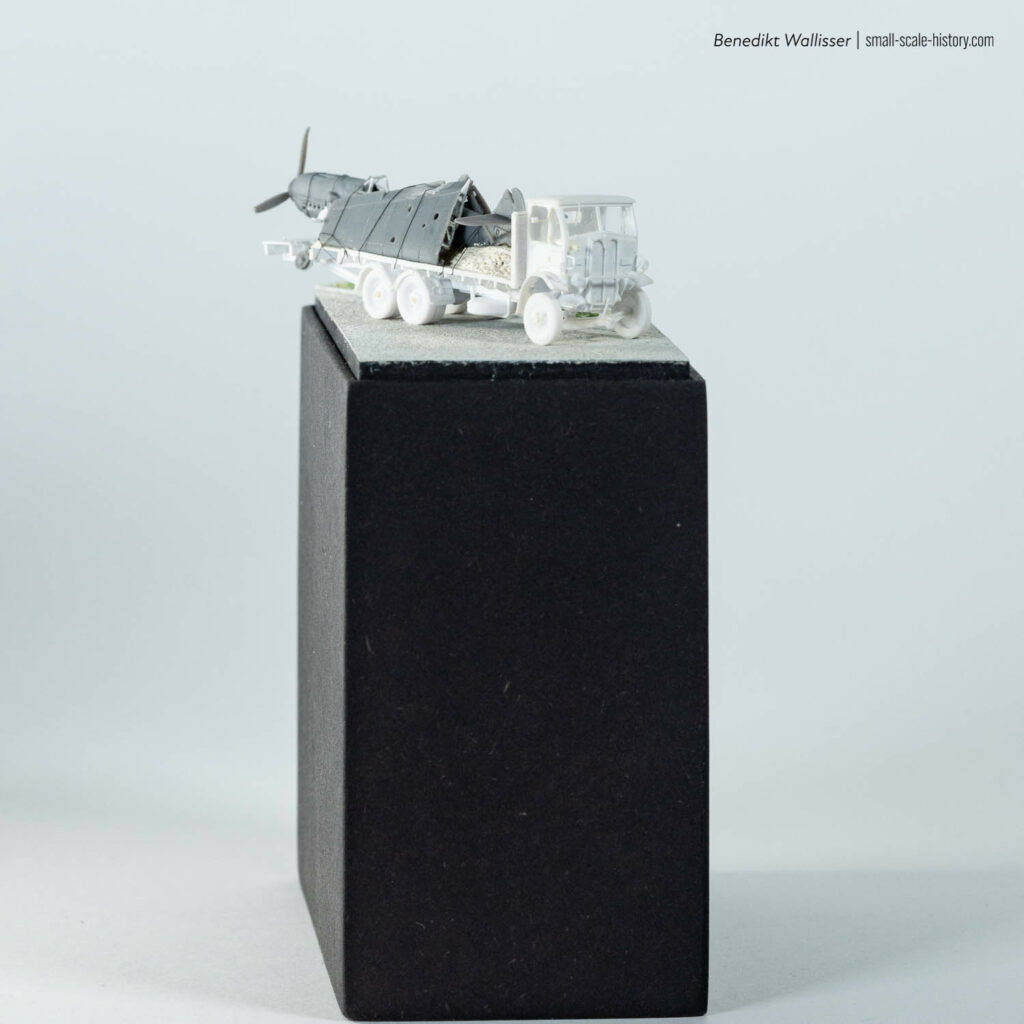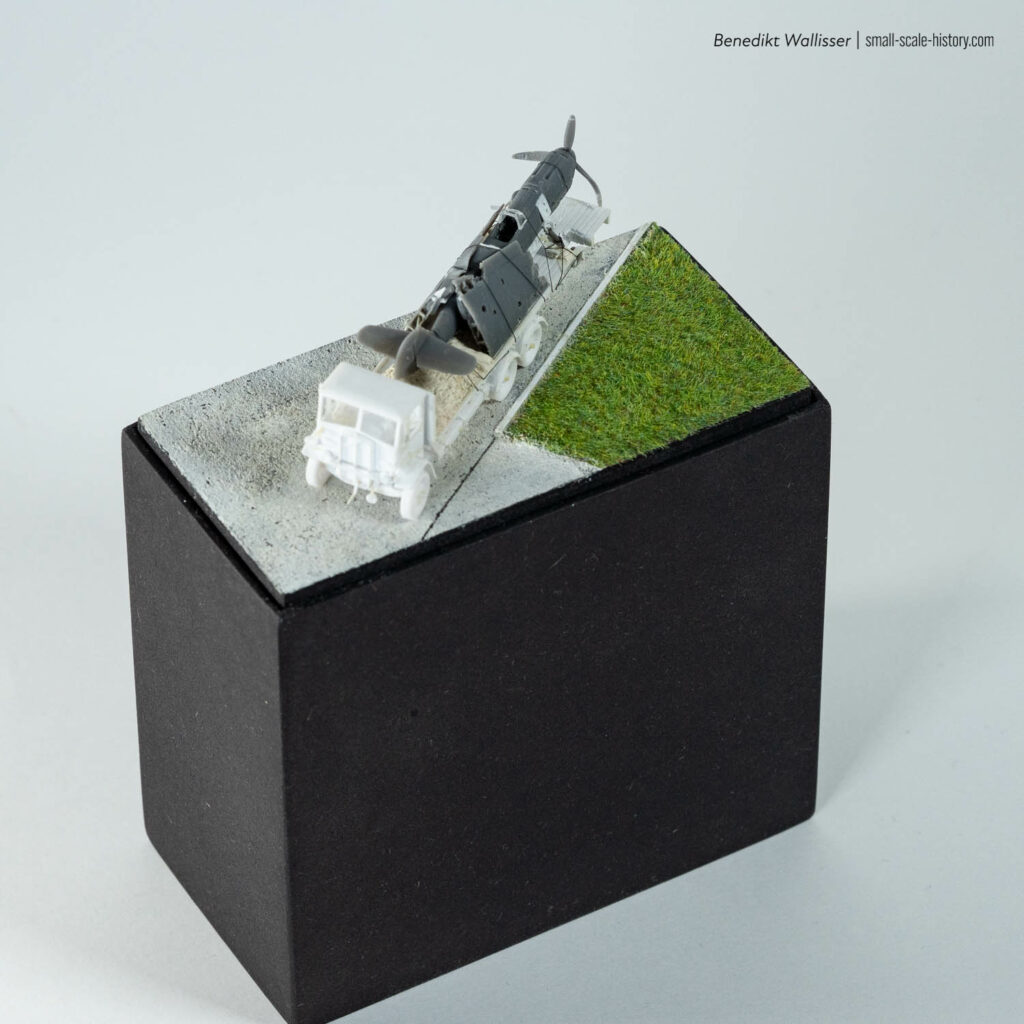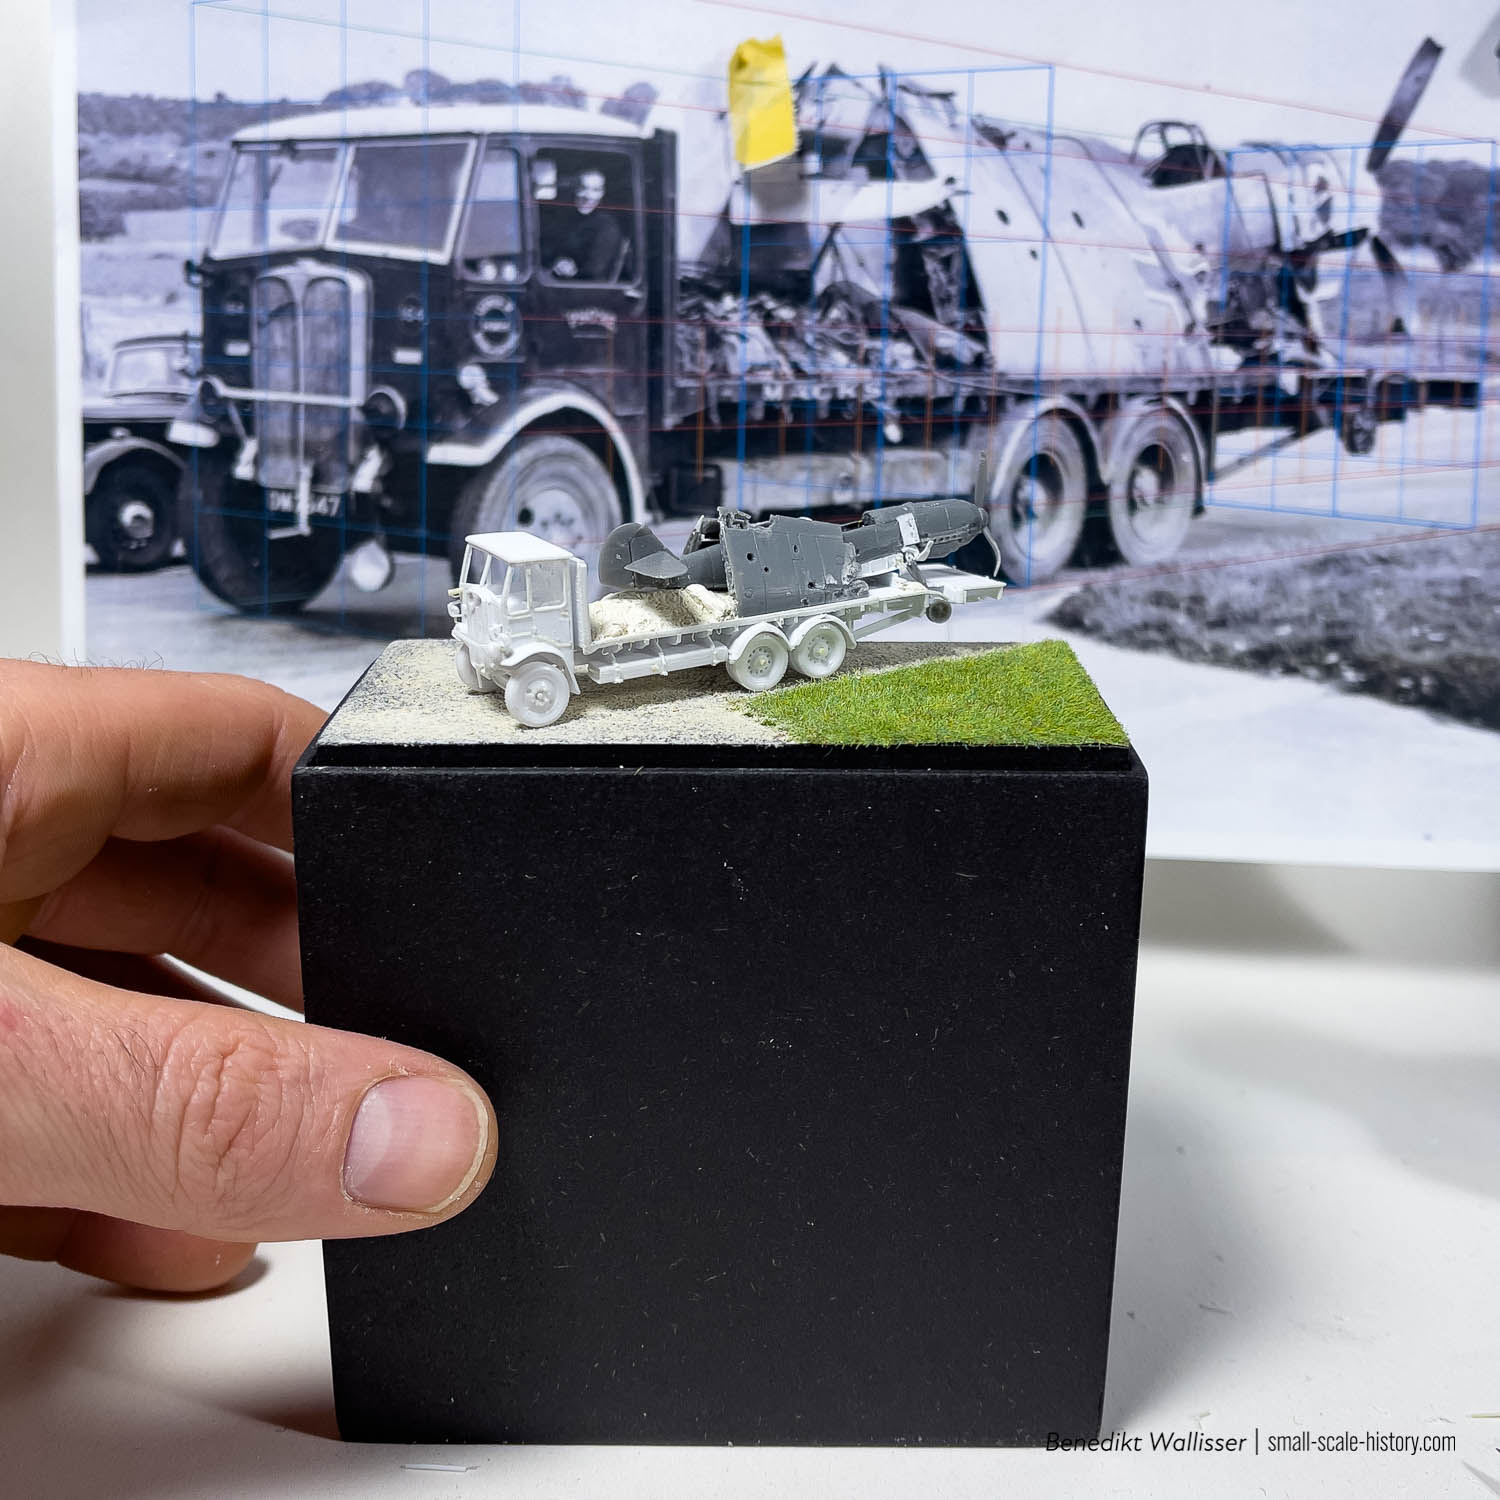
AEC Mammoth Major – Scratch build
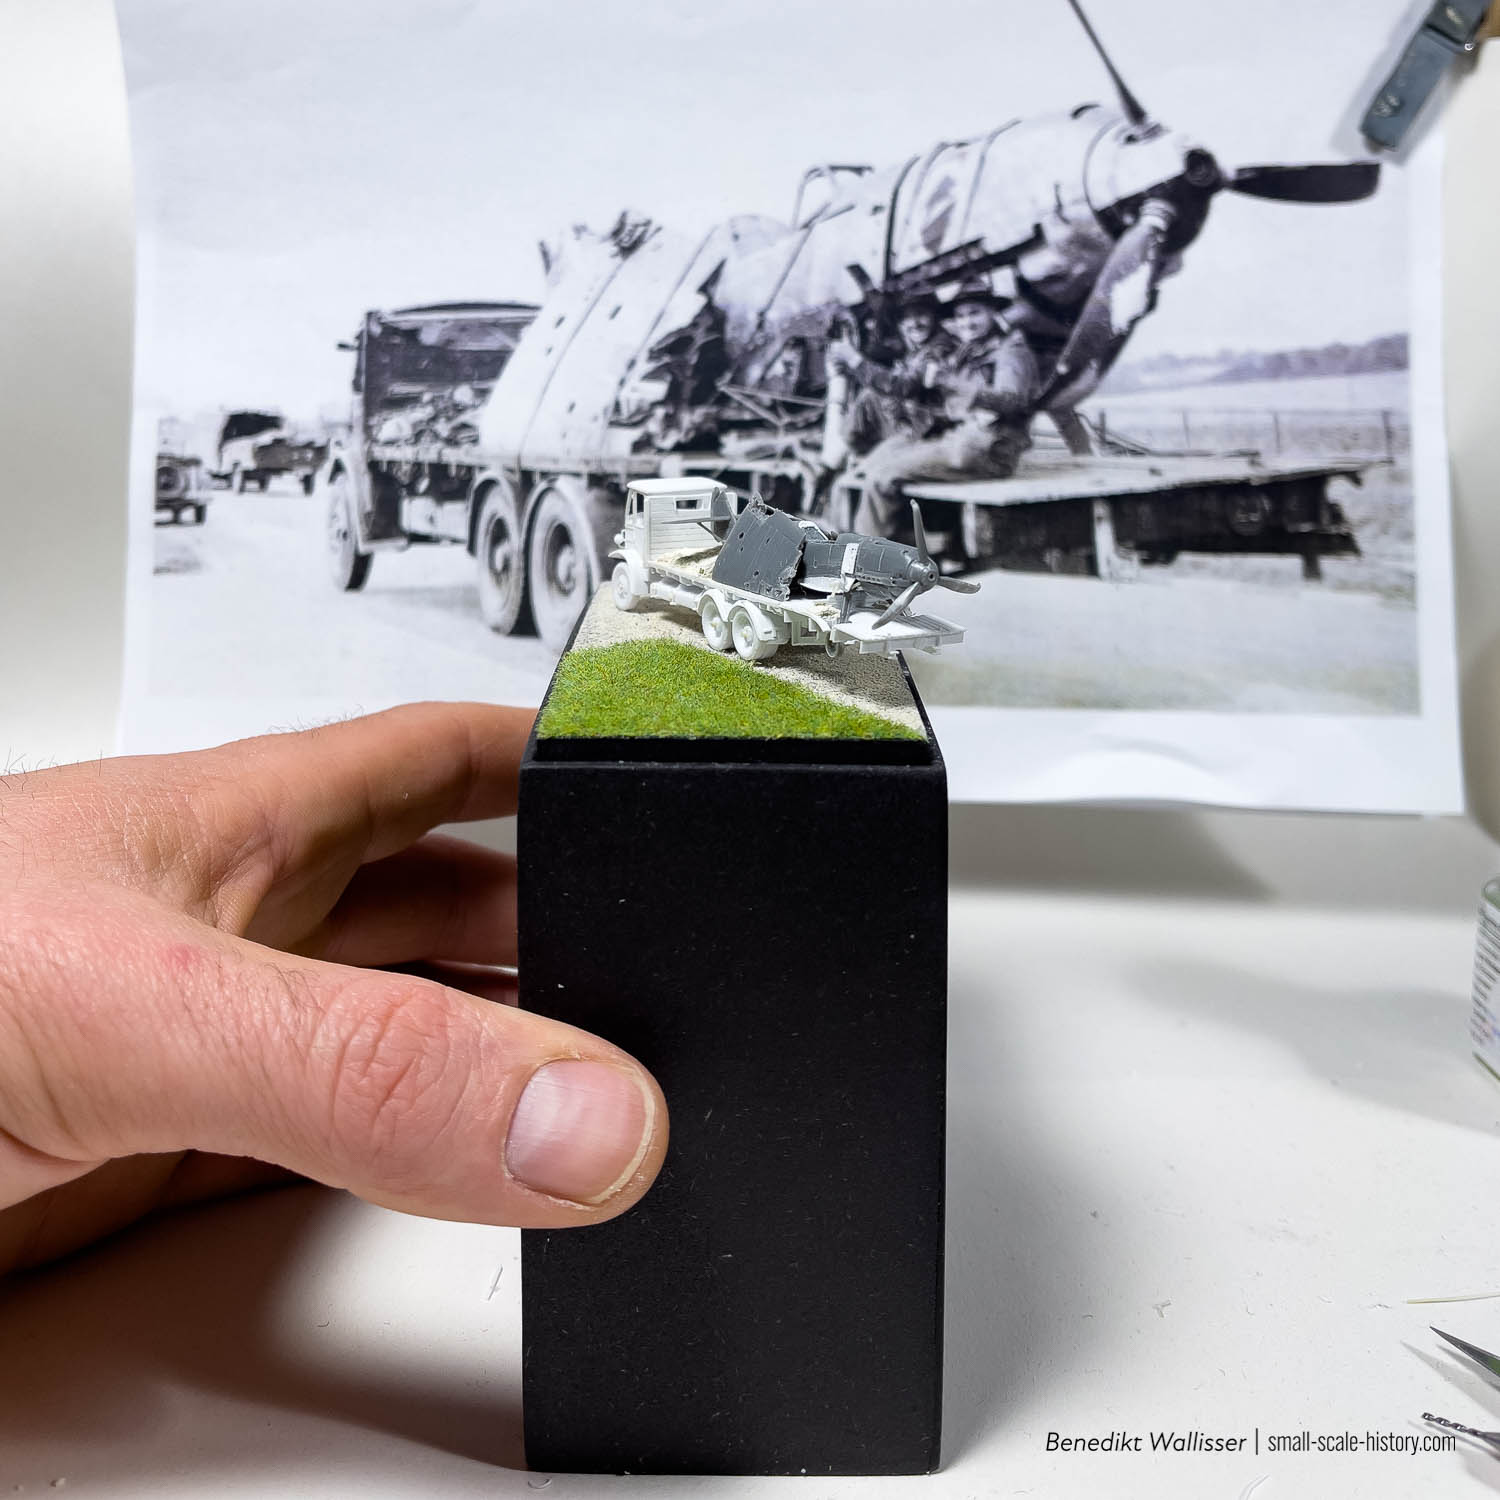
The Reference
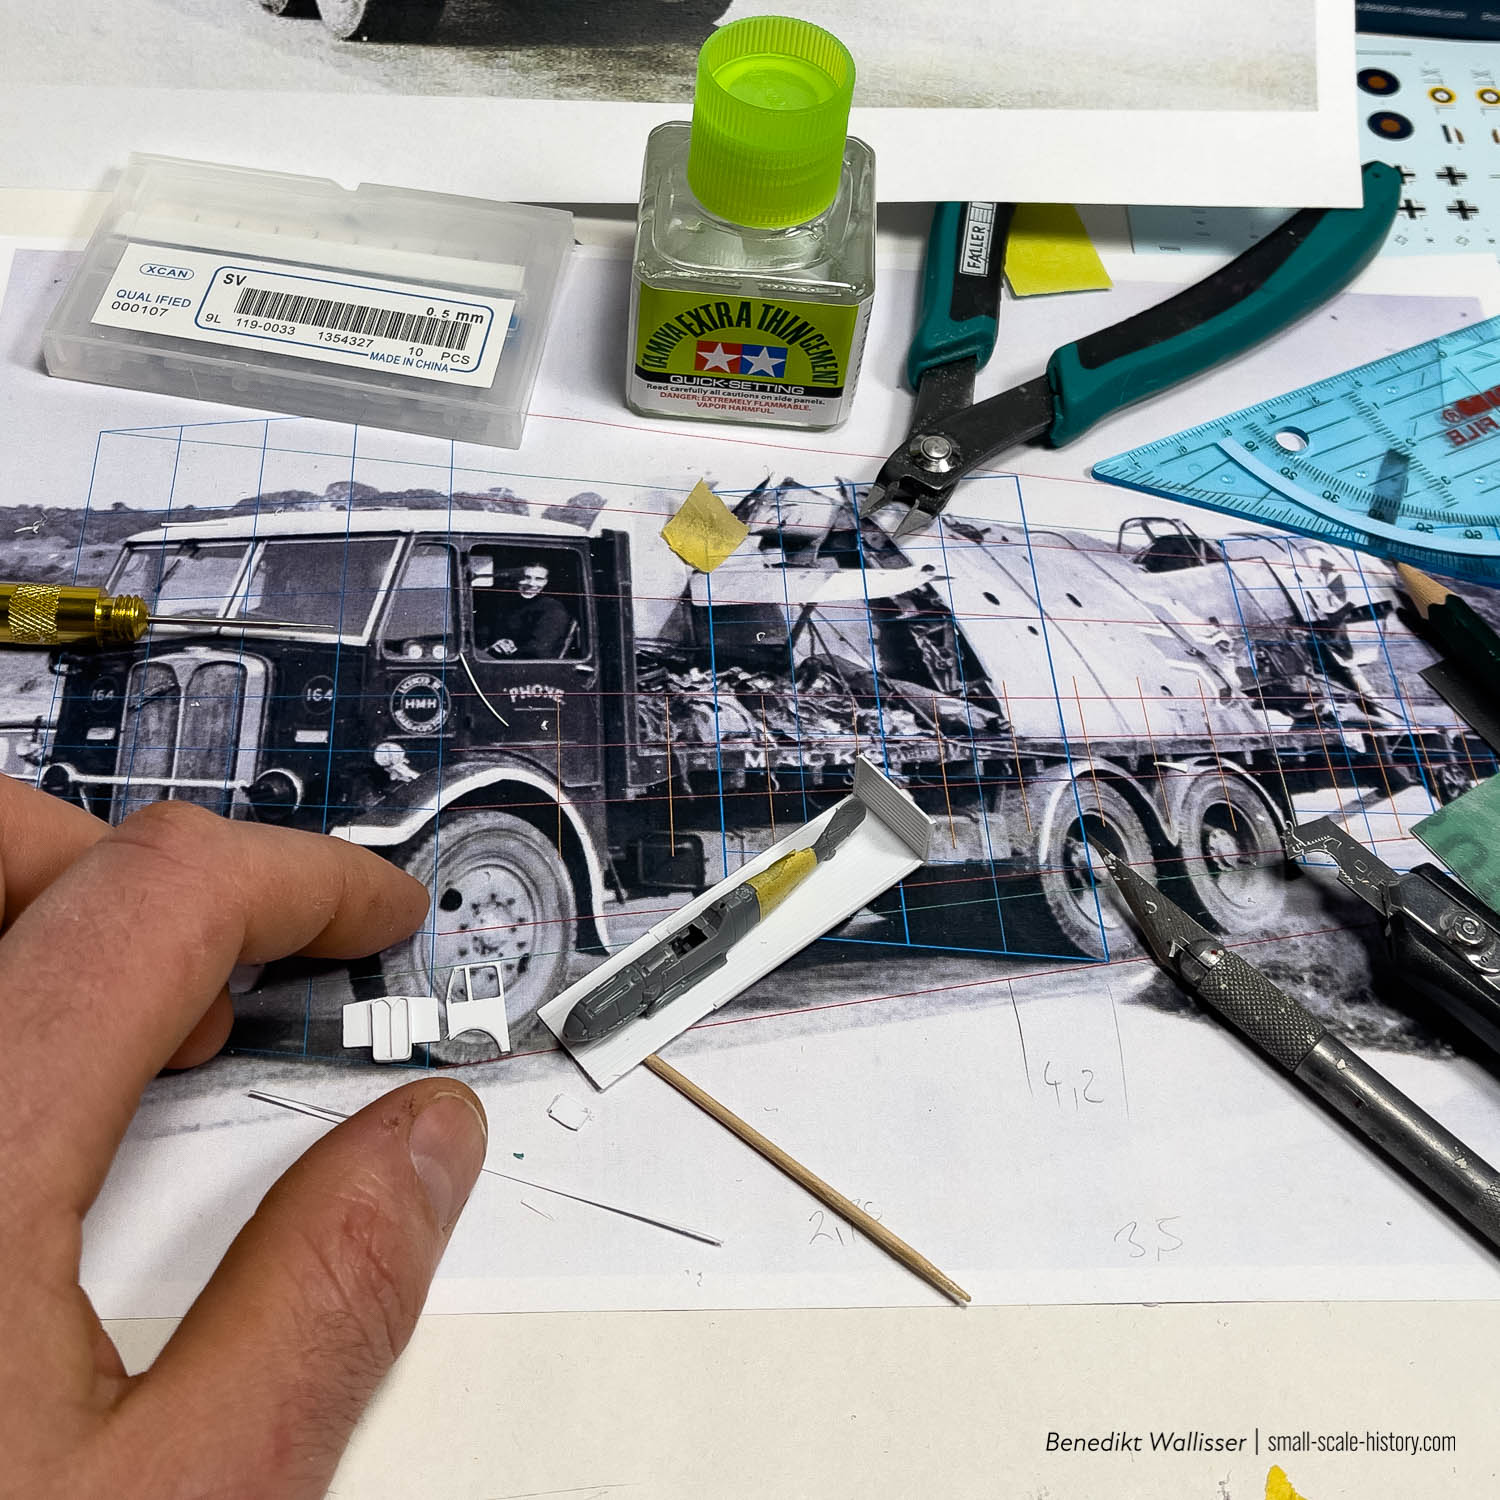
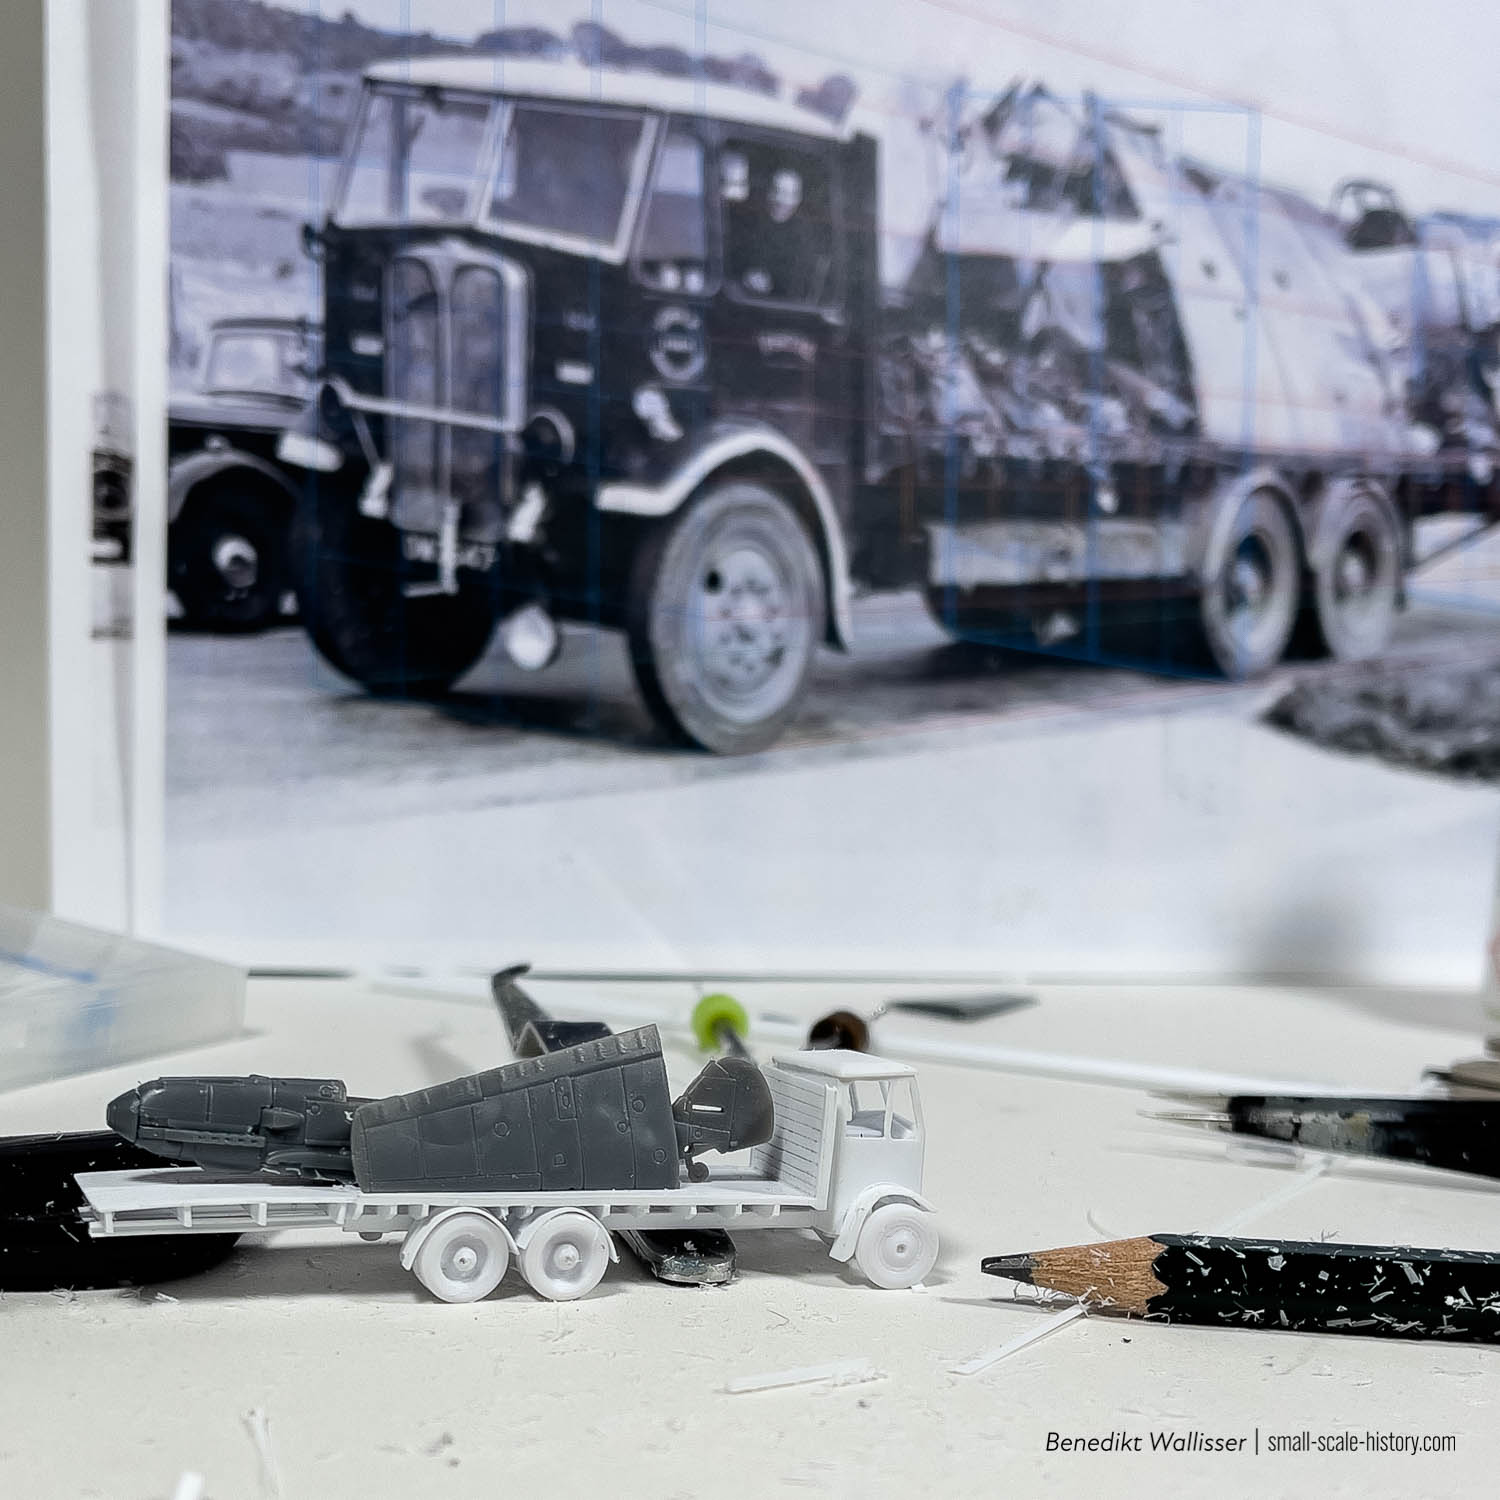
However, once having this image of the (probably) colorful, civil lorry with the wreck loaded in my head, I couldn’t help but scratch build it anyway. I started with drawing a 3D grid over the reference photo, to guess the dimensions of the Mammoth in relation to the Bf-109, which’s size I knew indeed.
Shape, Dimensions, first Details
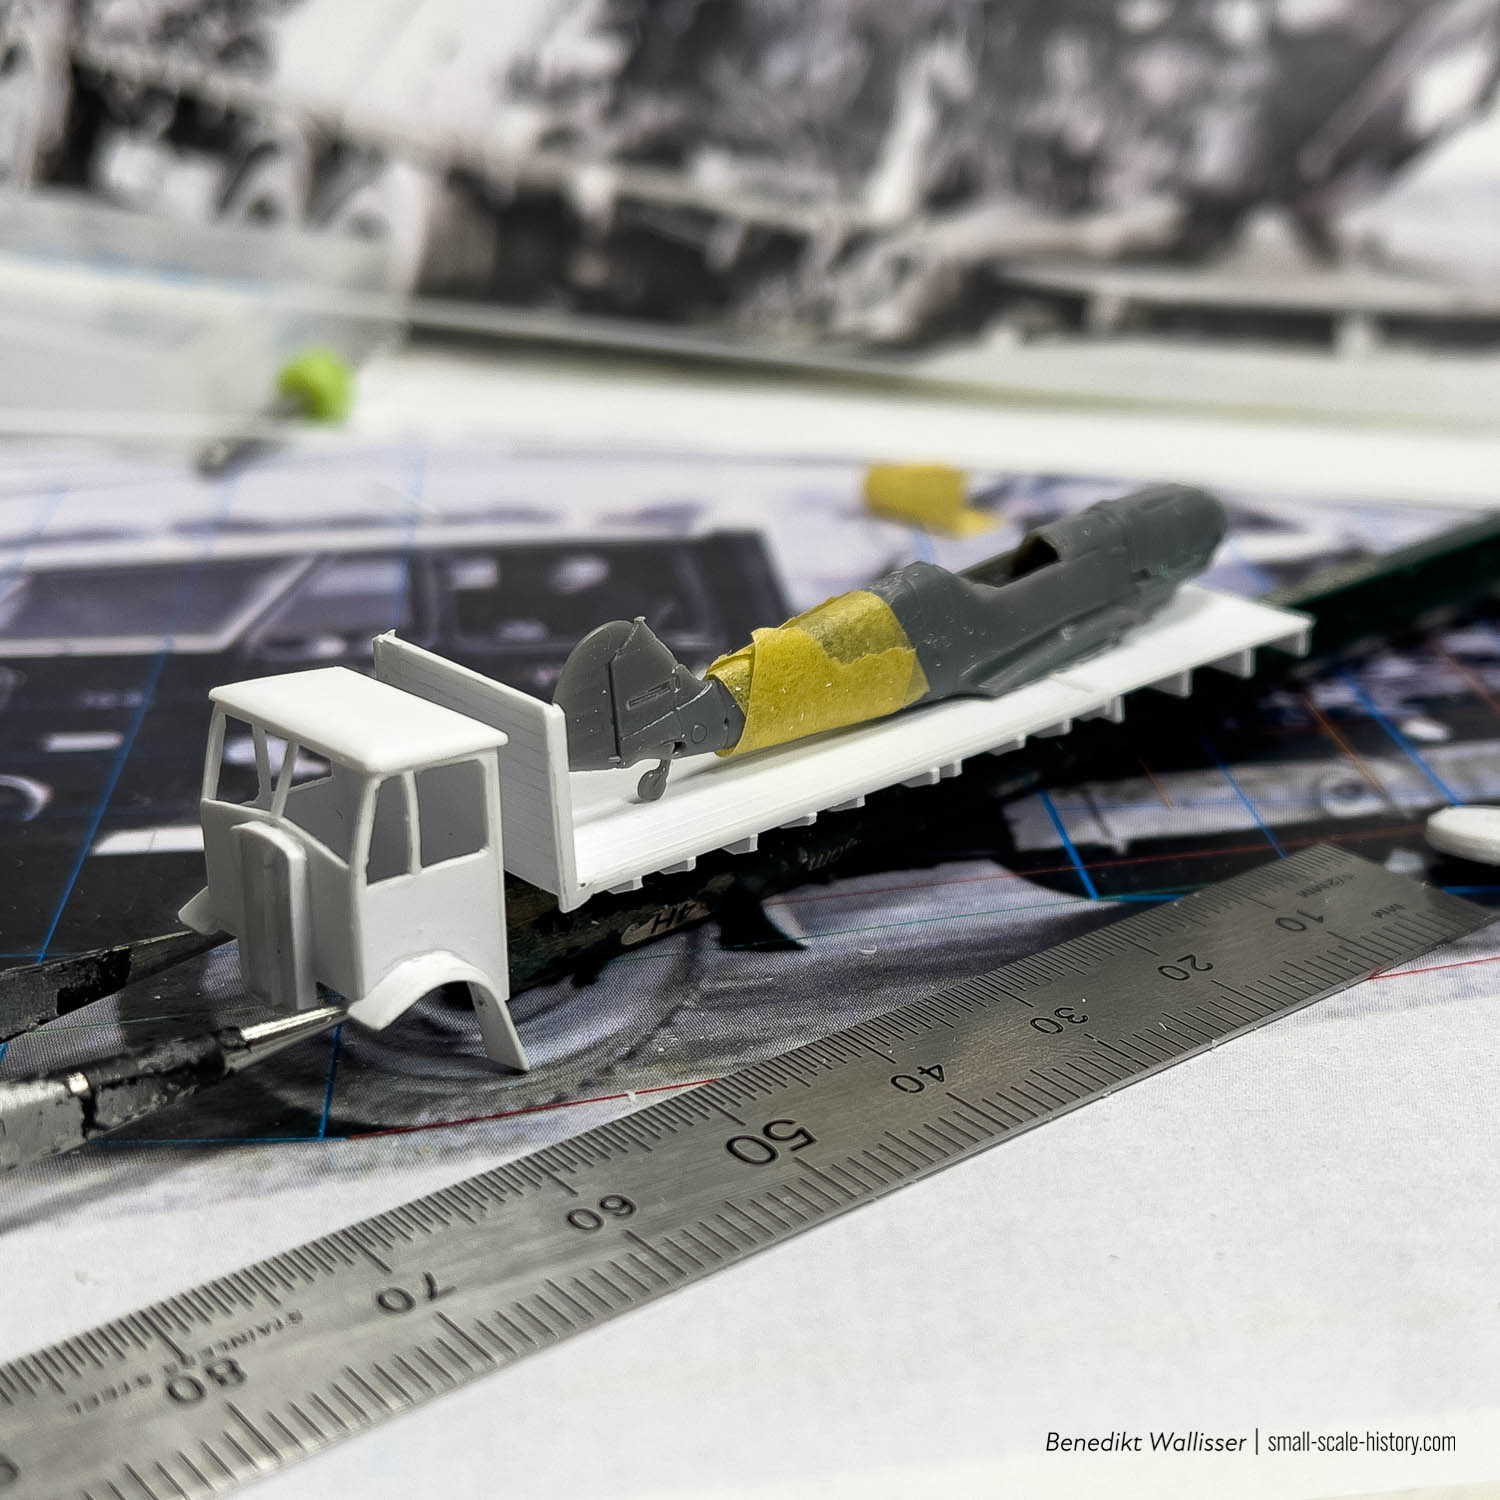
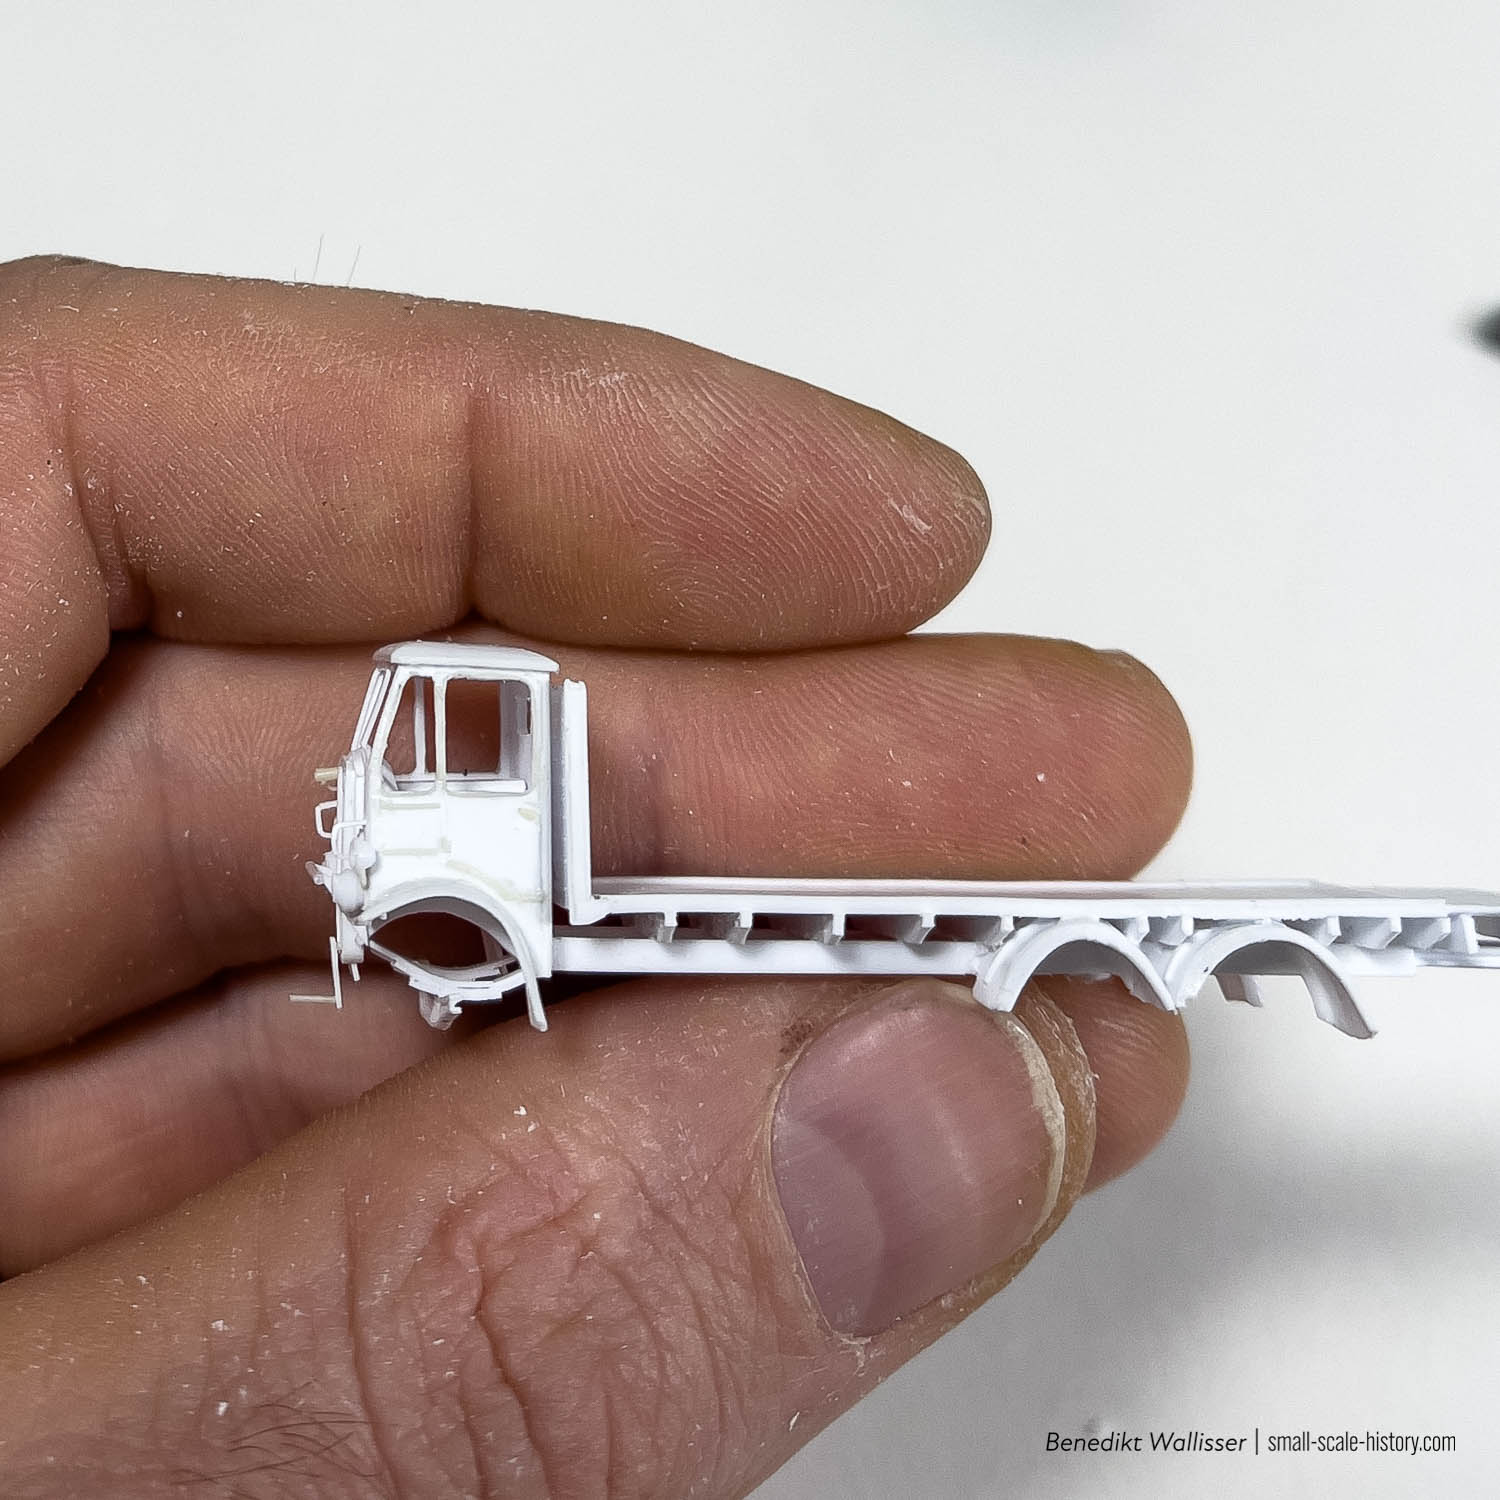
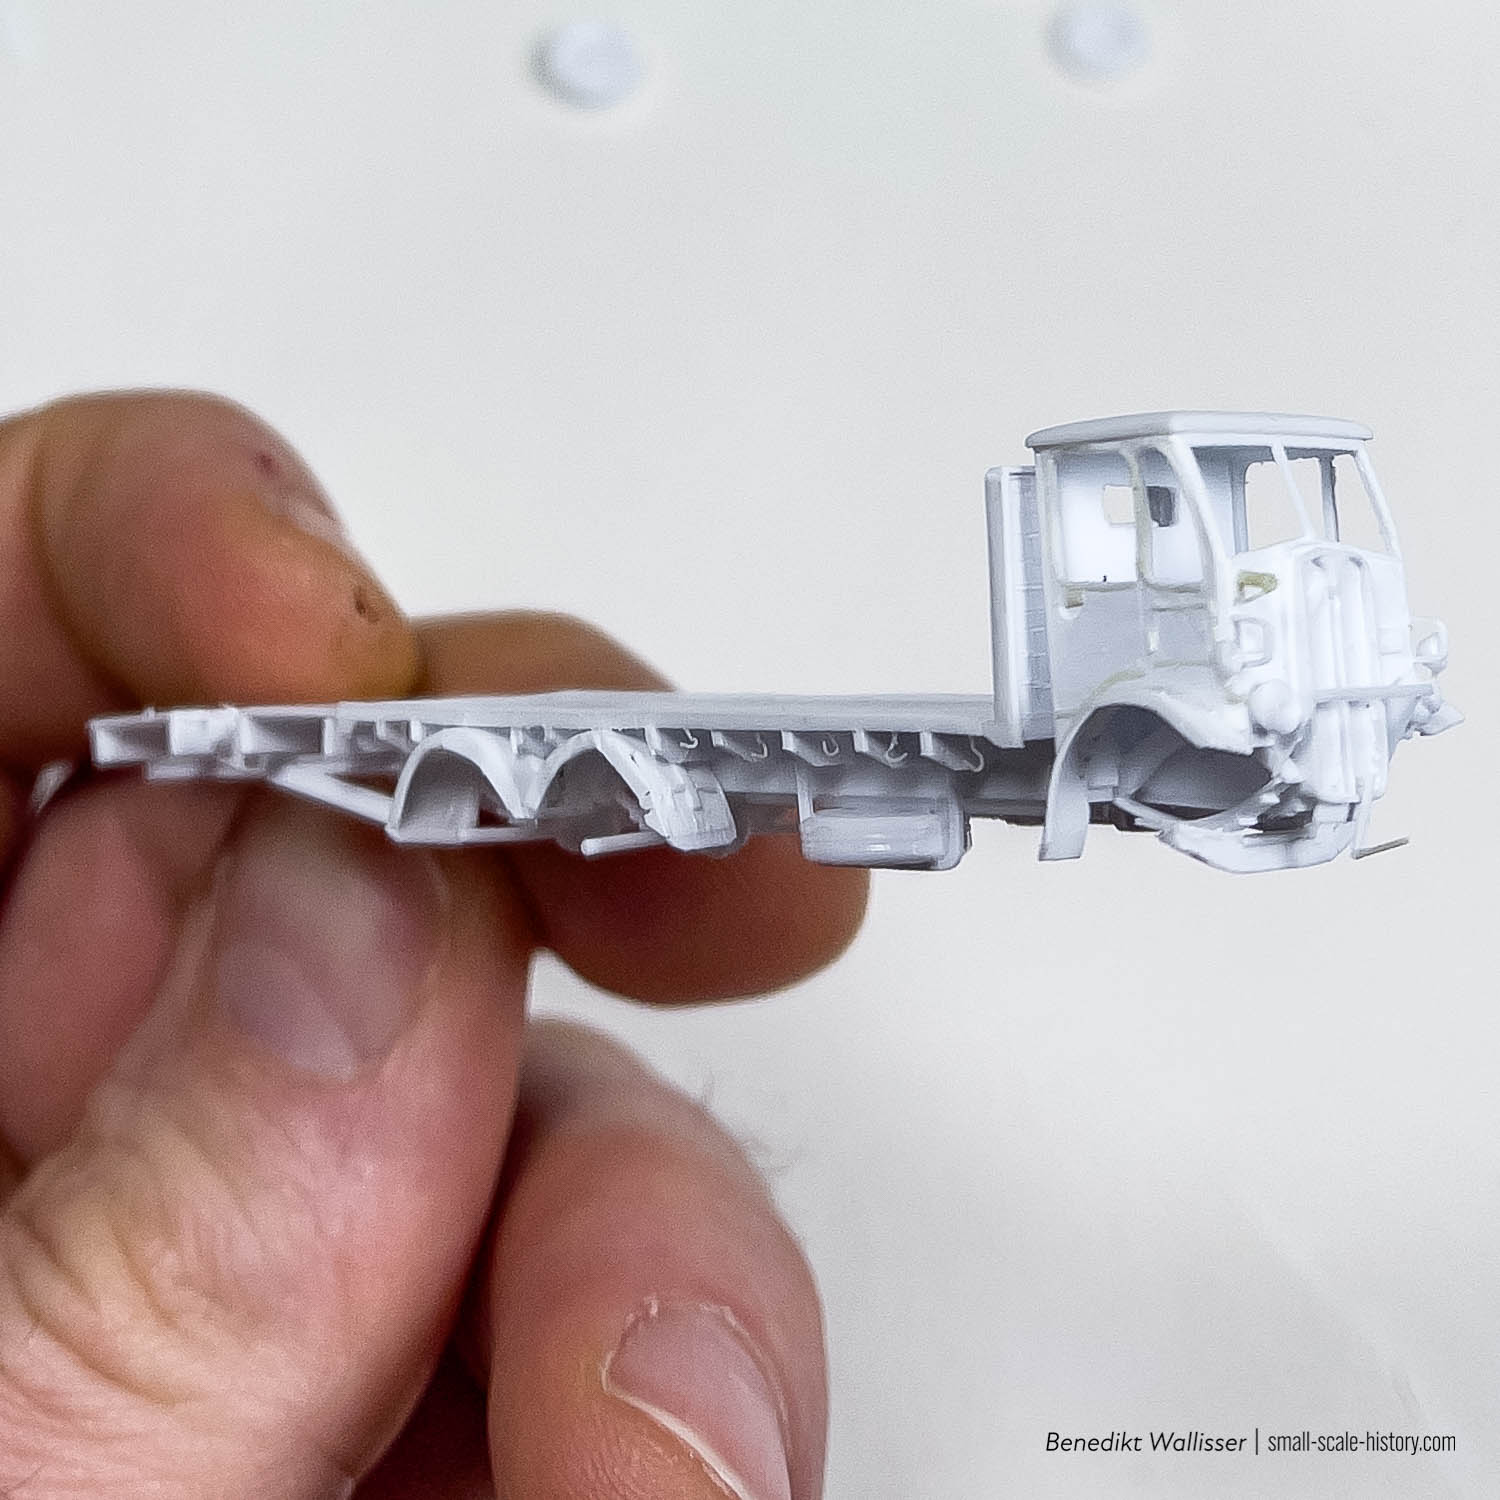
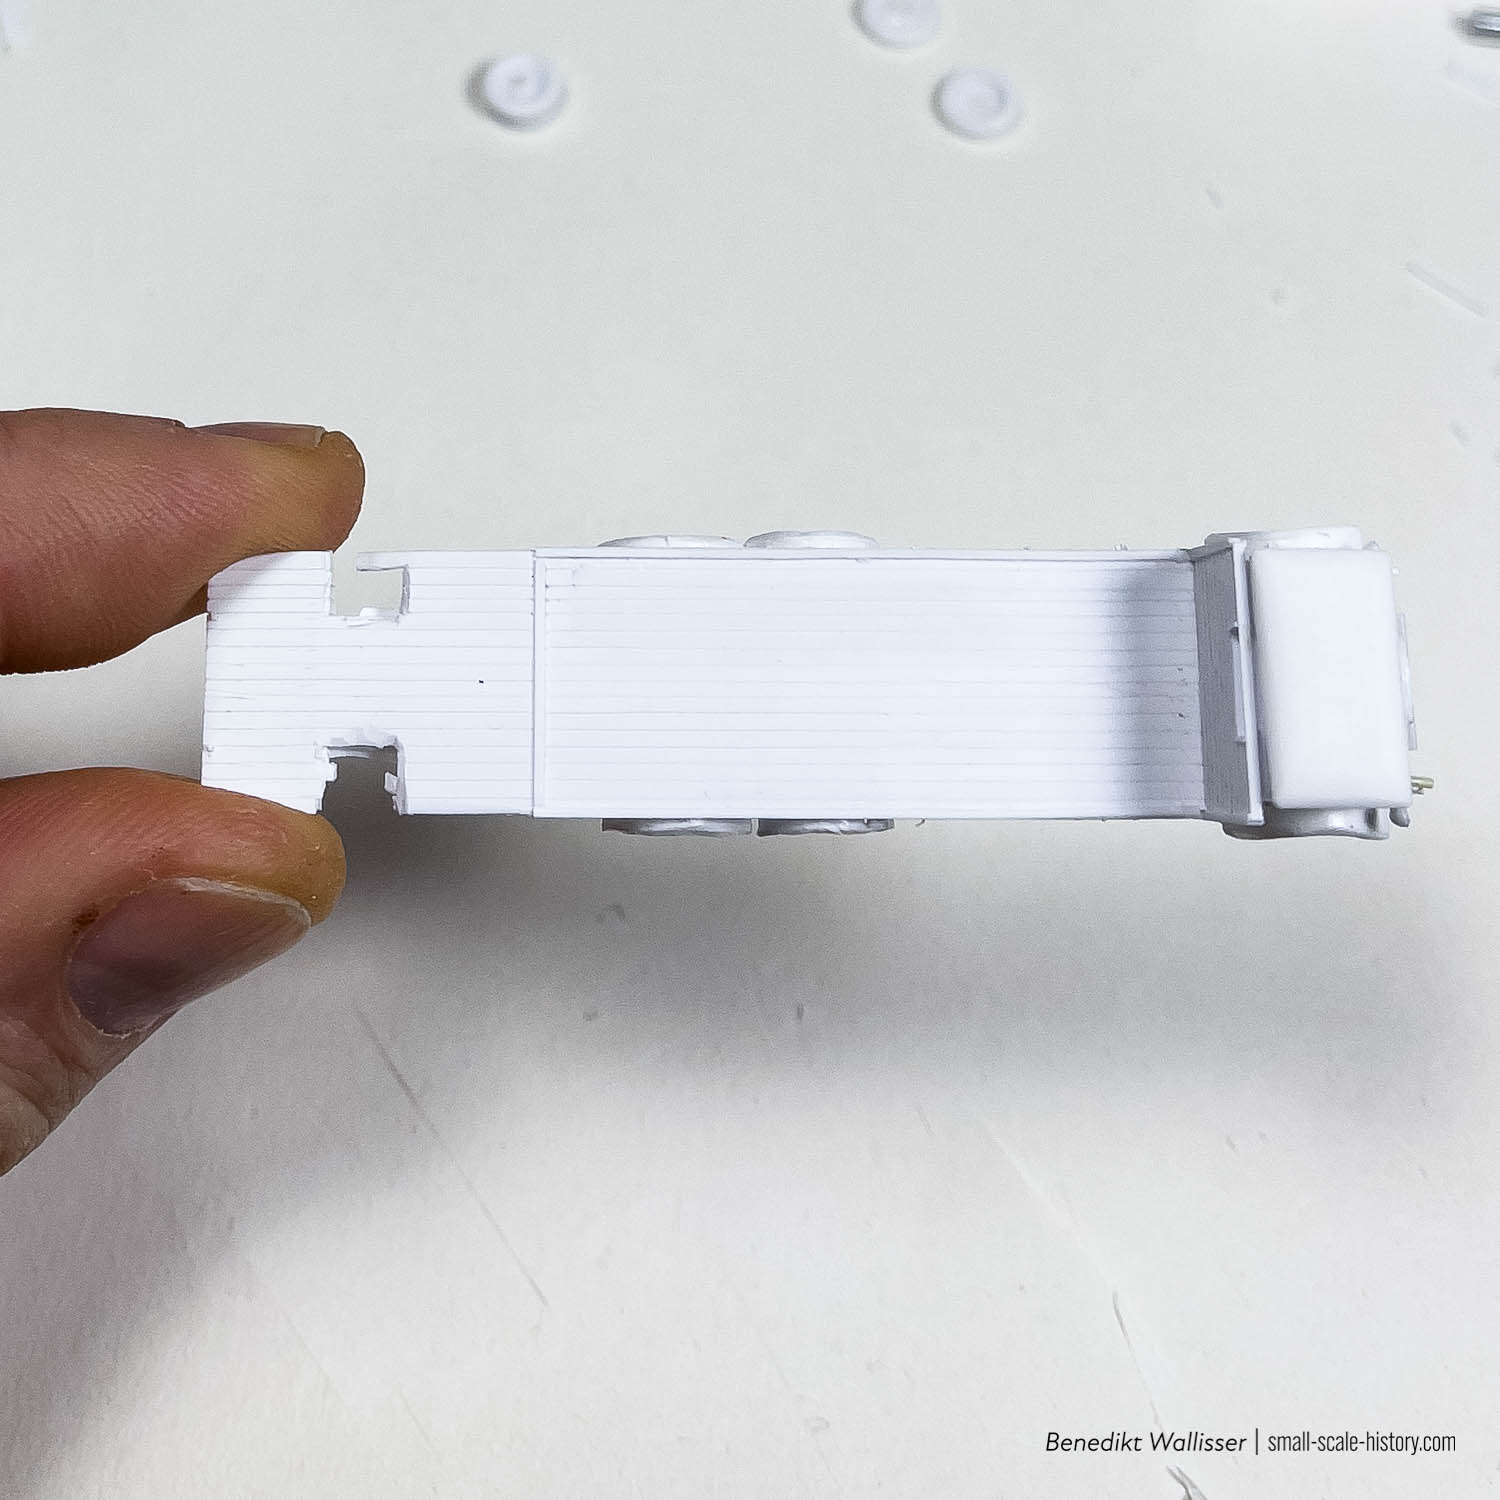
After calculating the grid height and width by comparing it to the 109, I started to cut the most important parts from styrene sheet. The Flatbed and the cab, to test the shape and dimension with the impression of the reference. The size of all parts was calculated in relation to the previously cut-out parts. I scribed in the wooden planks and added the first structural parts of the flatbed, checking the impression with the reference all the time.
Turning Wheels
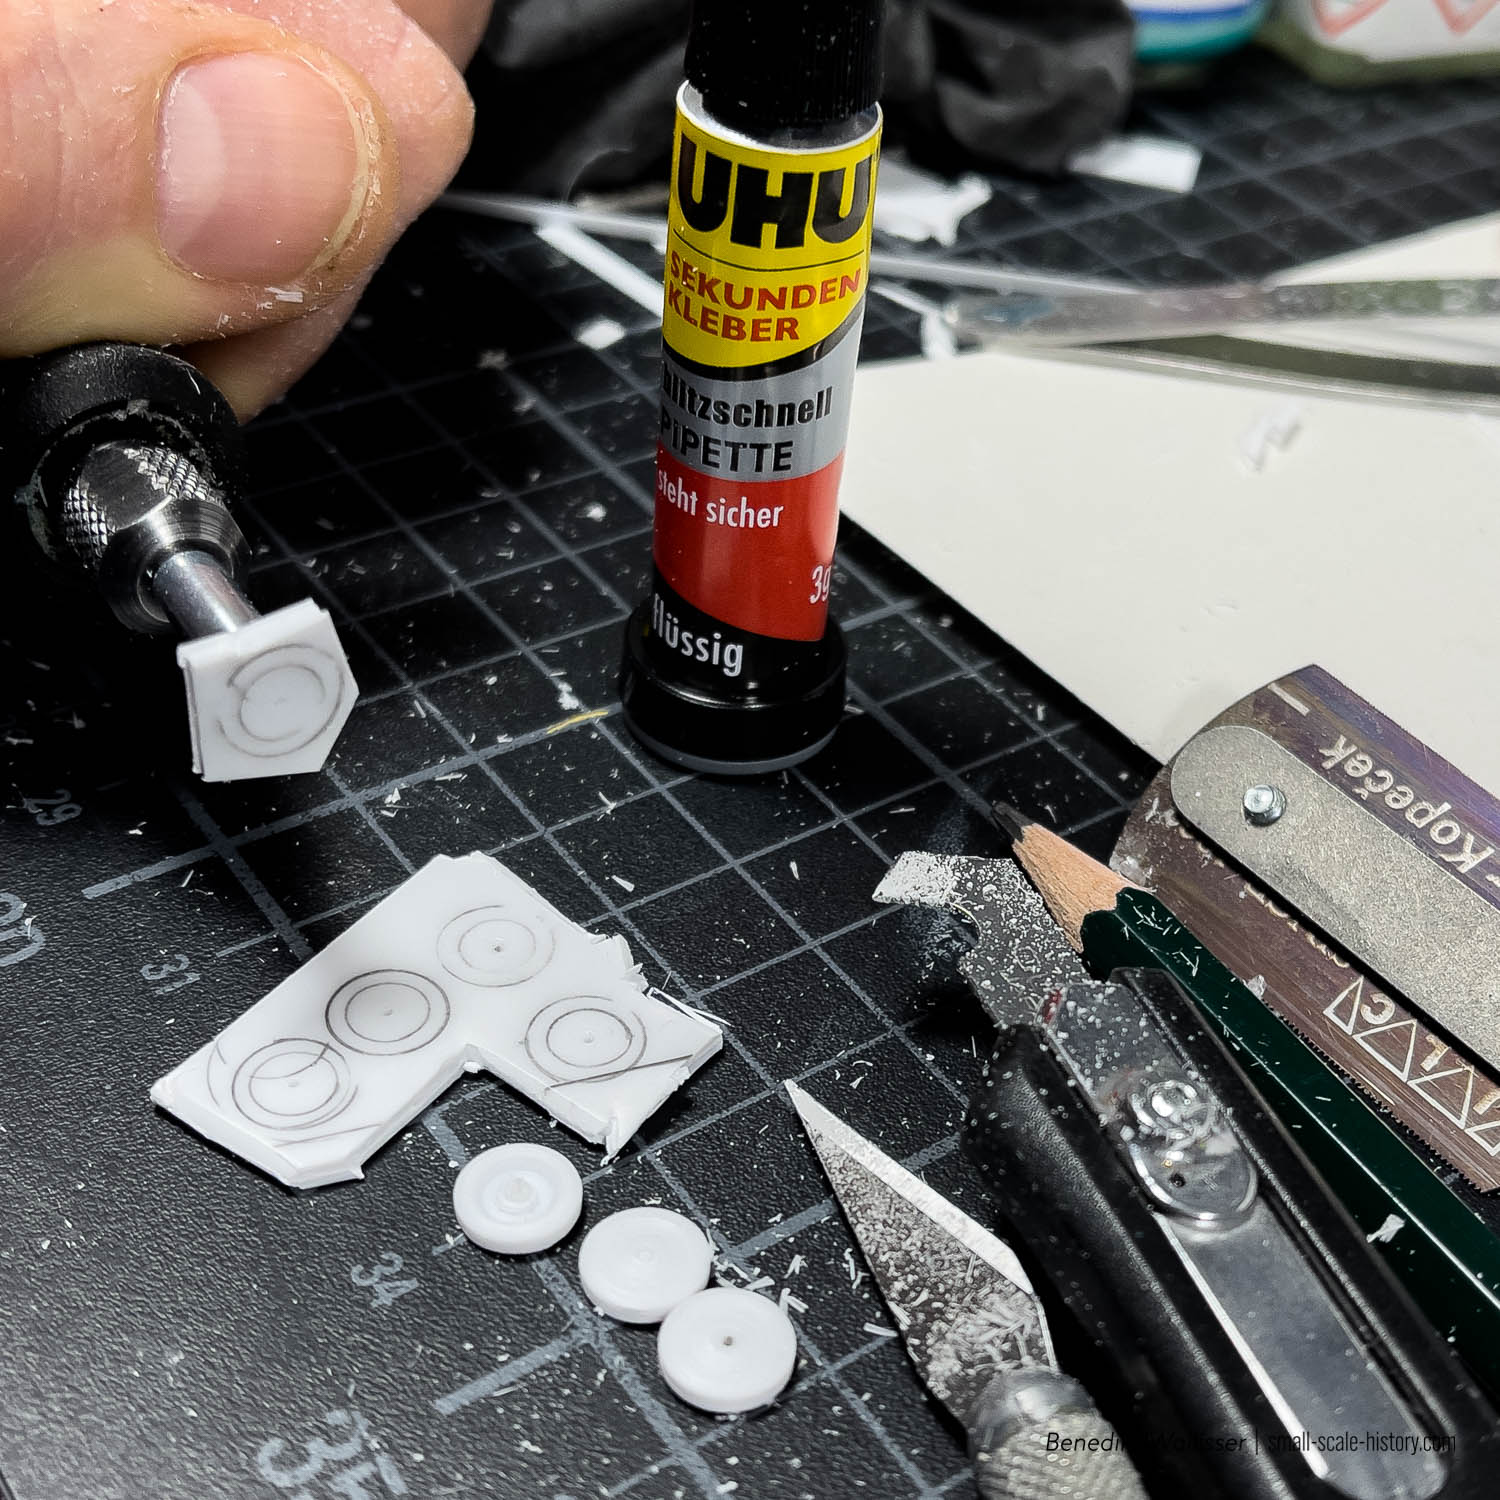
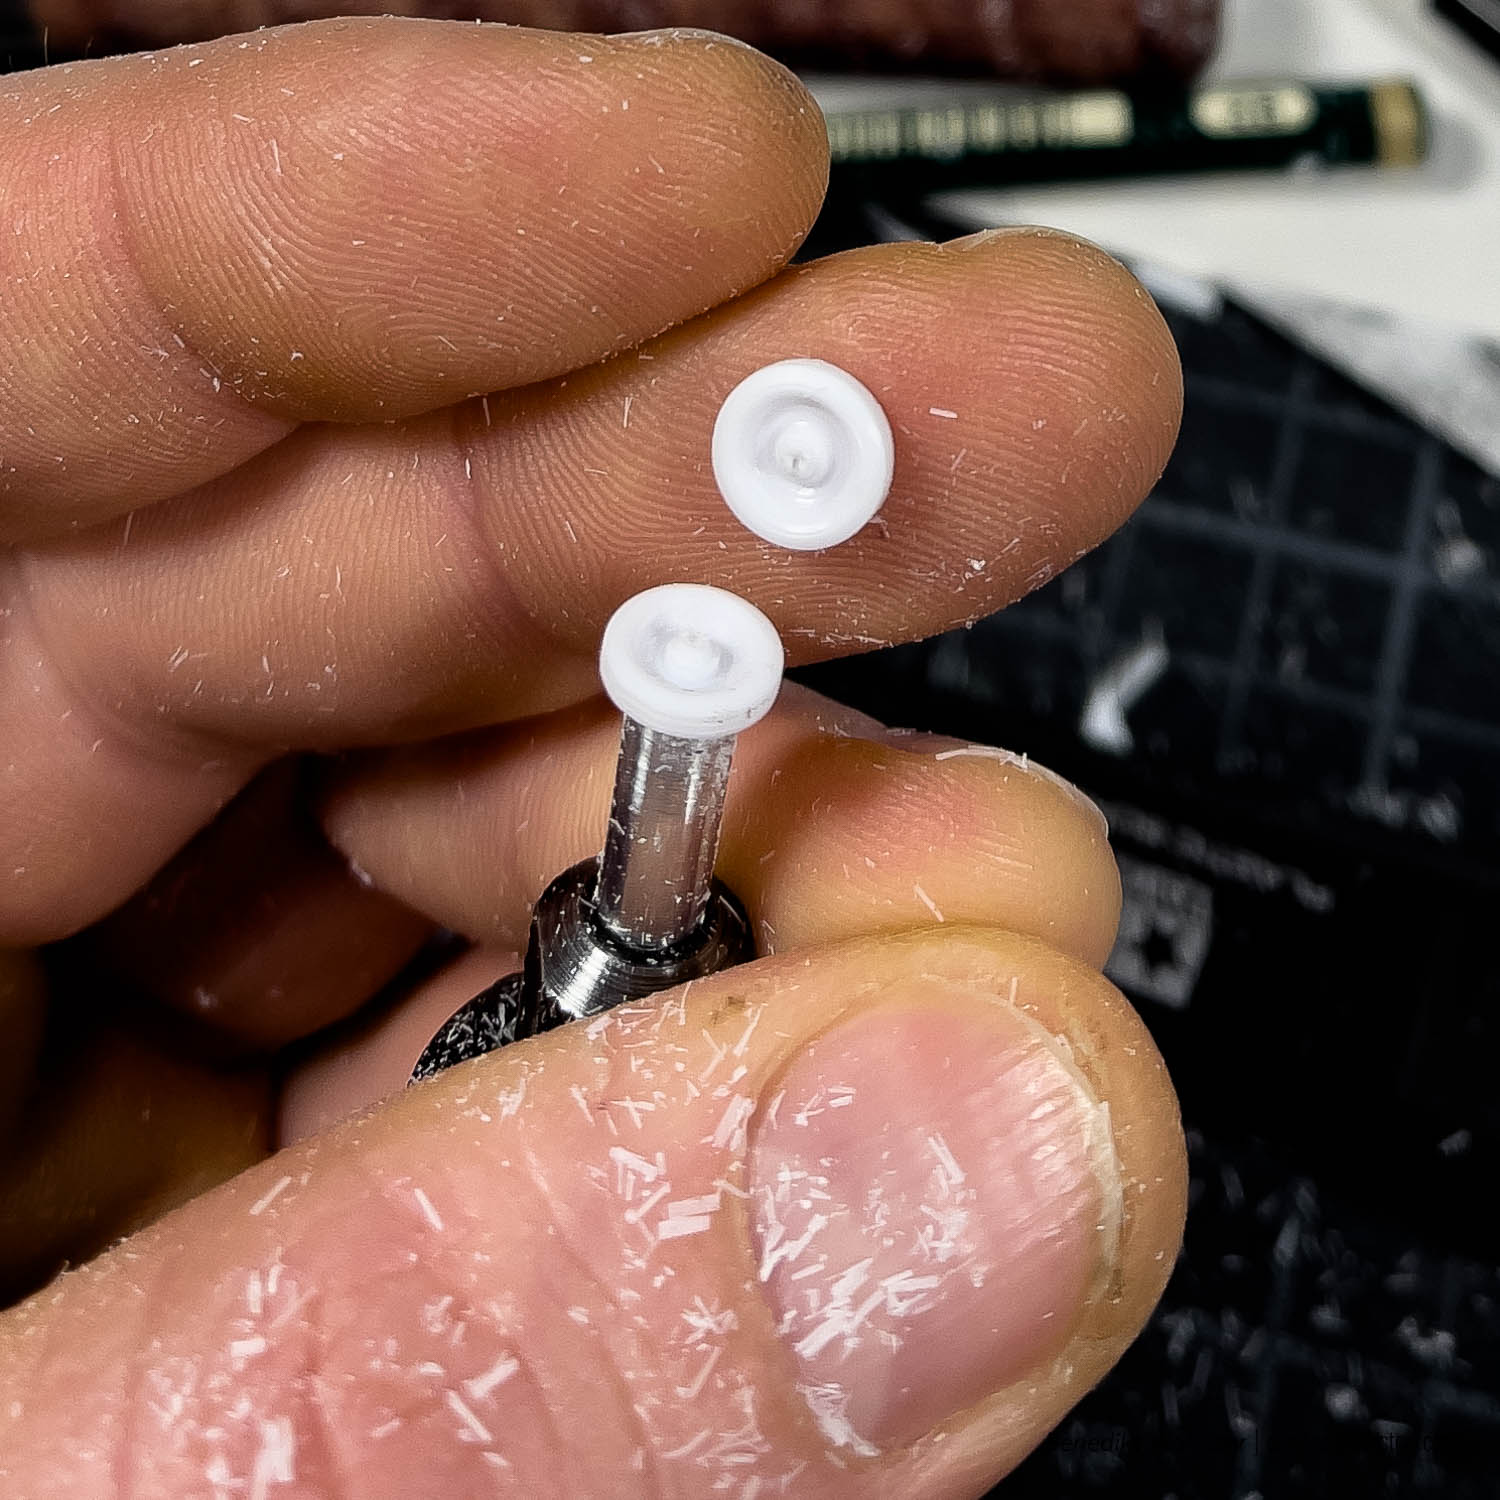
I made the wheels by turning them with my Dremel. I glued them to a metal tool with a flat surface at the top. I used my hobby knife for the rougher works and then found out the panel line tool is pretty much perfect for the lines and small gaps. 6 out of 10 wheels (three different types) were quite usable. Of course, that was only the rough shape. I still had to drill some holes, carve the tire profiles, and add some crews and nuts.
The Detailing Phase
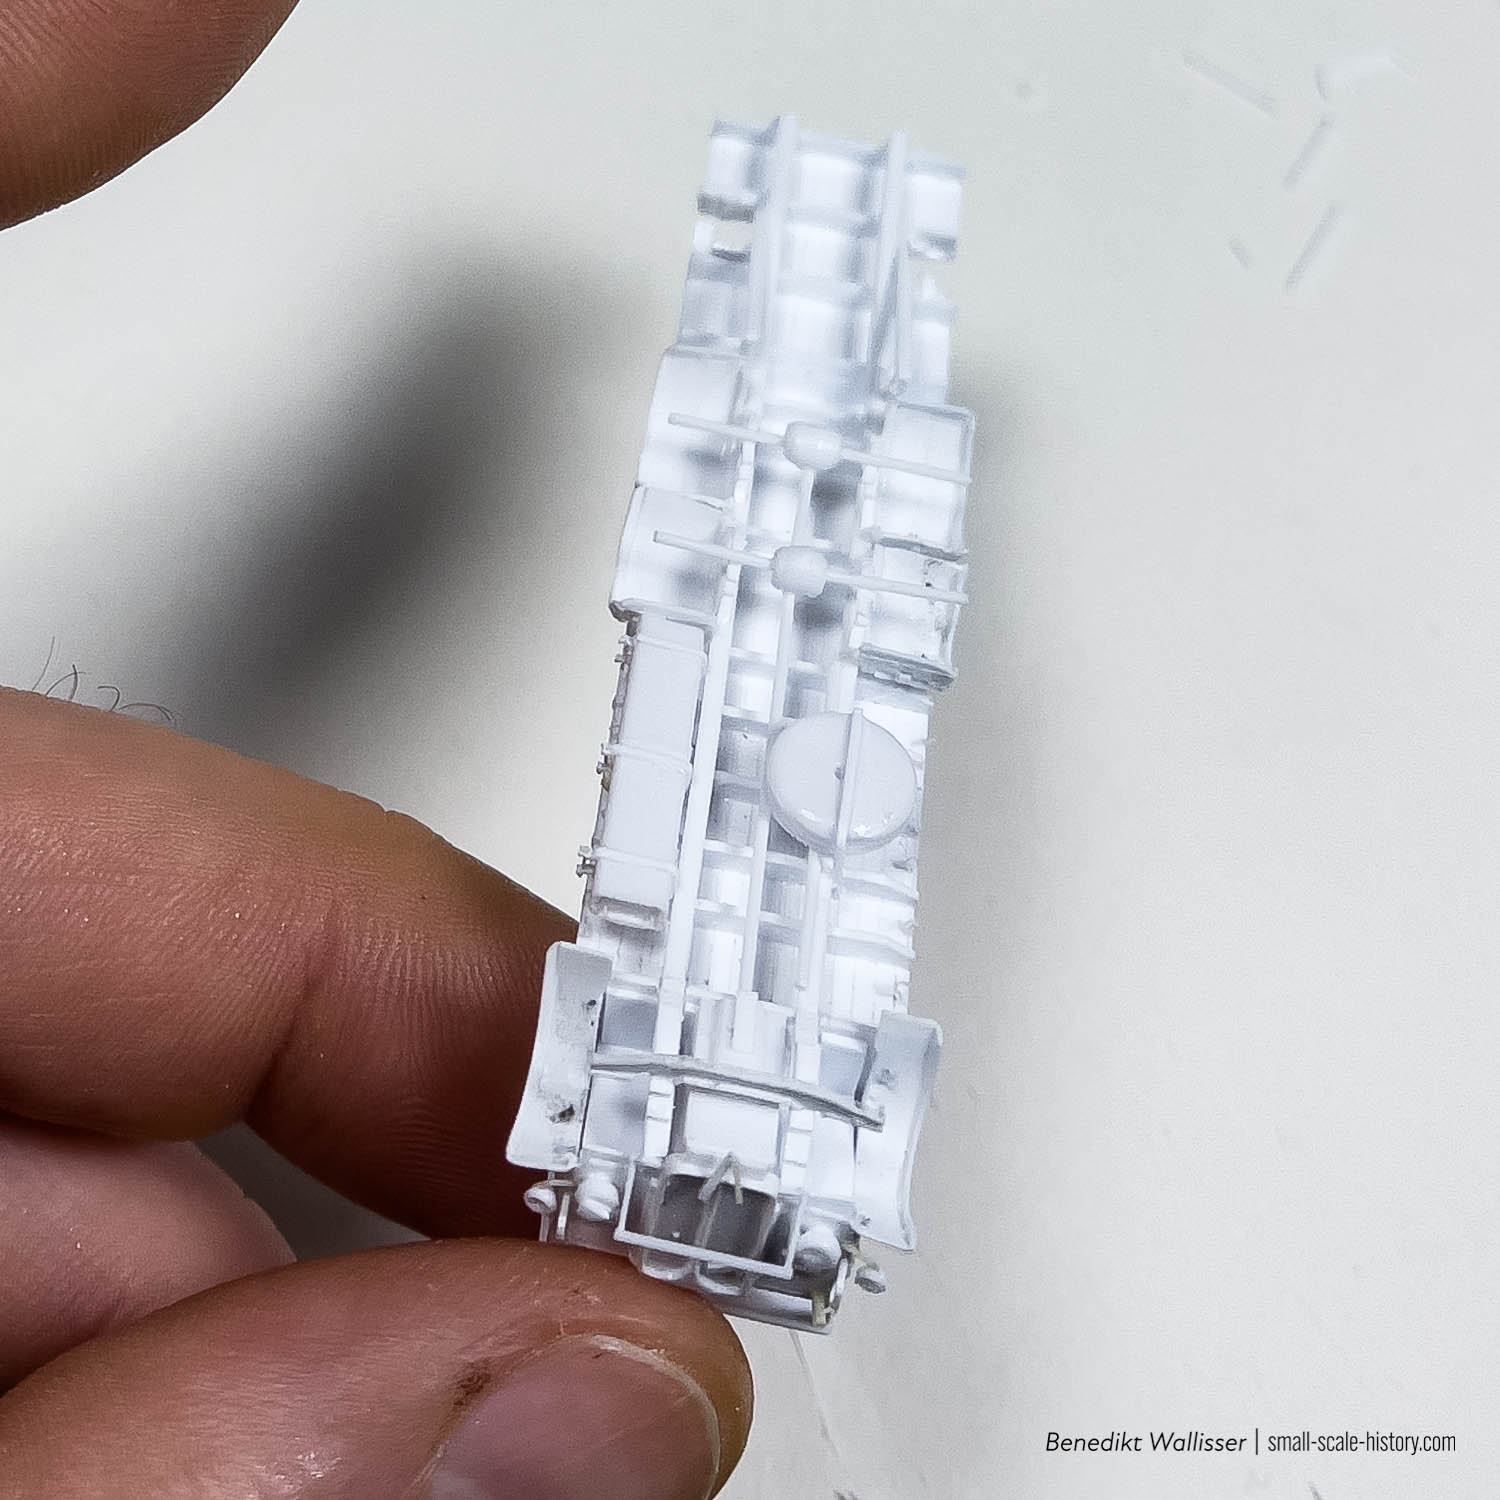
I had challenged myself to only use styrene for this scratch build. That’s why I worked with stretched sprues und Evergreen profiles in the detailing phase. There’s one big advantage: I did not use any superglue during the build. I glued everything together with Extra Thin Cement, which gives parts a strong and flexible bond, and is much cleaner to work with. Another advantage is: I can remove parts by using the same glue again. With little damage.
Flatbed Extension
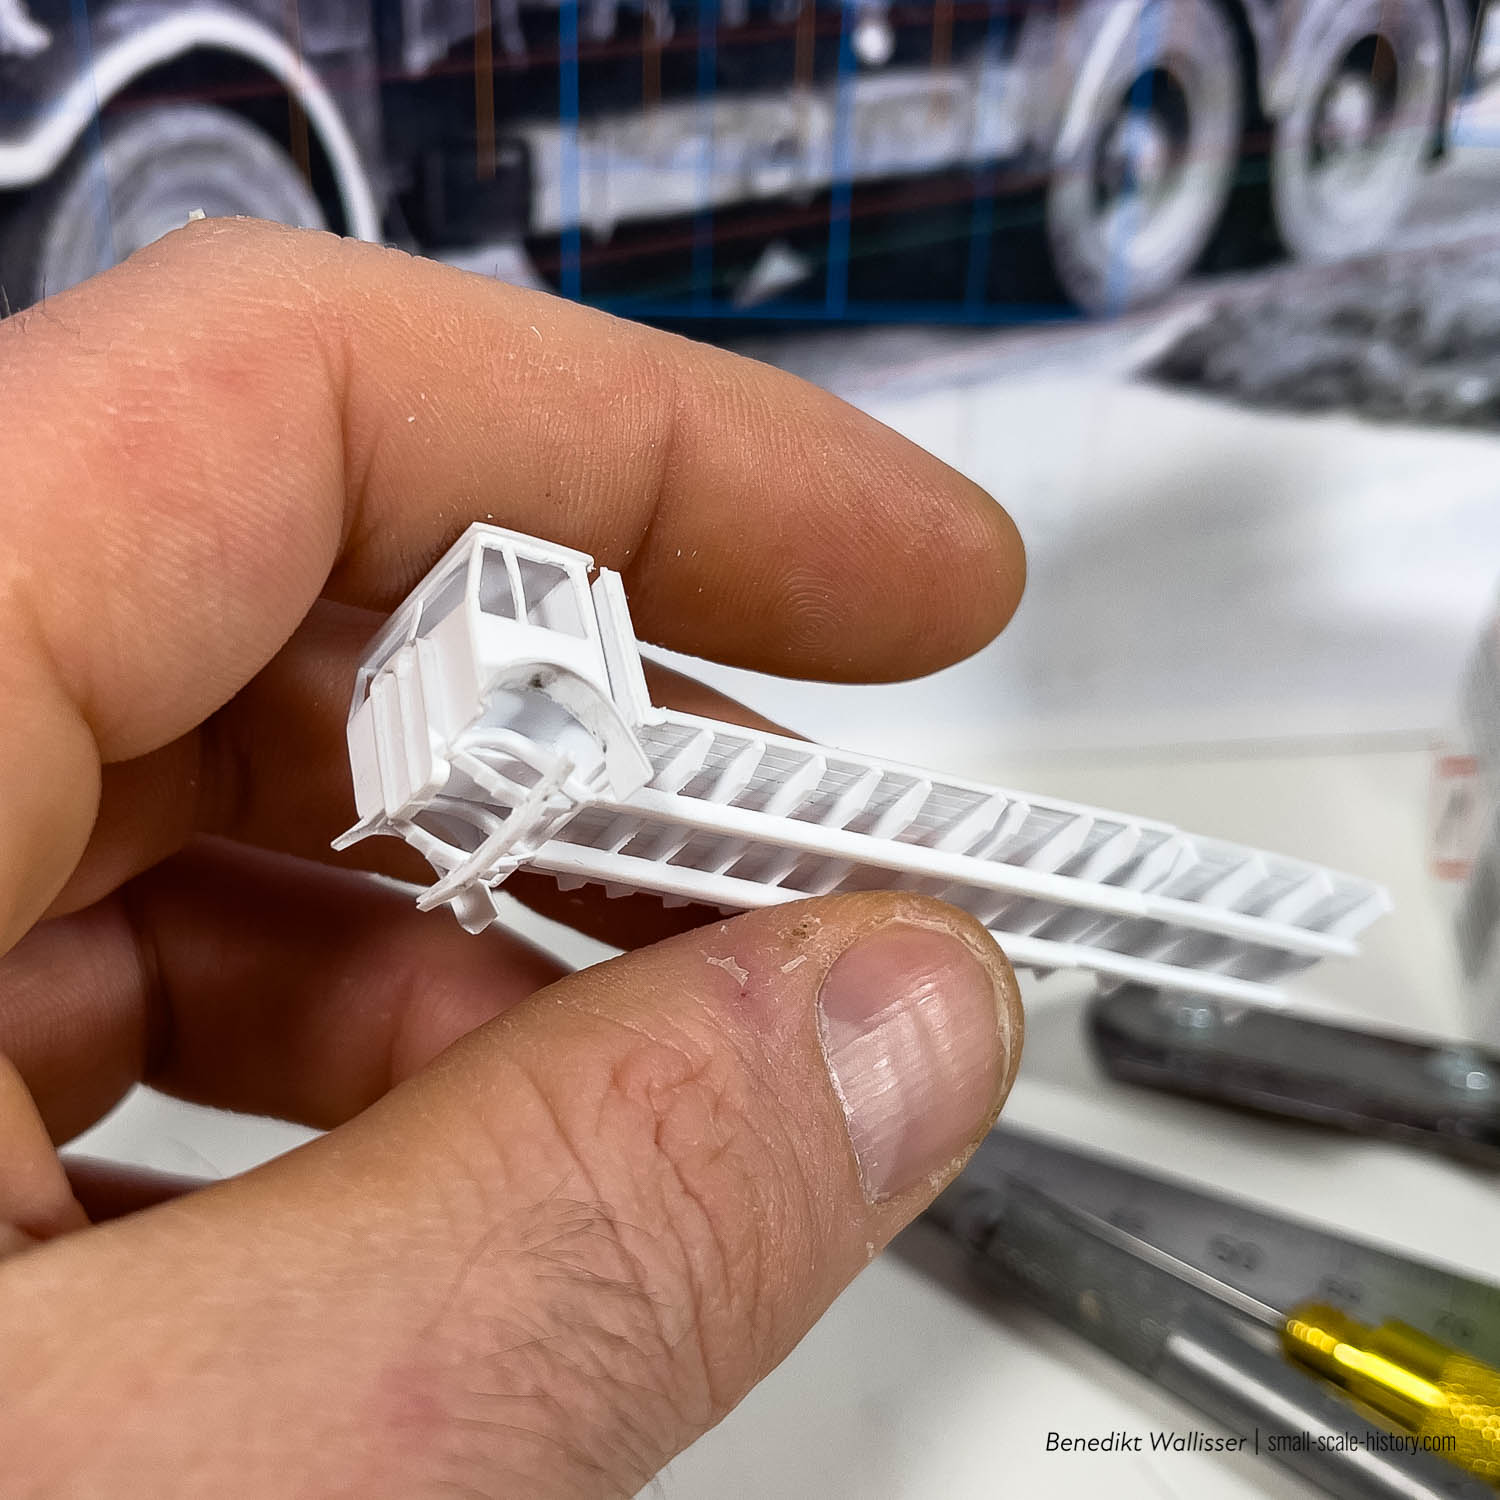
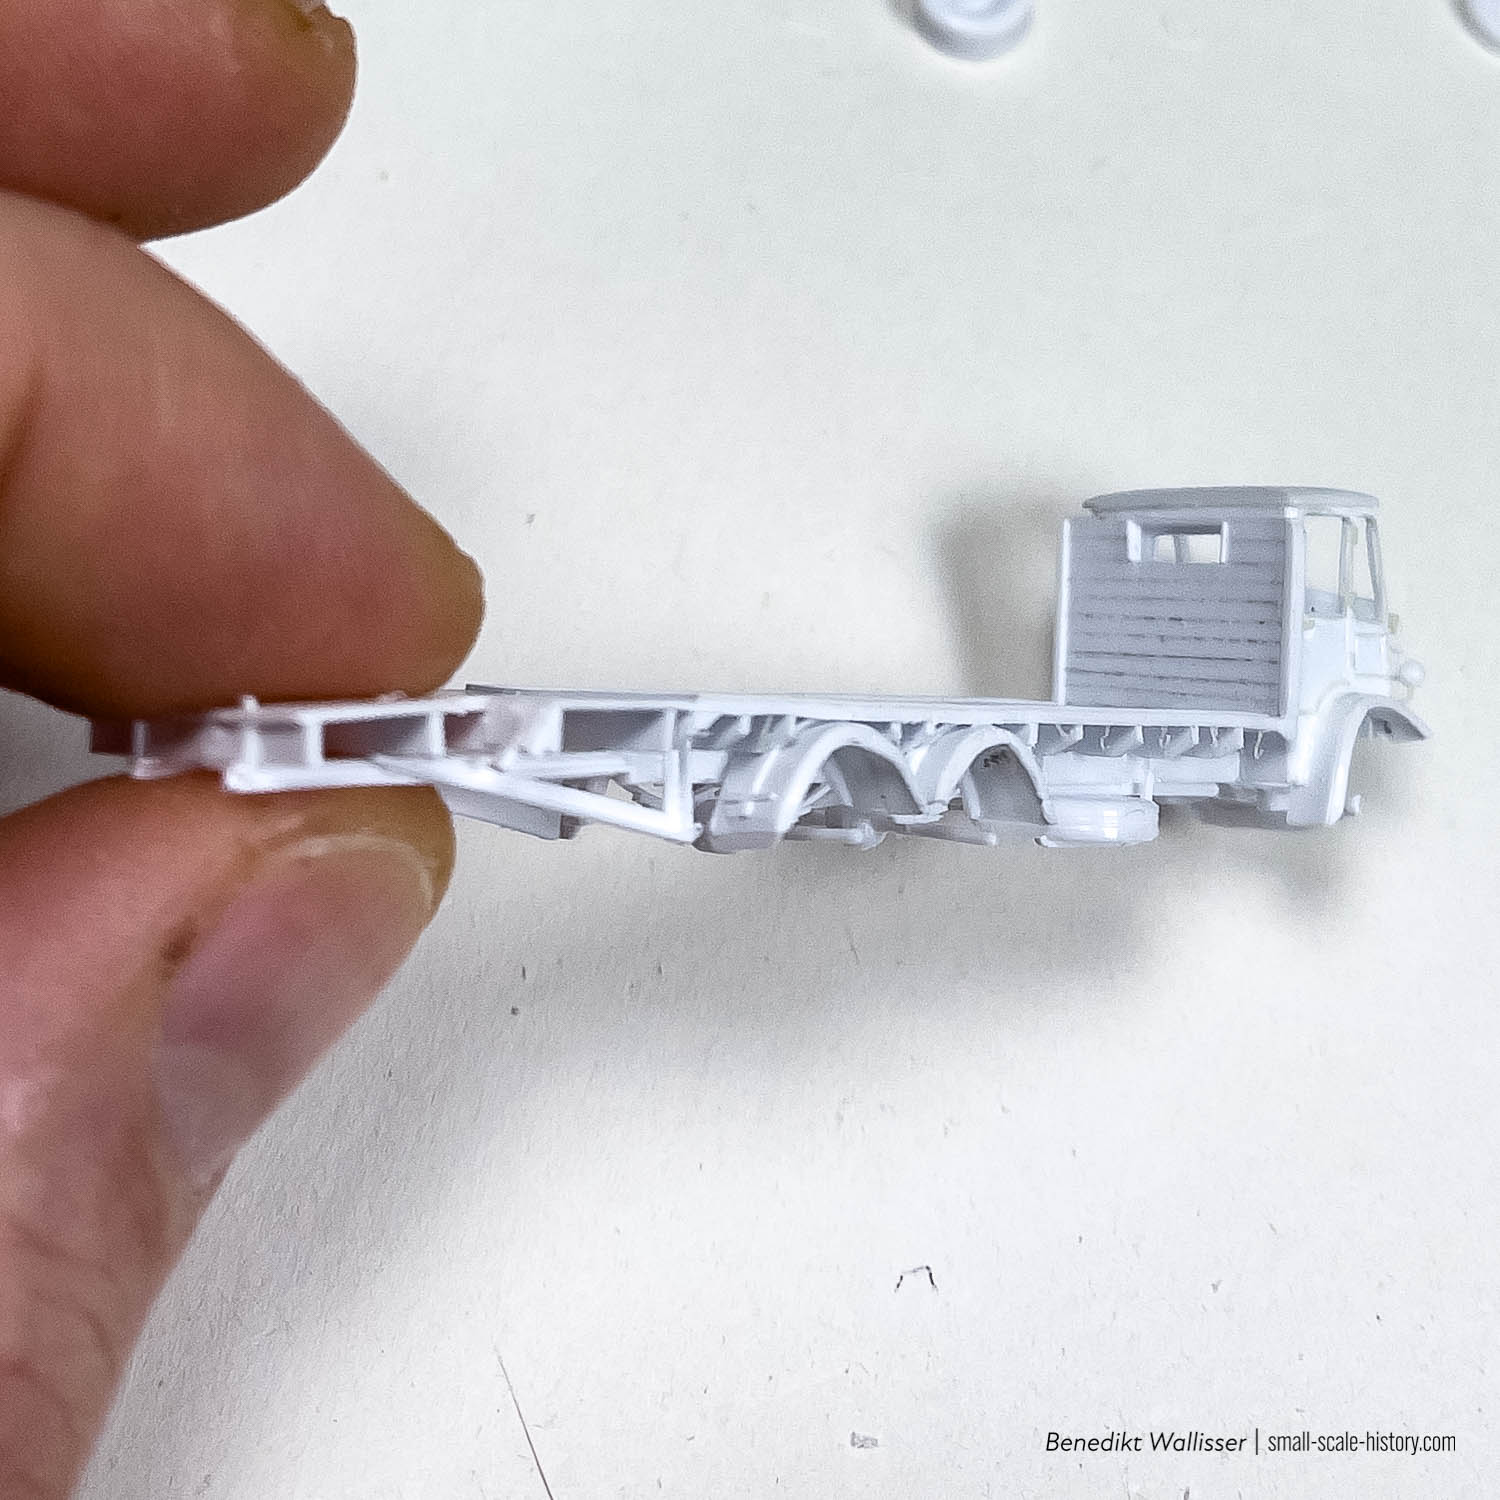
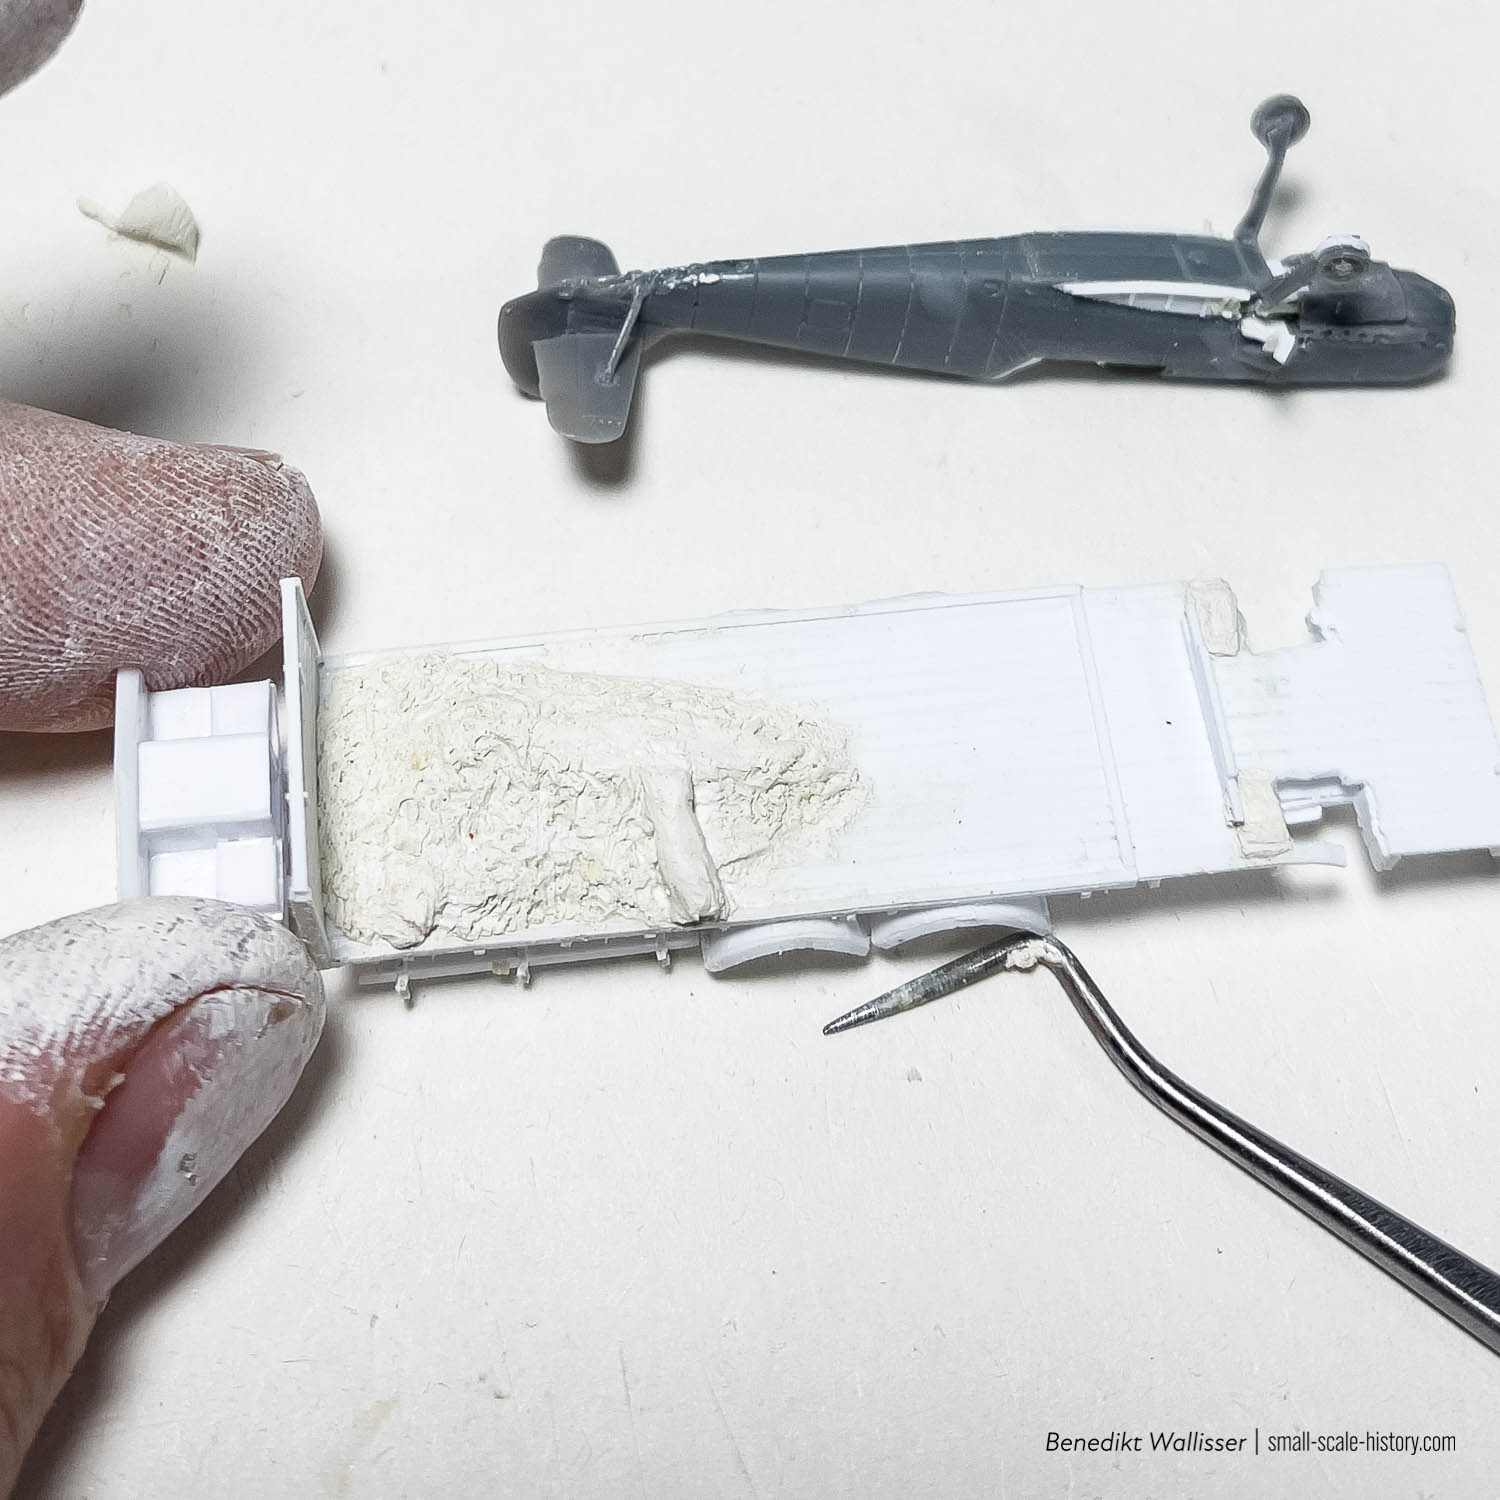
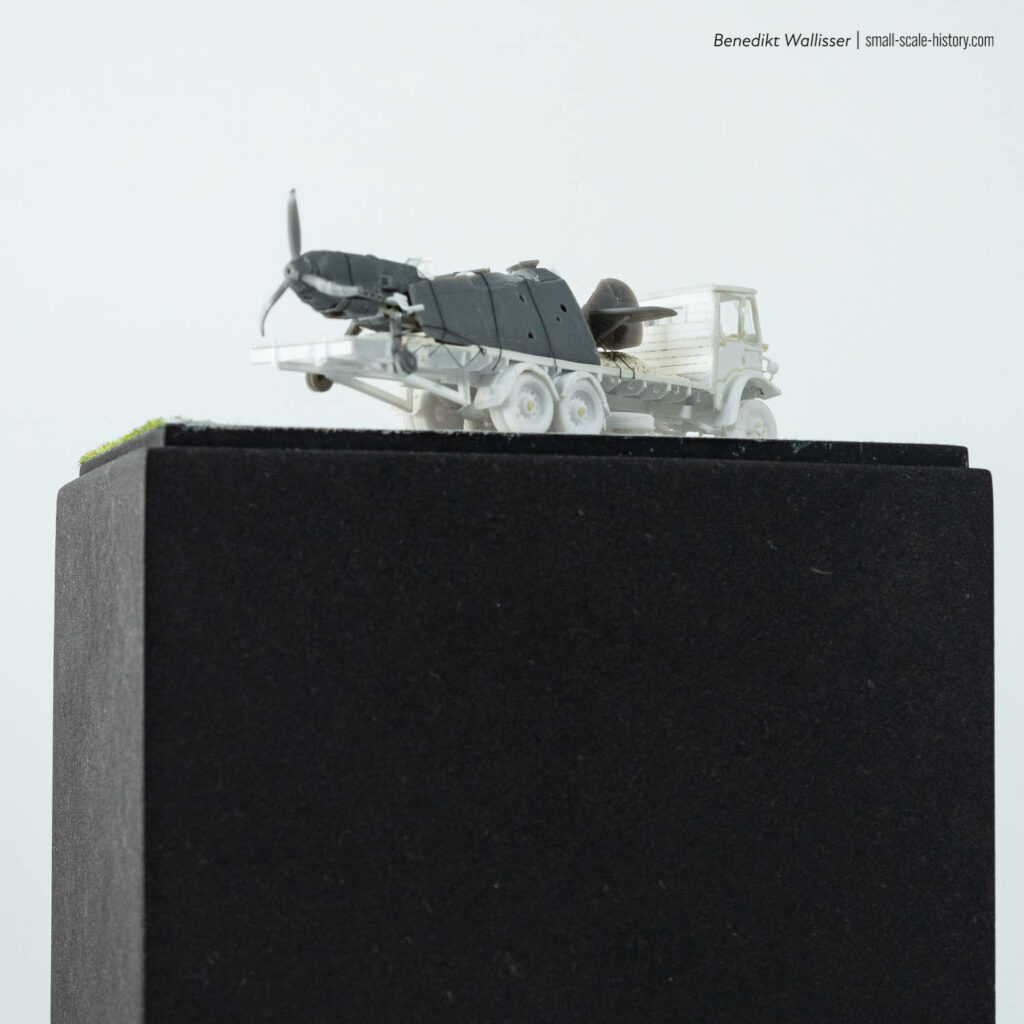
There are some special things about the Mammoth shown in the reference images. It has an extended flatbed, improvised it seems, from steal and wood profiles. The planks are broken to fit the narrow landing gear of the 109 on the flatbed. I tried to replicate the extension as accurate as possible. And the broken parts too.
The lorry is finally done!
I added lots of tiny details I saw while studying the reference photos, like the little tie-down rakes under the flatbed, made from stretched sprues. The lorry was now finished, and only needed the figures in the cab and the tarps and camouflage nets on the flatbed. The cab is still removable for a good access during the painting phase.
The final impression
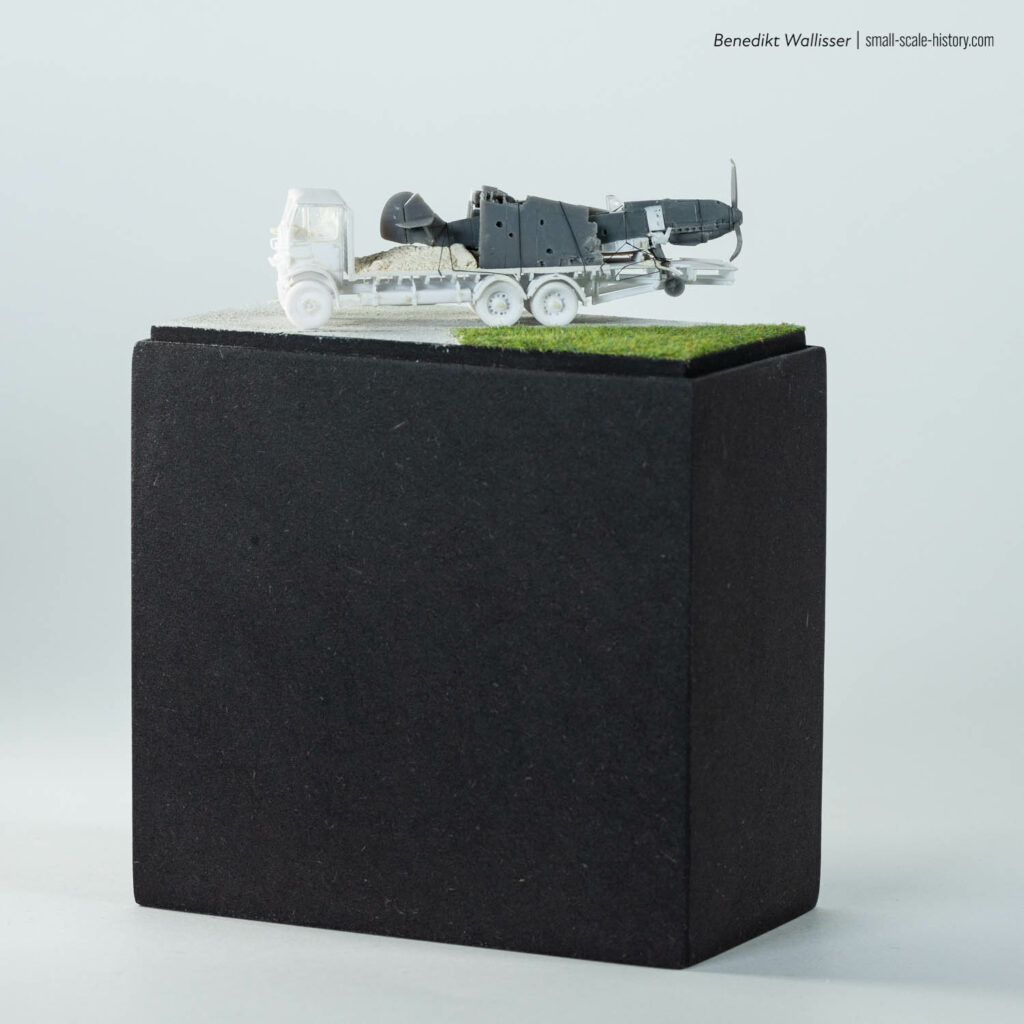
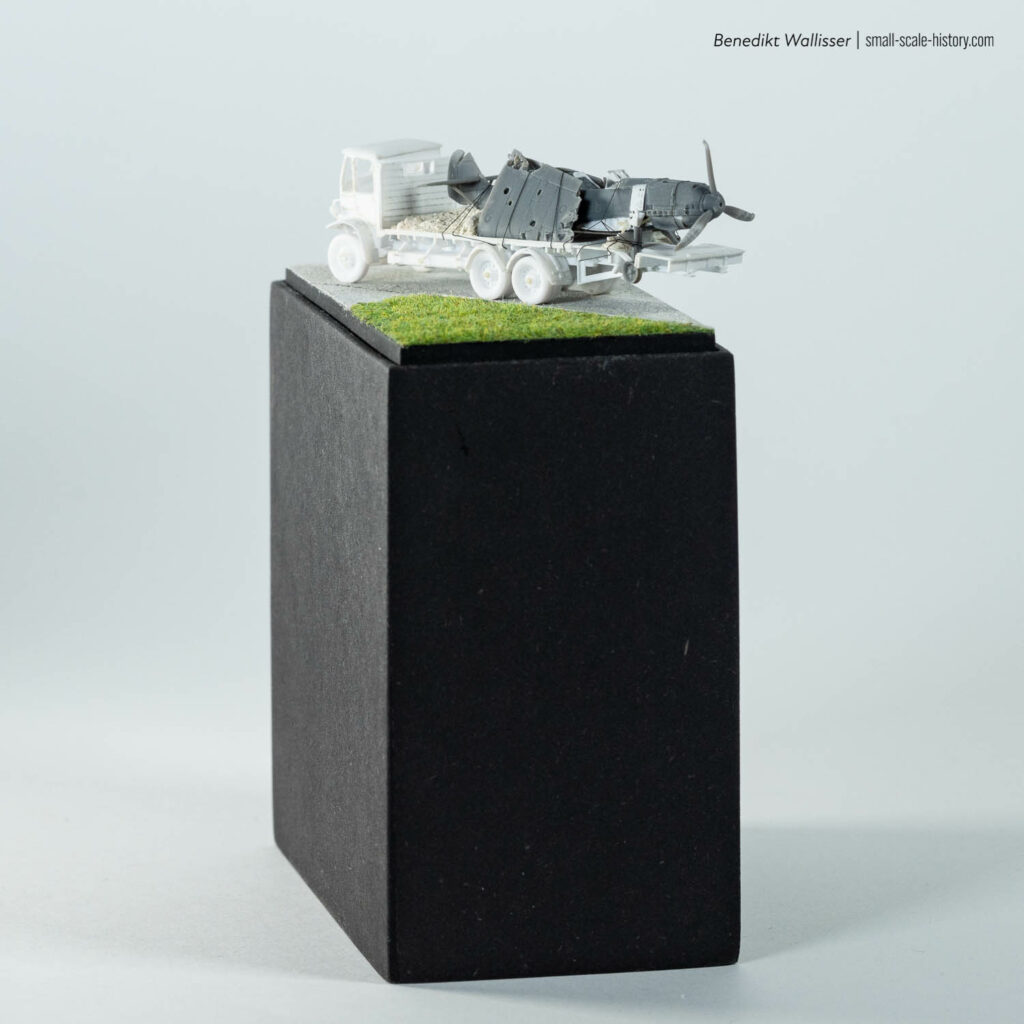
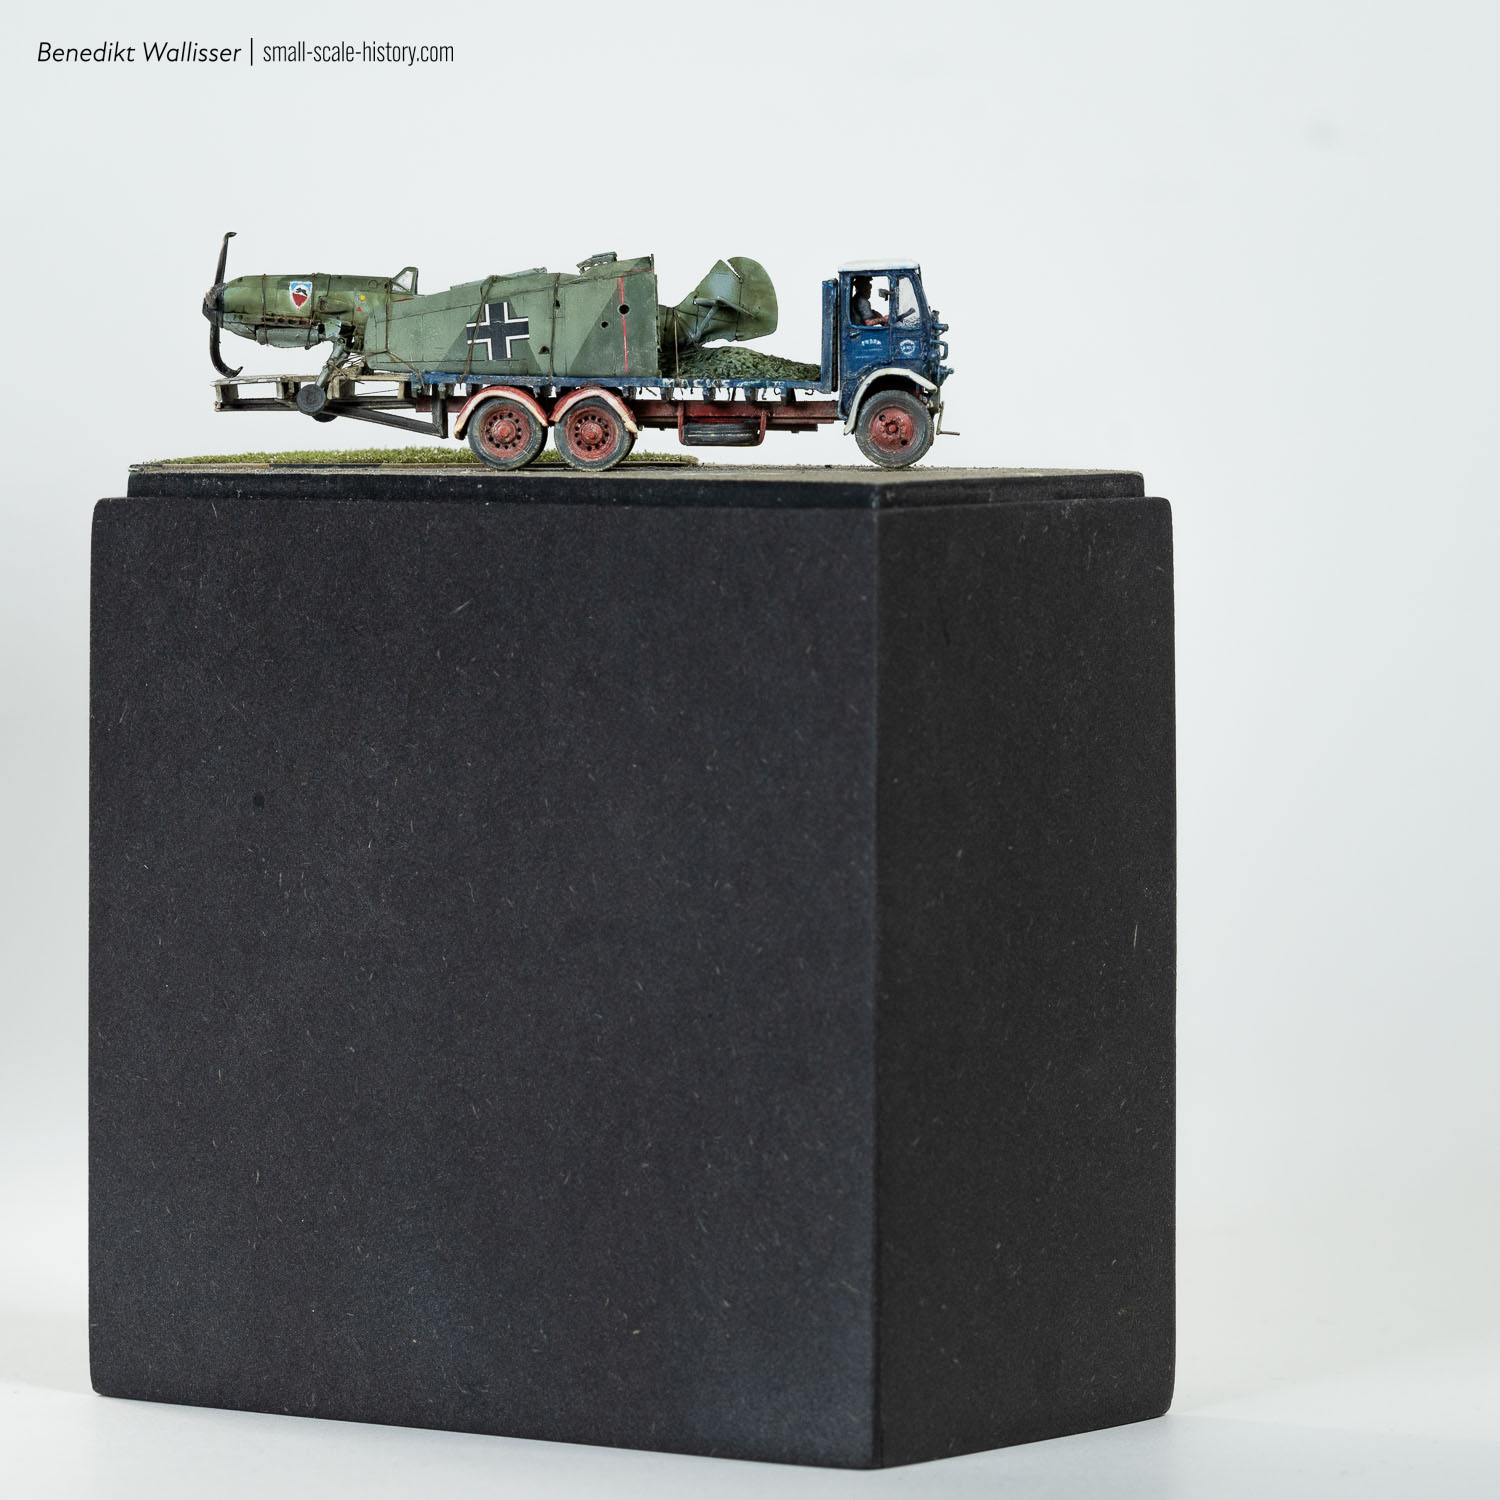
The final overall impression is ok. I missed to match some shapes and dimensions, but in the end, I’m quite satisfied with how the lorry and its load catch the atmosphere and impression of the references. All dimensions and parts are only guessed by eye and calculated by relations. It may be imprecisely but looks quite nice.
Emil and Mammoth
Battle of Britain: On 24 August at 15:45, Luftwaffe pilot Herbert Bischoff, 1st/JG52, crash-lands his Bf-109 E-1 “white 9” near Margate, Kent due to engine failure. The pilot is taken prisoner of war, the wreckage of his Emil is transported away on the flatbed of a civilian AEC Mammoth Major – 1/144 scratch-built AEC Mammoth Major 6 Mk II and the Beacon Models Messerschmitt Bf 109 E-1.
1/144 Beacon Models Battle of Britain kit (Bf-109E and Spitfire Mk.I)
Beacon Models debuts with impressive 1:144 kits, featuring a Bf-109E and Spitfire Mk. I. High detail, great fit, Cartograf decals, and painting masks included—ideal for beginners and enthusiasts alike!

