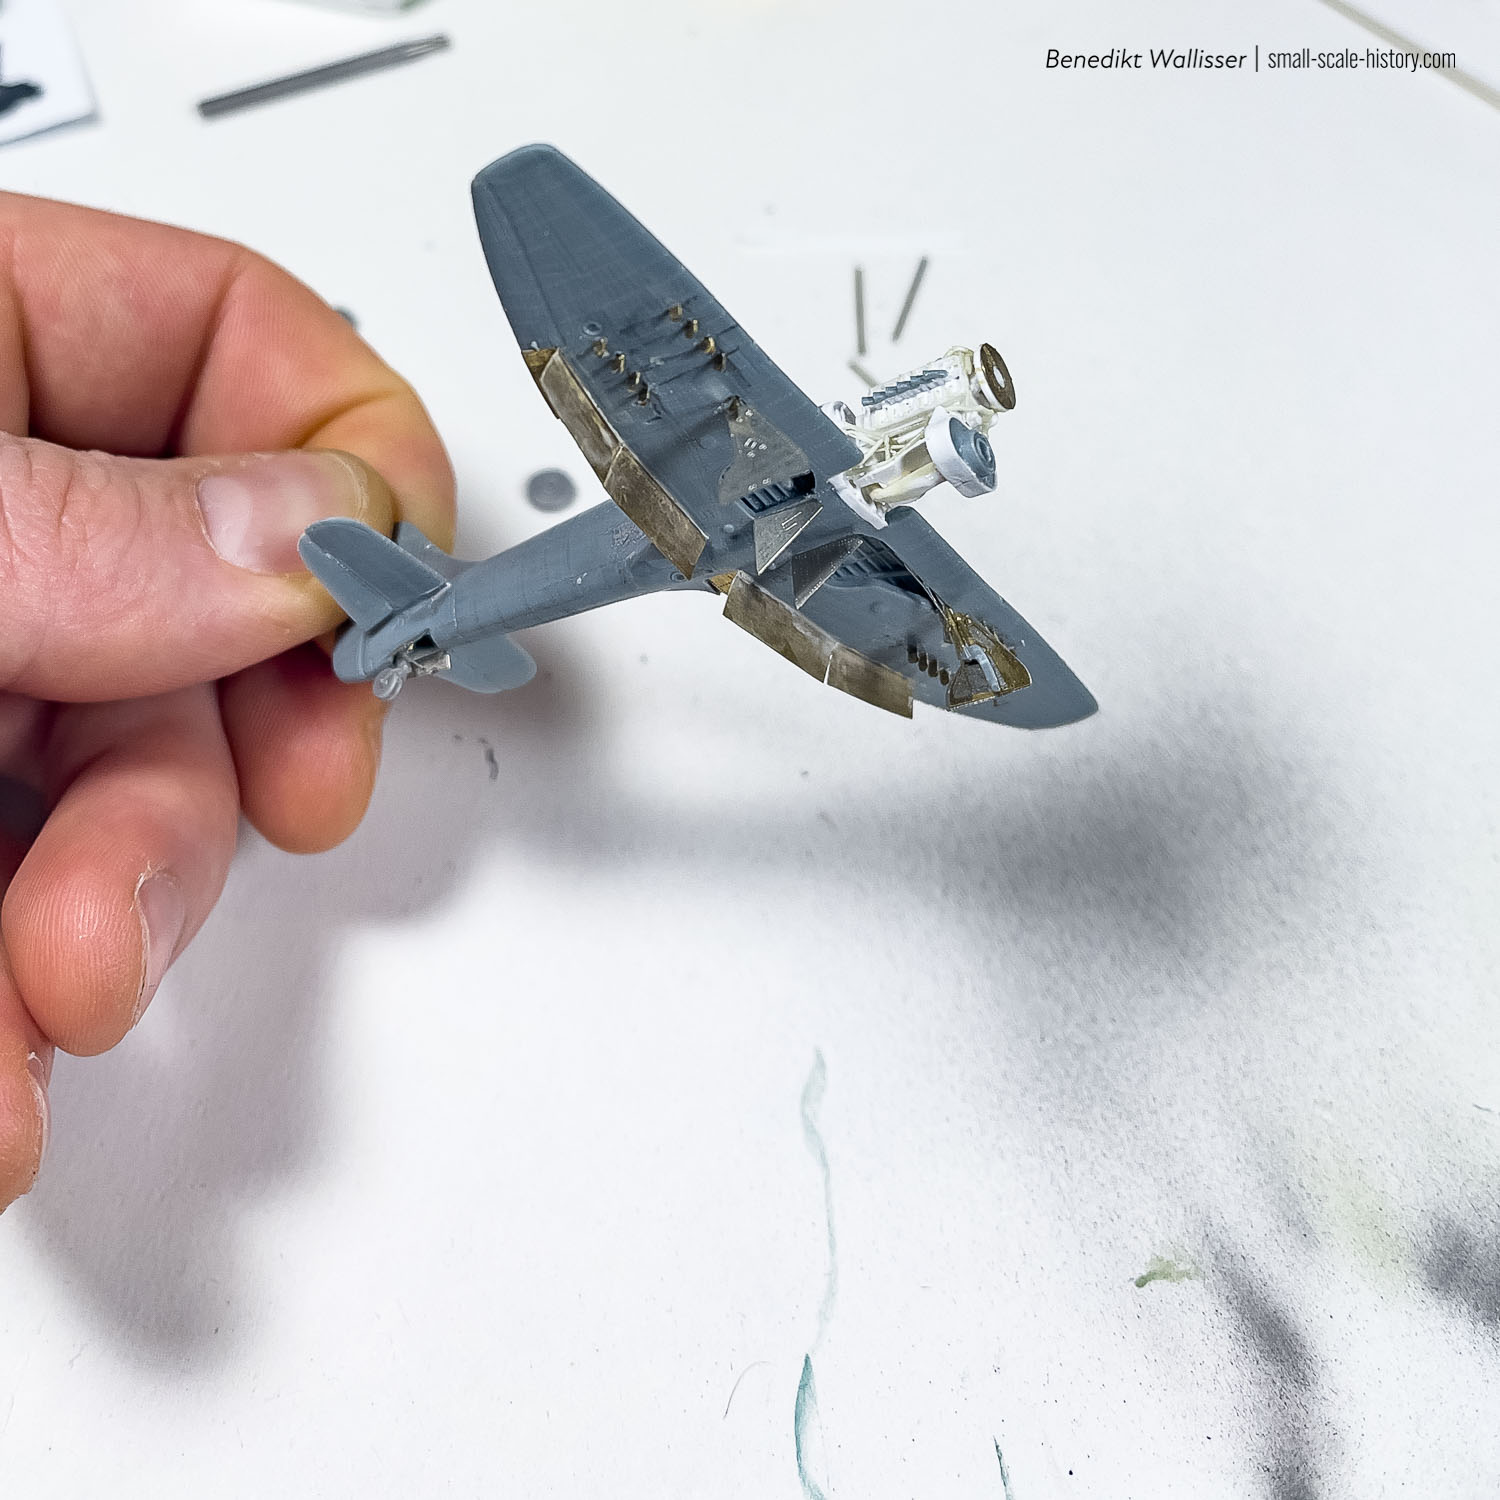
Superdetailing a 144th scale Hawker Tempest
Superdetailing the 1/144 scale Mark 1 Hawker Tempest Mk.V kit with Brengun and Shelf Oddity photo-etched parts, as well as a scratch-built engine.
"Side Project"
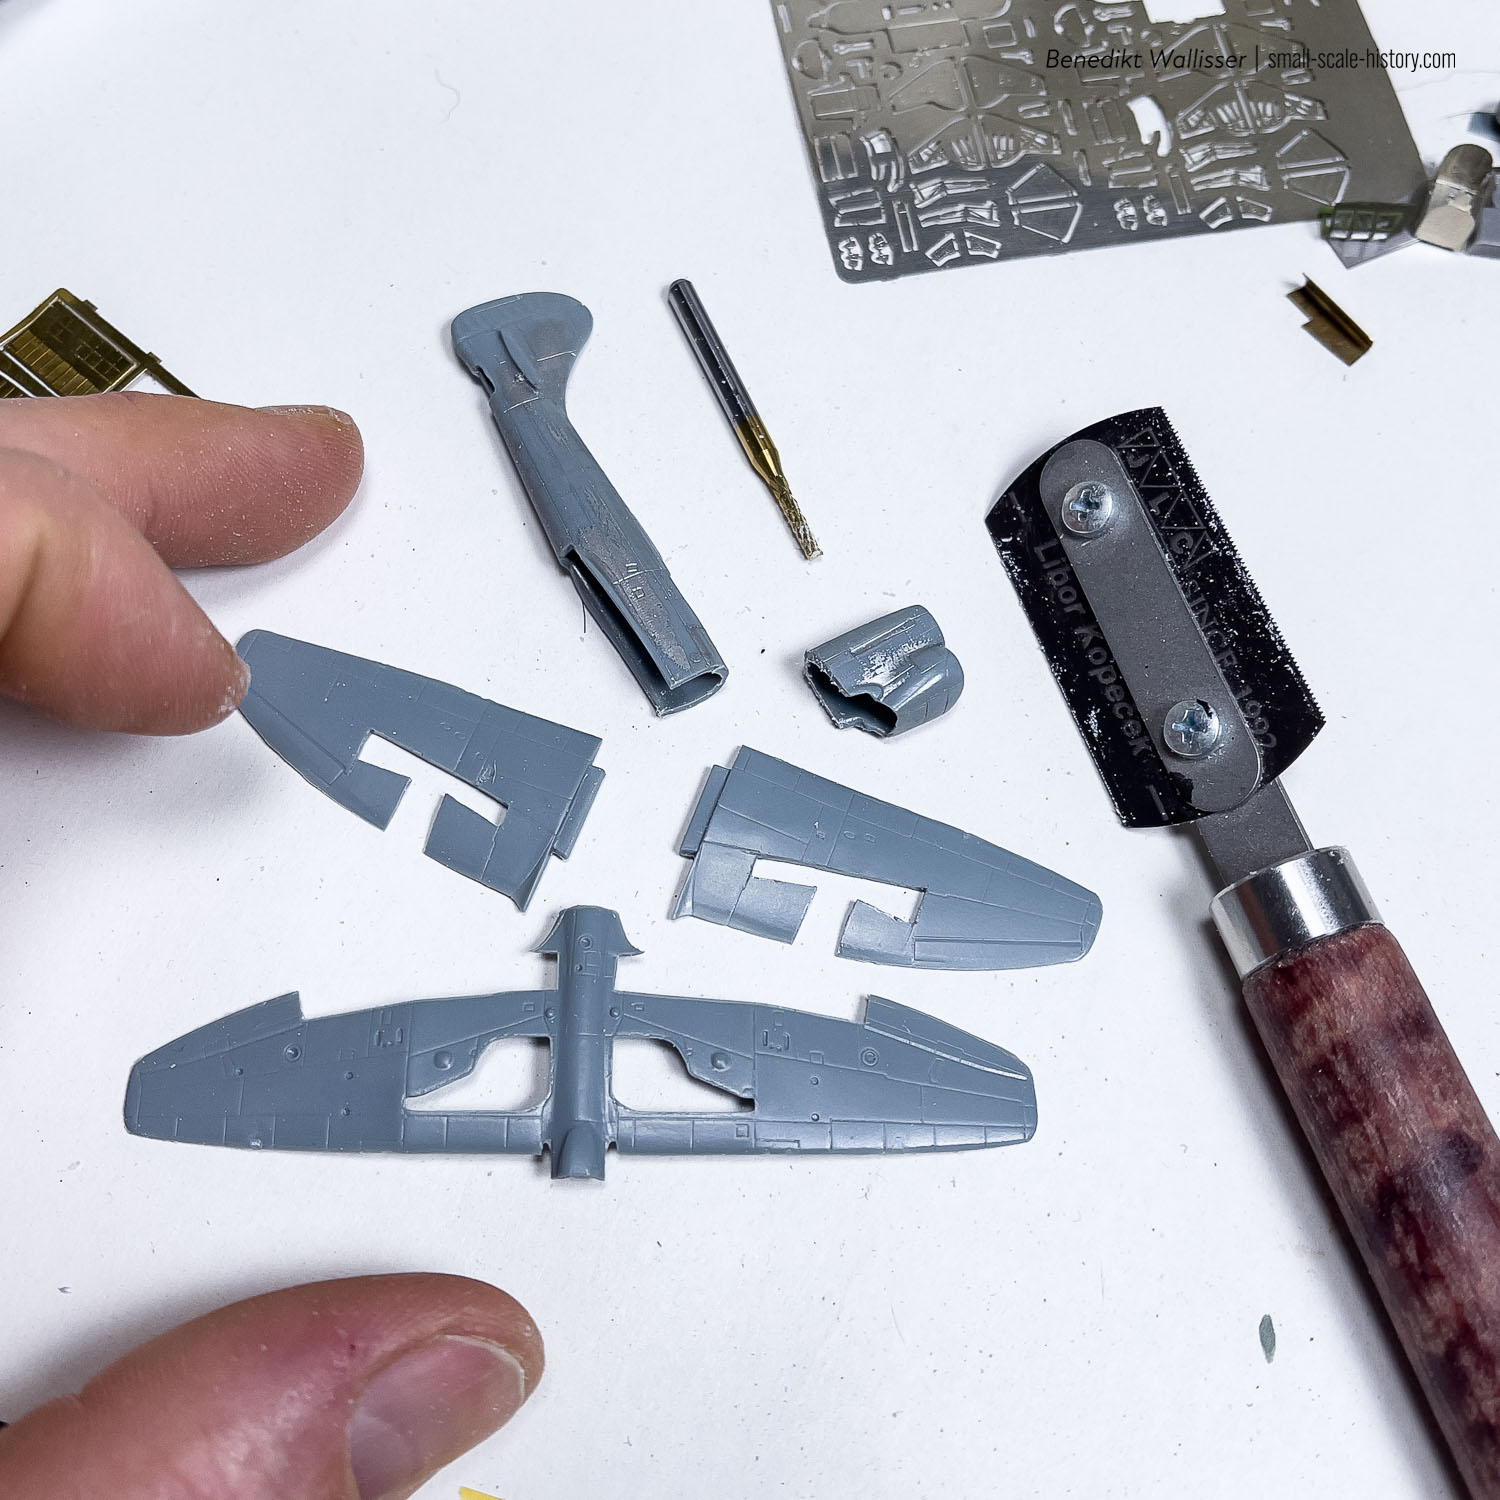
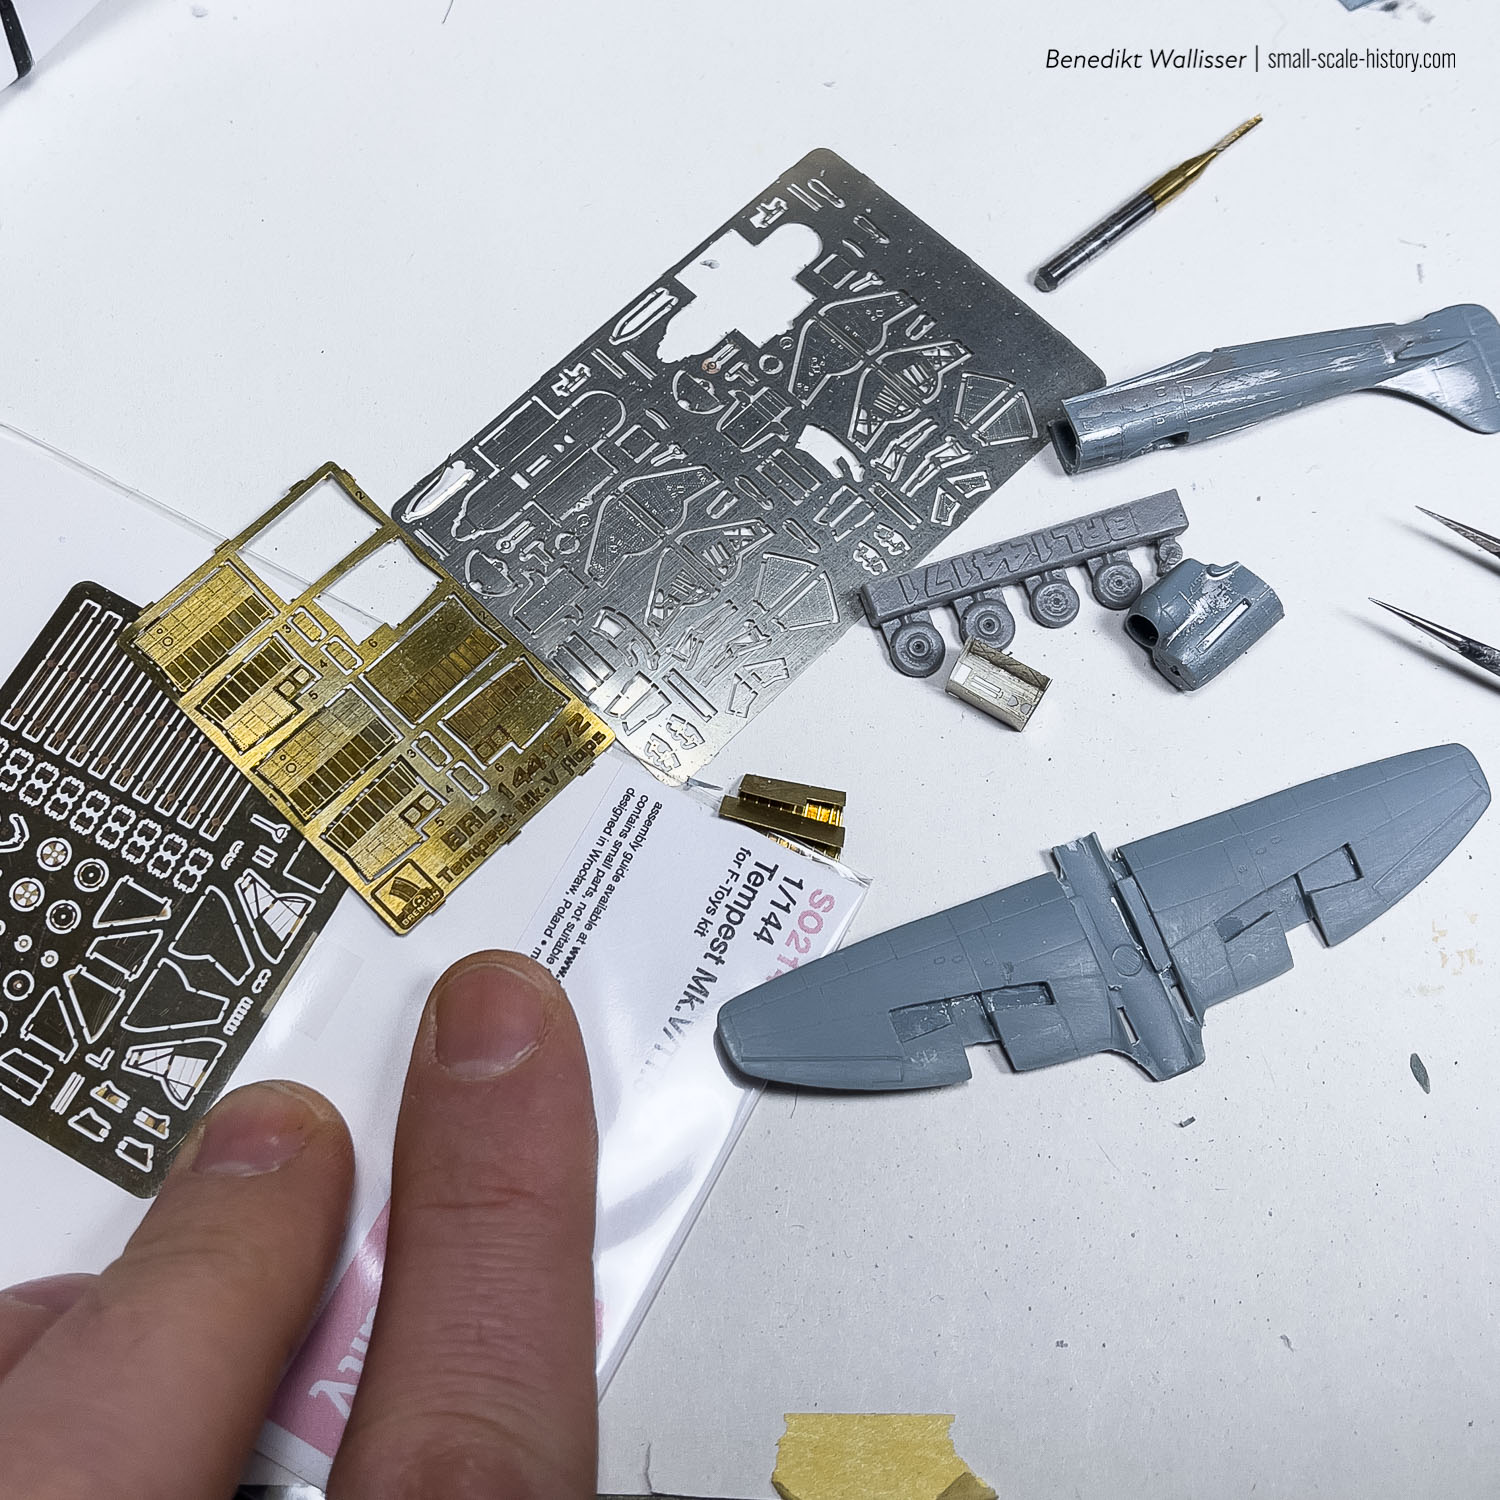
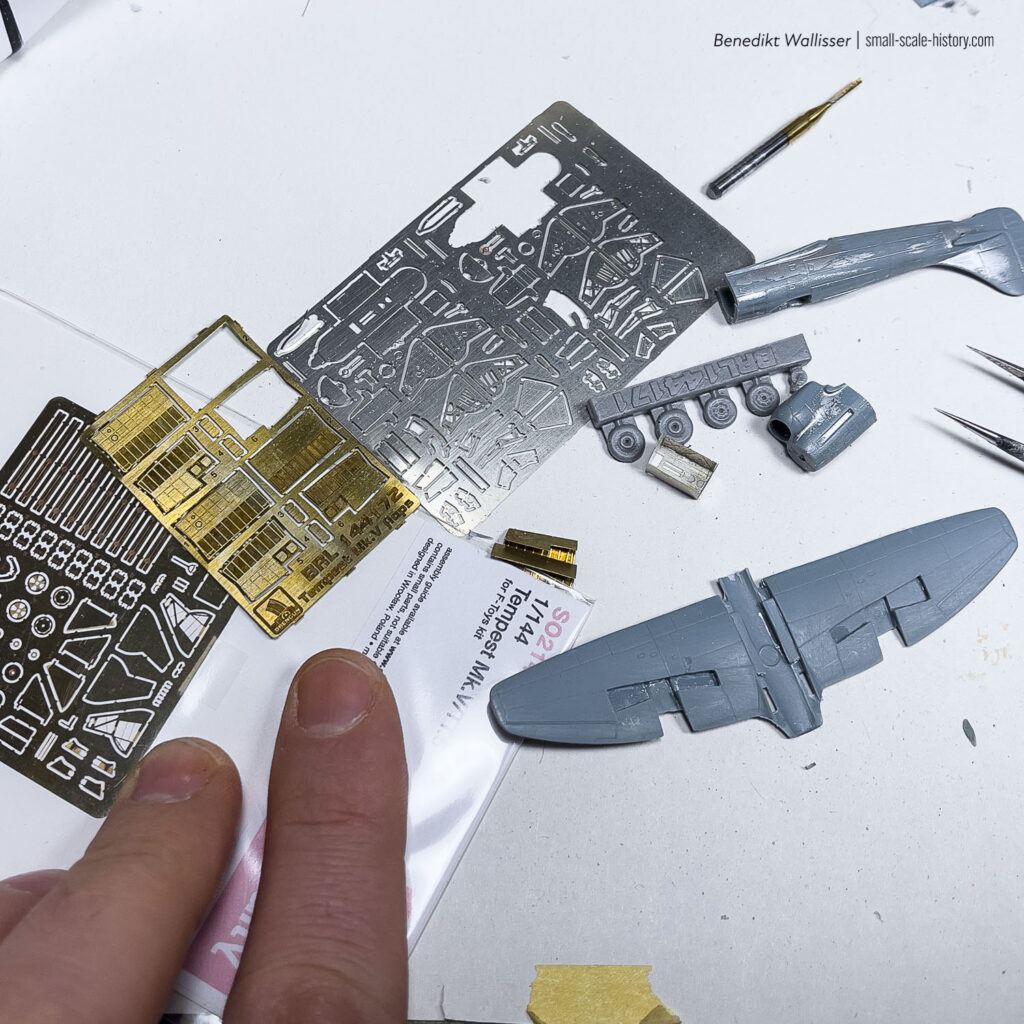
In the pursuit of refining my modeling skills, I embarked on a side project to delve into the intricate world of superdetailing. Seeking a respite from long-term projects, I chose the Mark 1 Hawker Tempest Mk.V kit in 1/144 scale as my canvas. With the assistance of photo-etched parts from Shelf Oddity and Brengun, as well as my own scratch-built engine, I aimed to transform this kit into a super detailed, clean, and shiny post-war RAF aircraft.
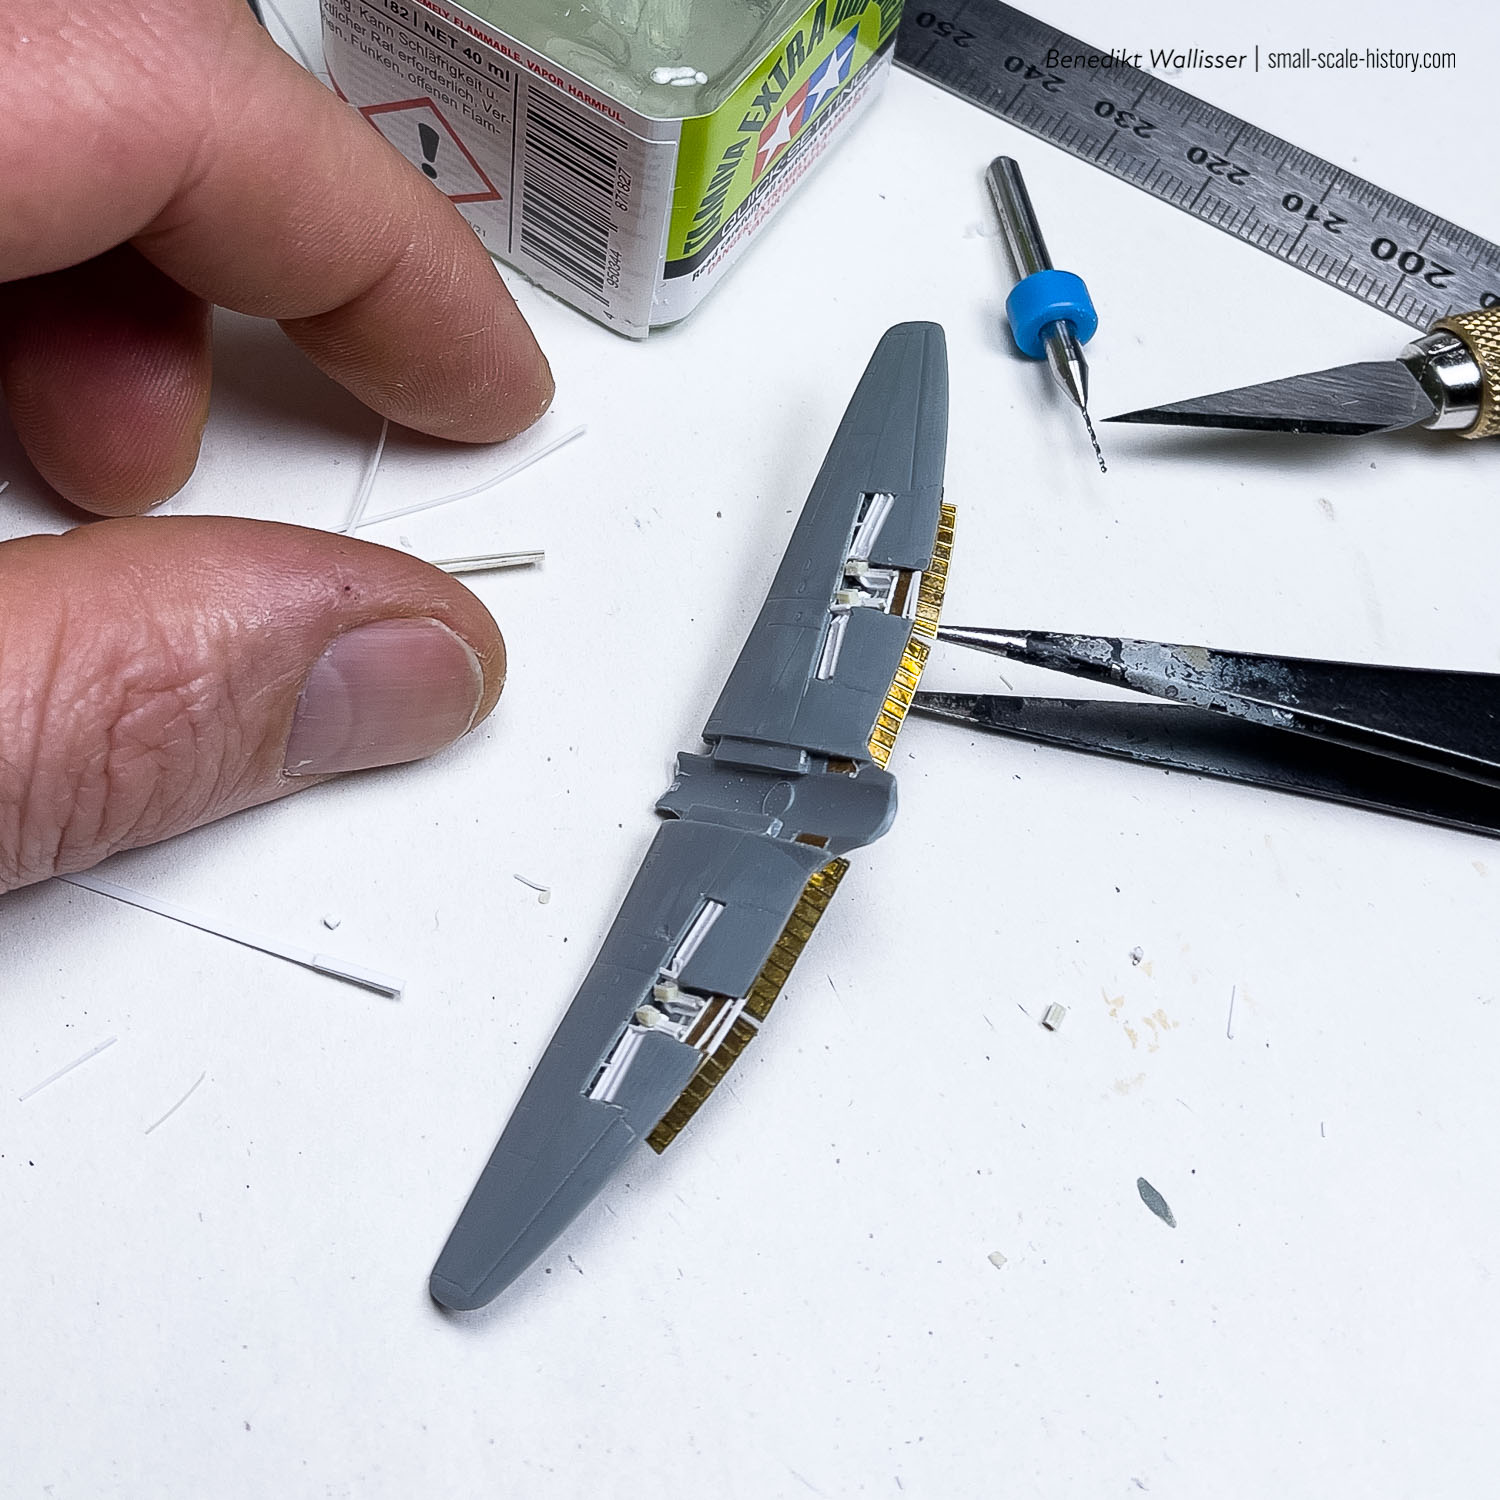
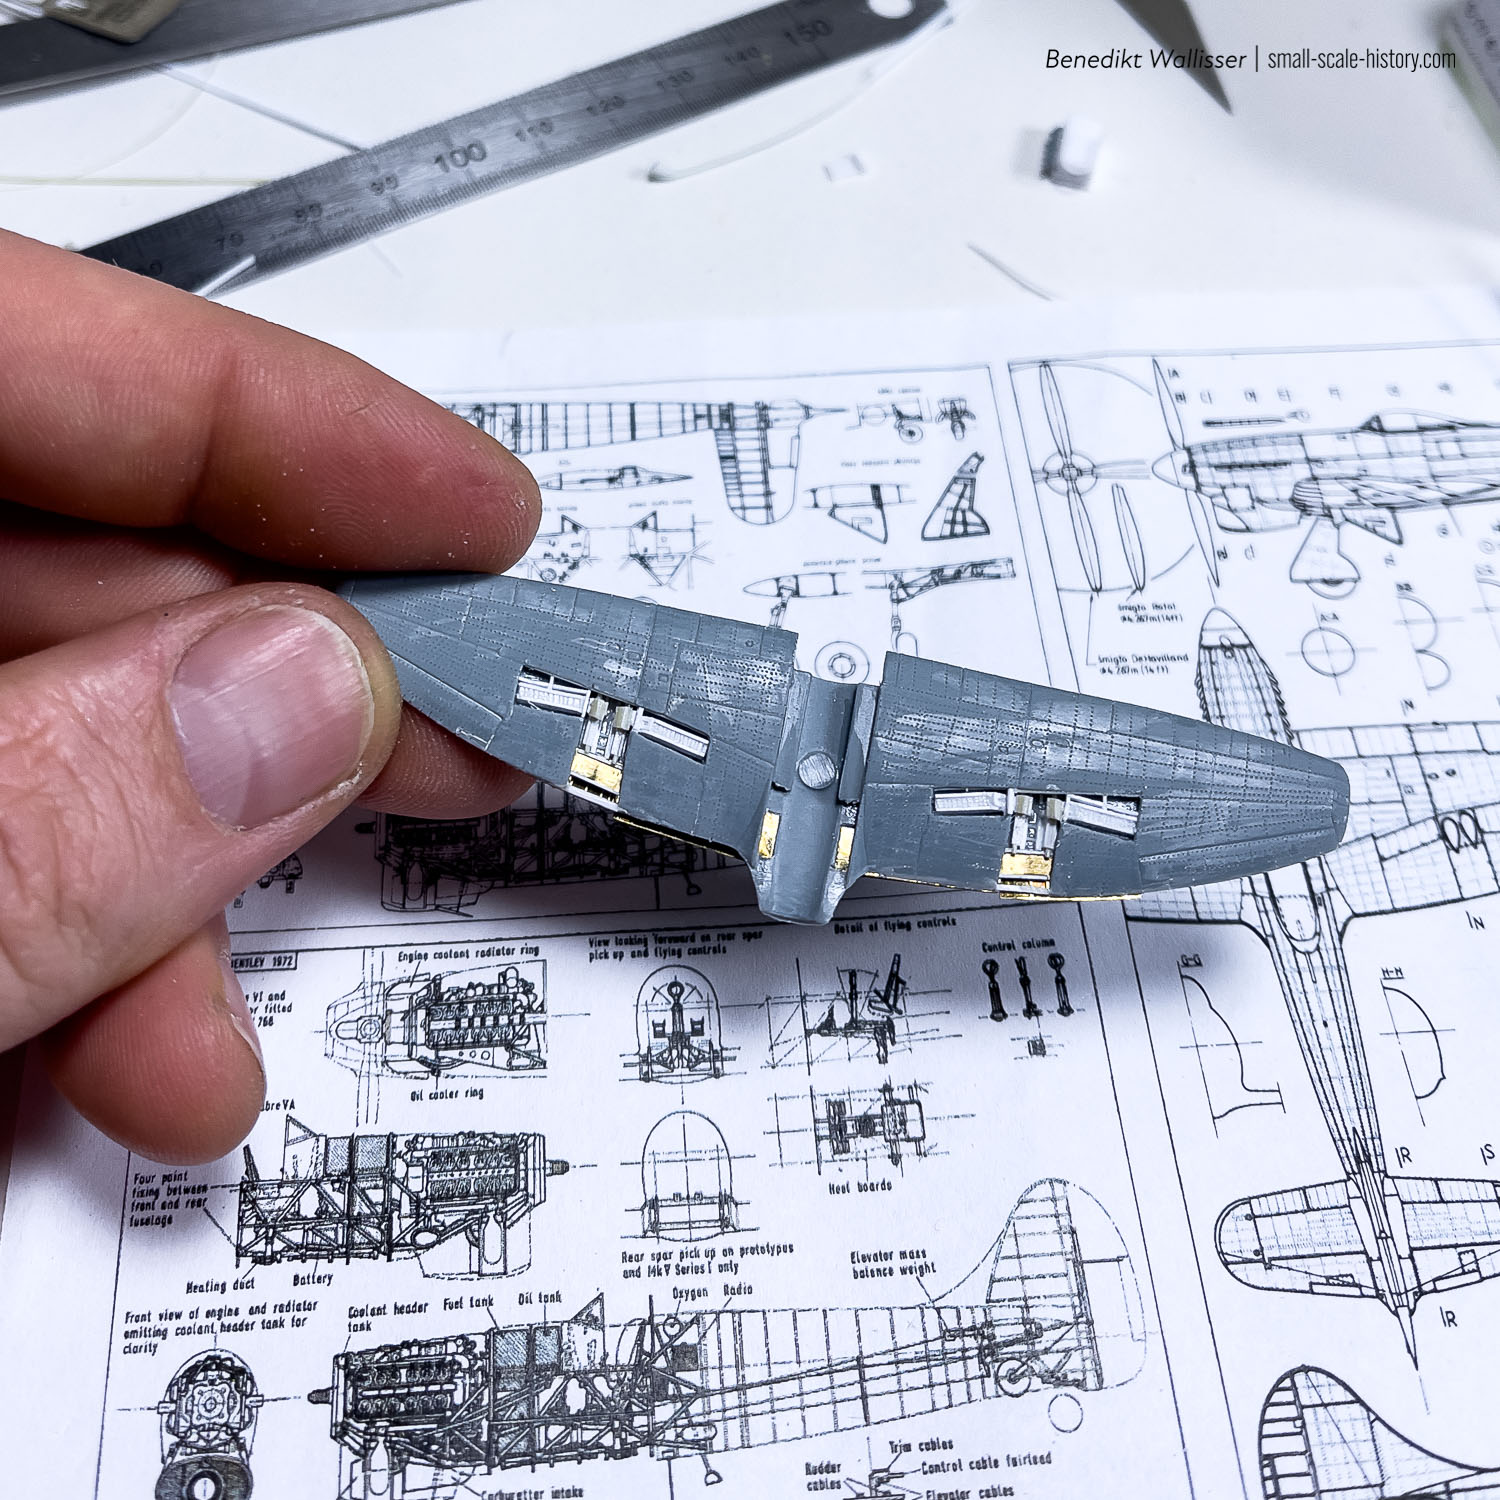
The wings
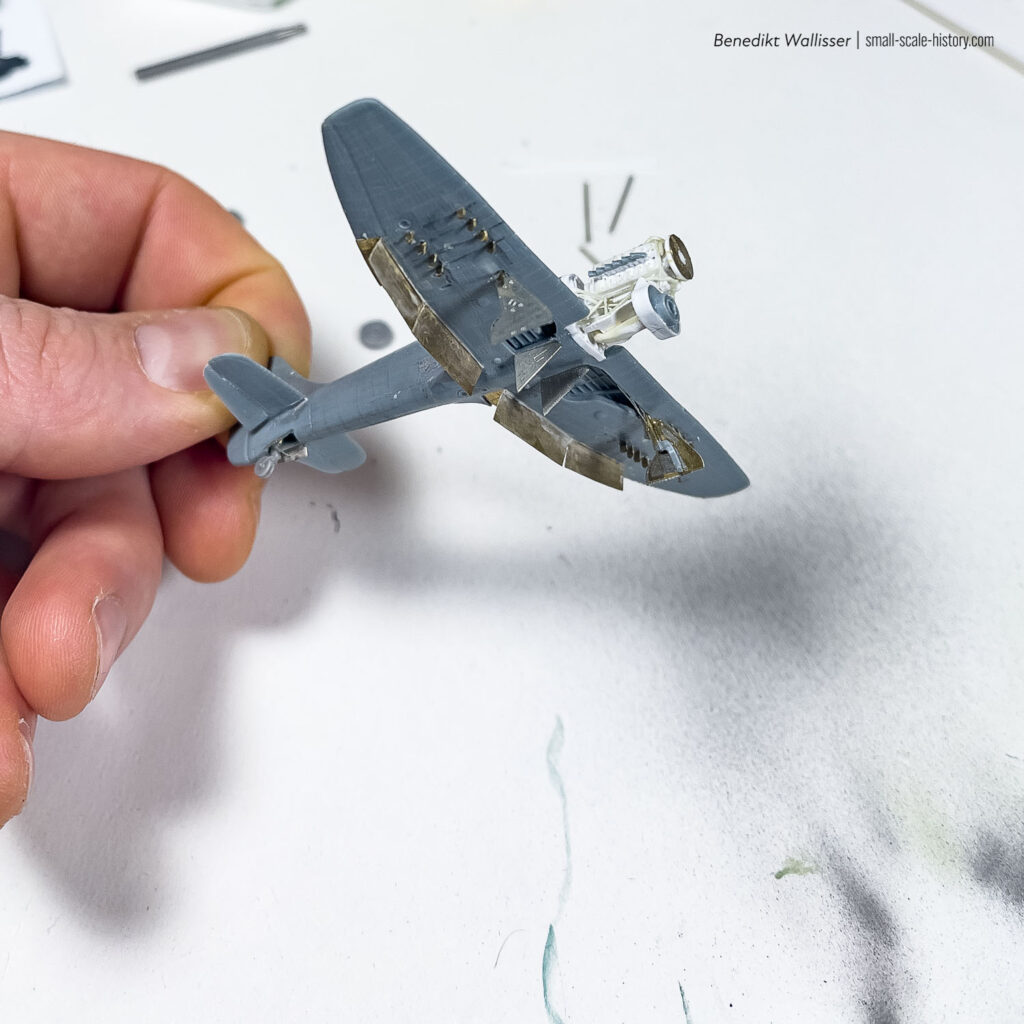
Once I had carefully milled out the necessary spaces using my trusty Dremel, I began constructing the weapon bays. Opting to craft all the gun bay interior parts from styrene profiles and stretched sprues, I found that my decision to forgo metal components significantly expedited my progress. Styrene proved remarkably easy to cut, sand, carve, and glue together, making the process akin to assembling a kit.
Adding rivets with a rivet wheel and seamlessly integrating the Brengun flaps into the design added further depth and authenticity to the wings.
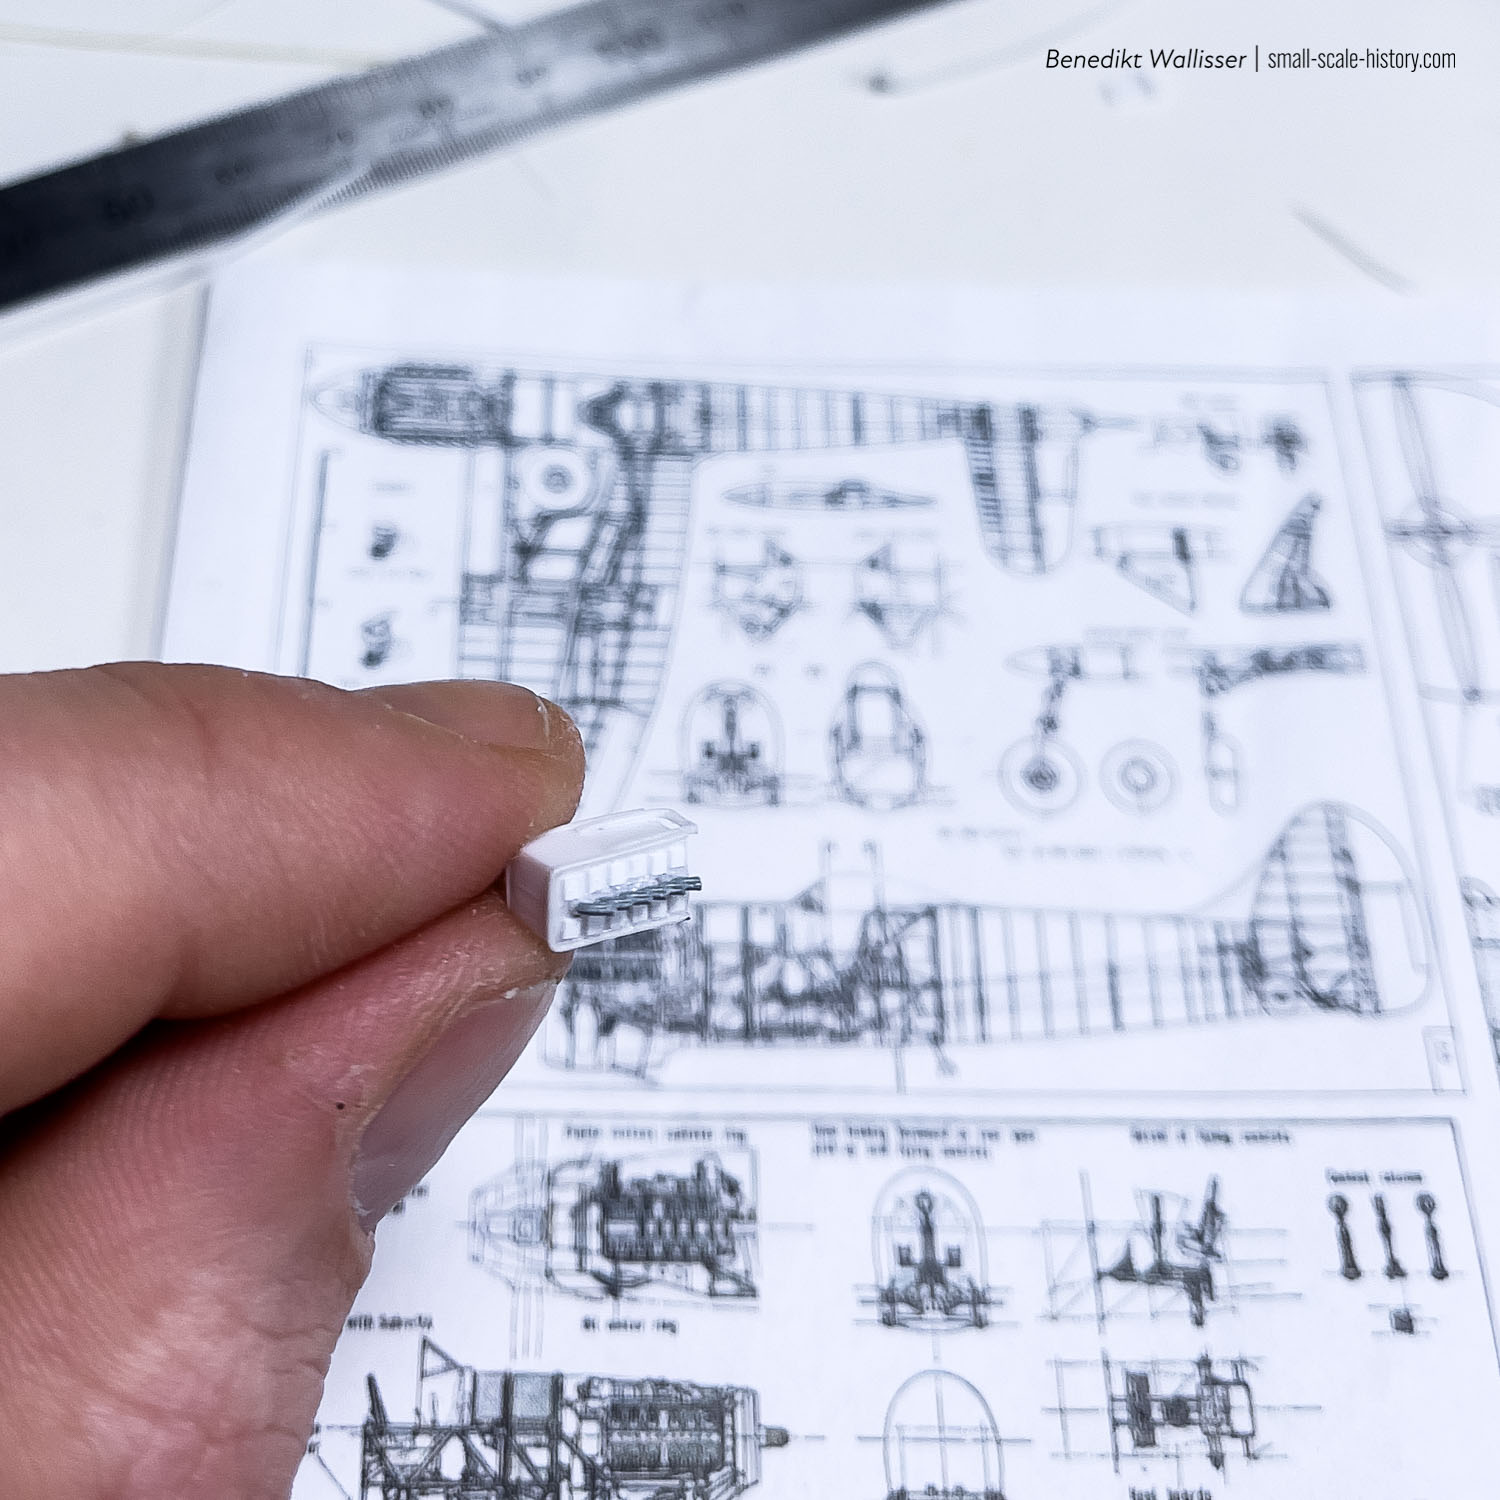
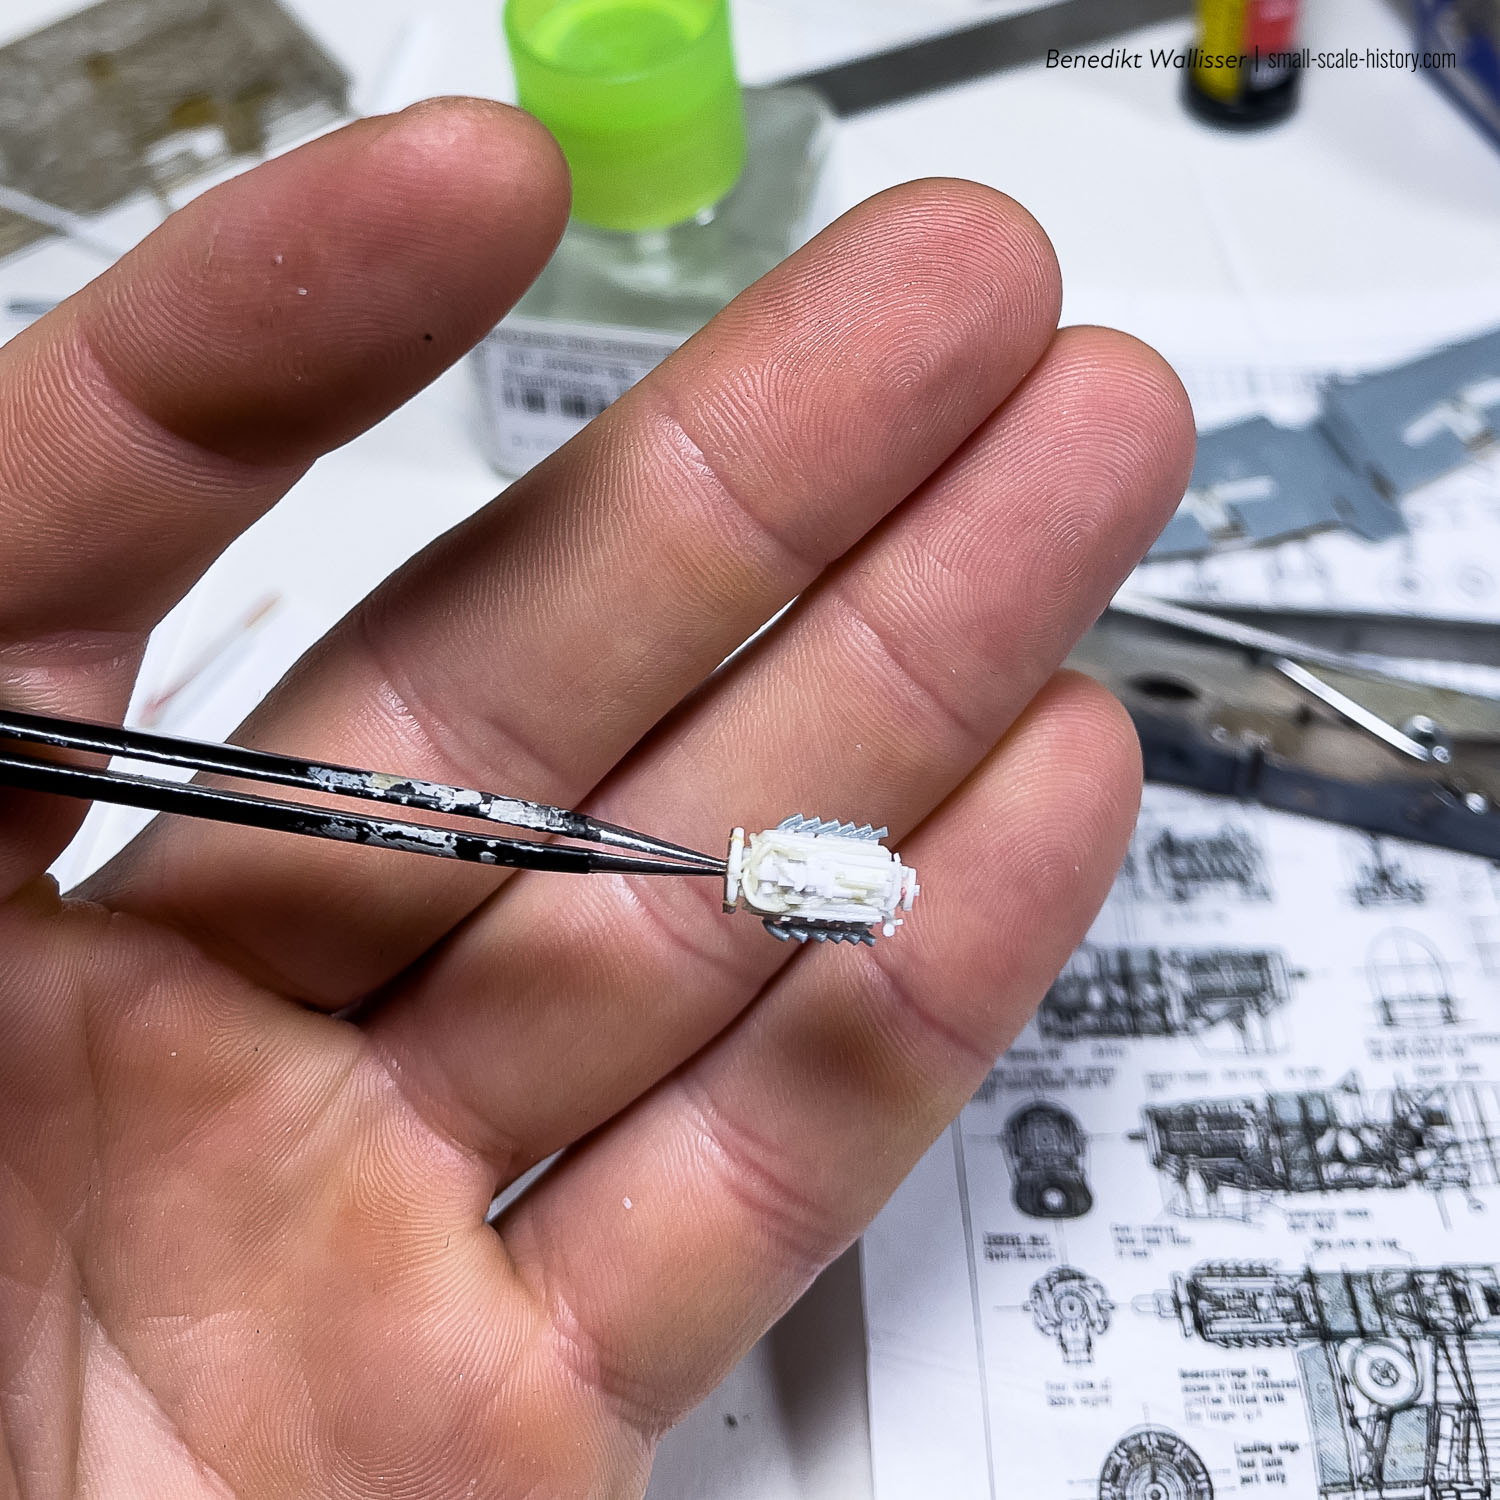
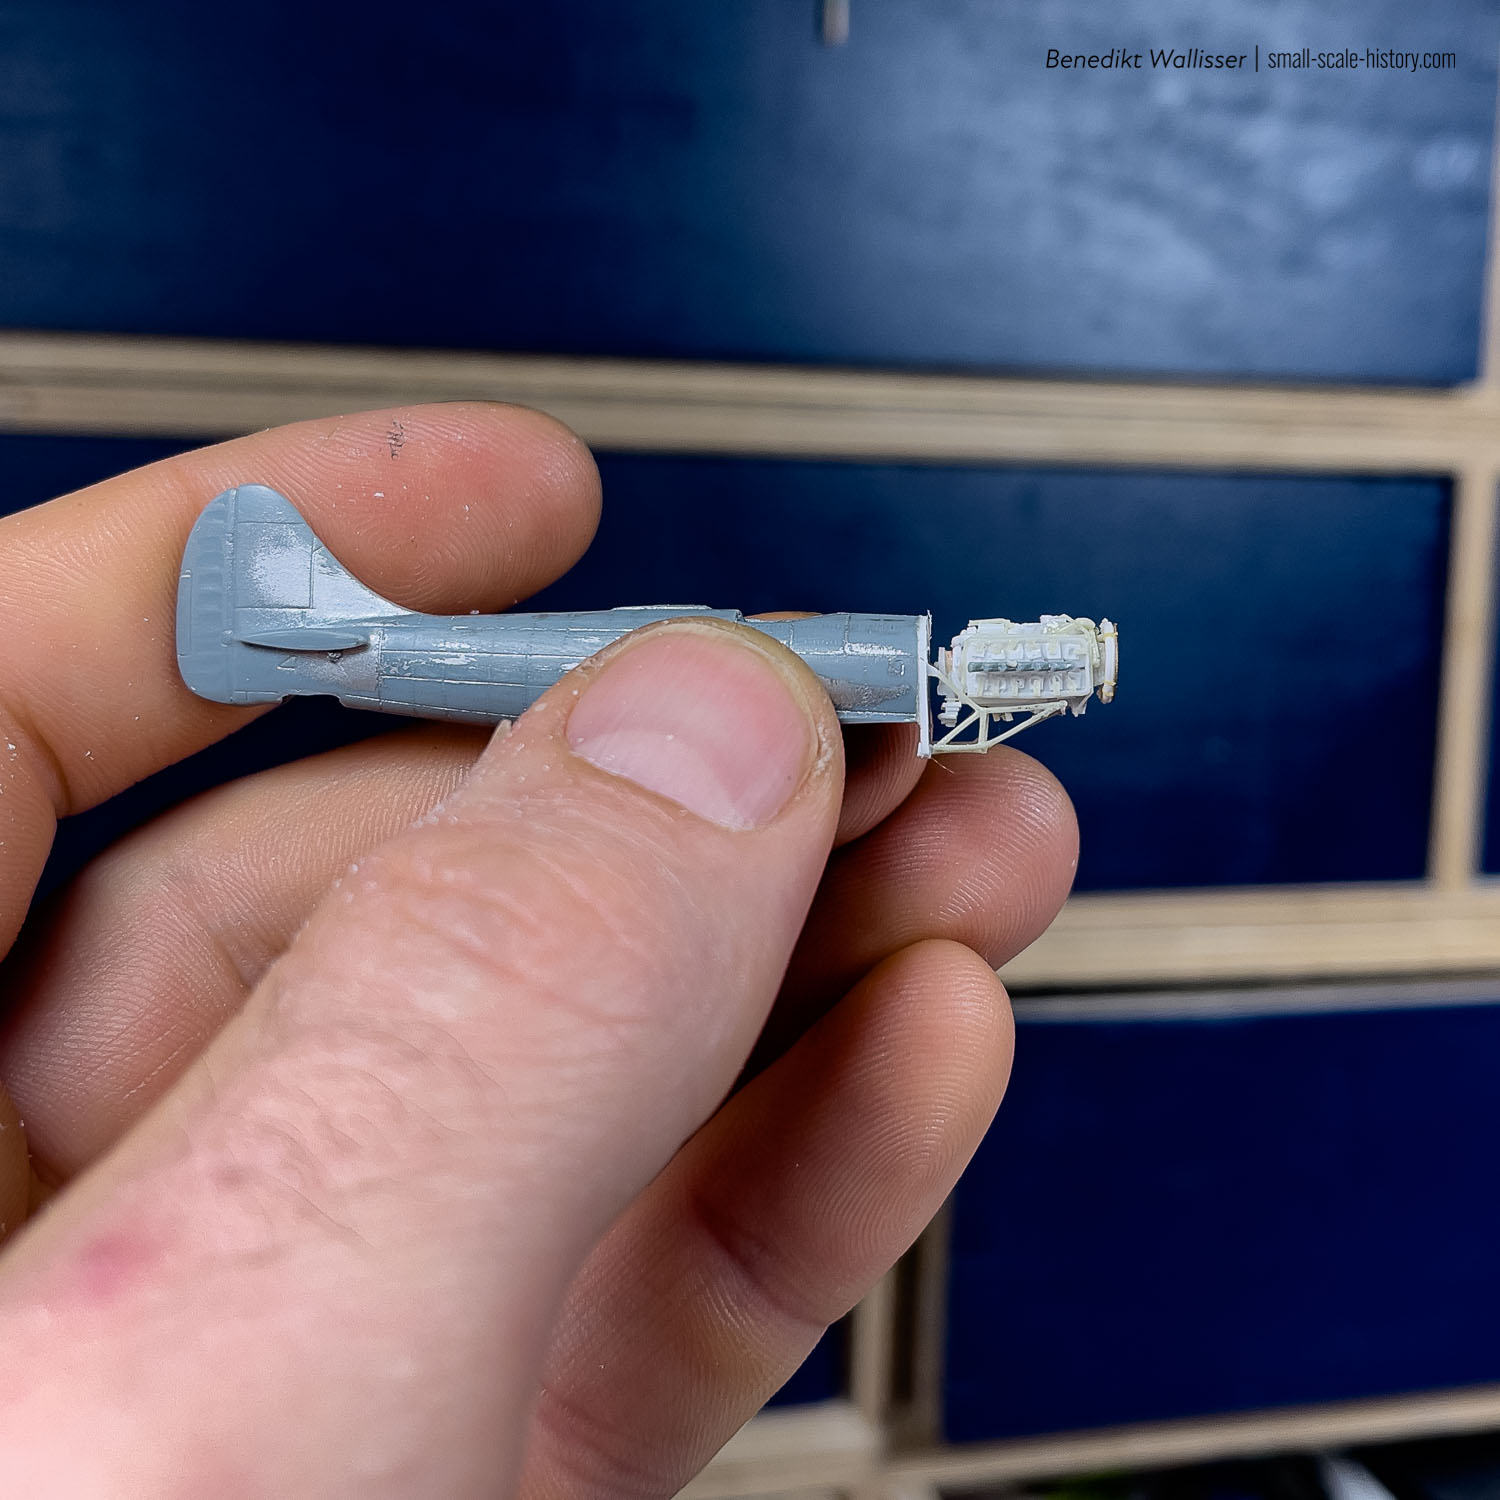
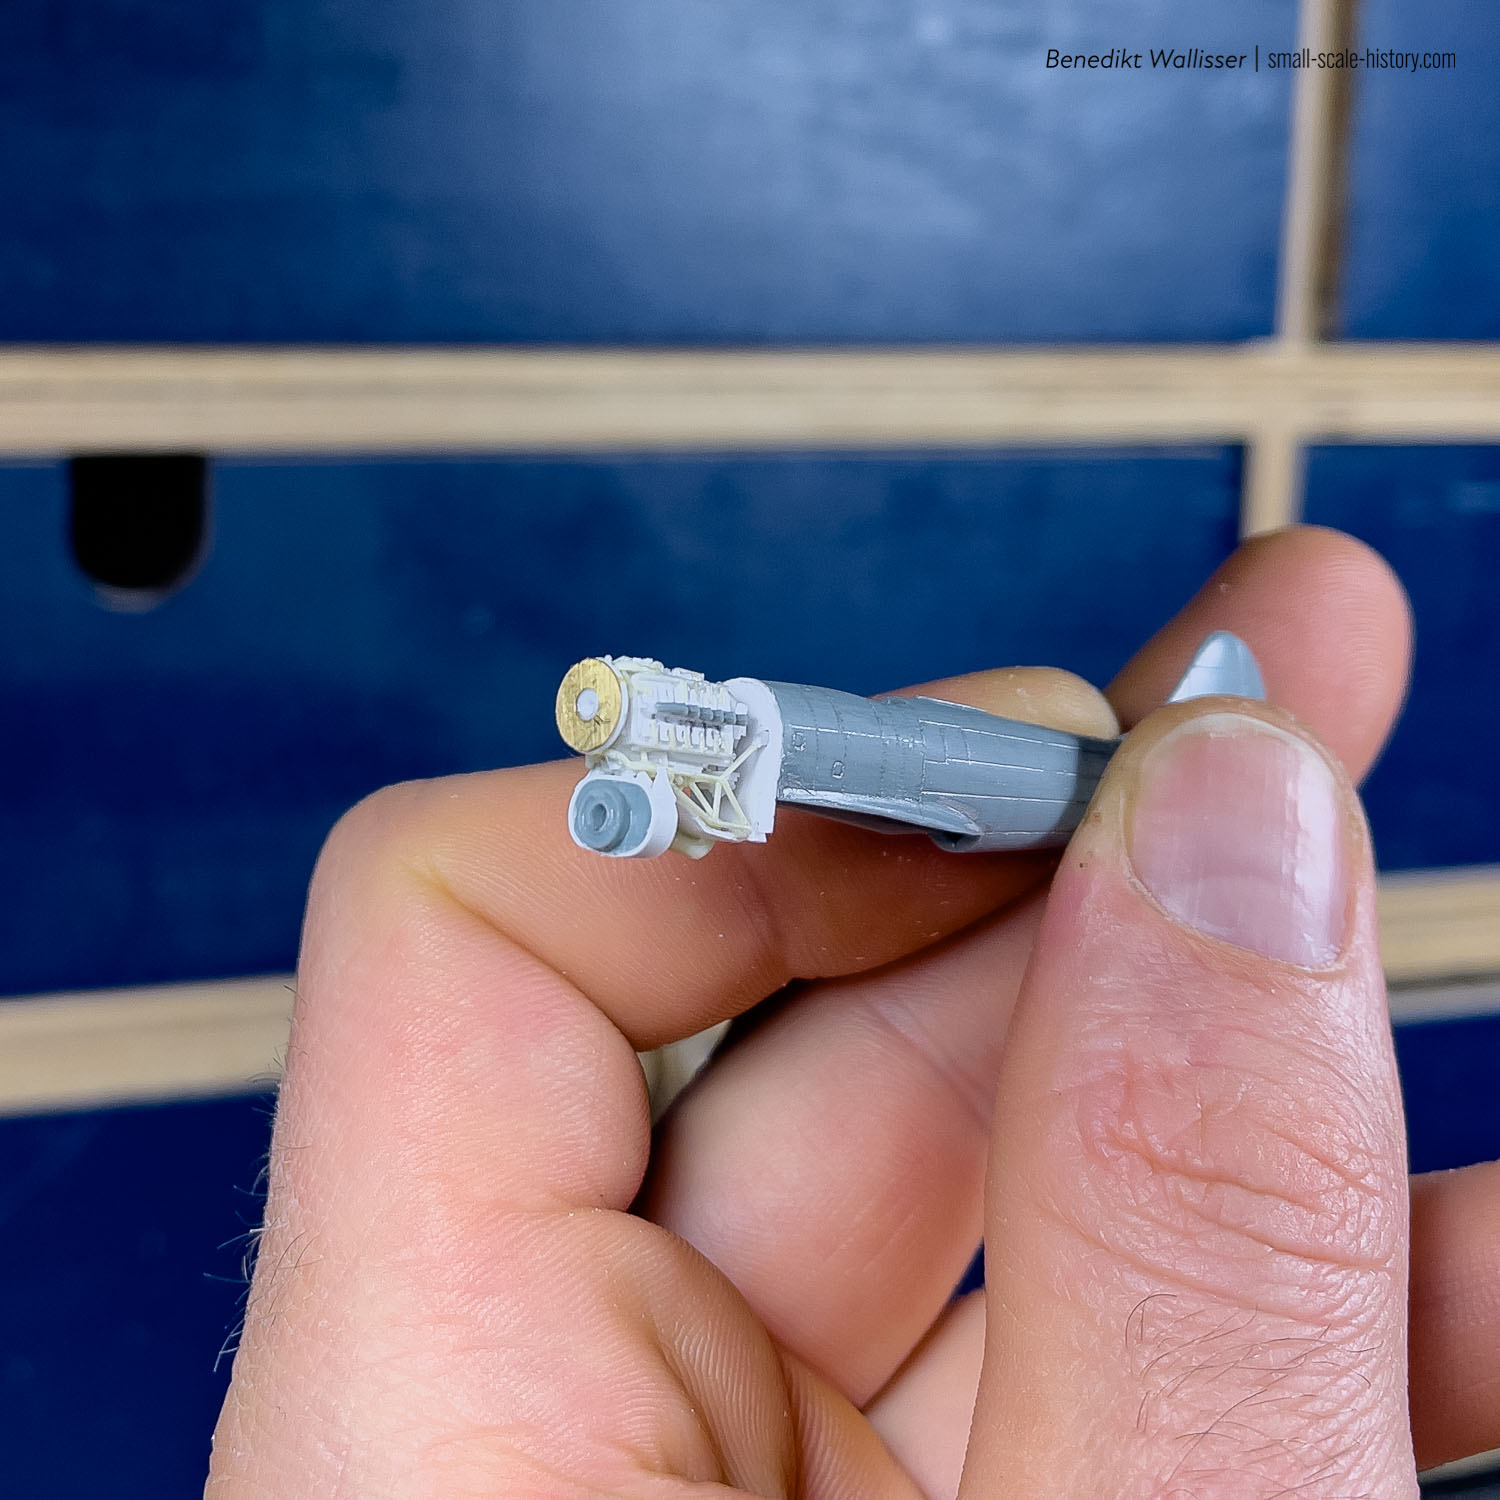
Scratchbuilding the Napier Sabre Engine and Gun Bays
During the assembly process, I came across the Sun Details engine set for the kit. However, unaware of its existence, I took on the challenge of scratch-building the engine myself. Utilizing various components from the kit, such as the exhaust pipes and oil cooler, I crafted the rest of the engine using styrene sheets, profiles, and stretched sprues. Detailed drawings and the instruction manual provided by Eduard's 1/48 Brassin set proved invaluable resources, simplifying the task and ensuring accuracy.
Crafting the motor mount entirely from stretched sprues and fashioning the firewall from styrene sheets and profiles completed the legendary Napier Sabre Engine.
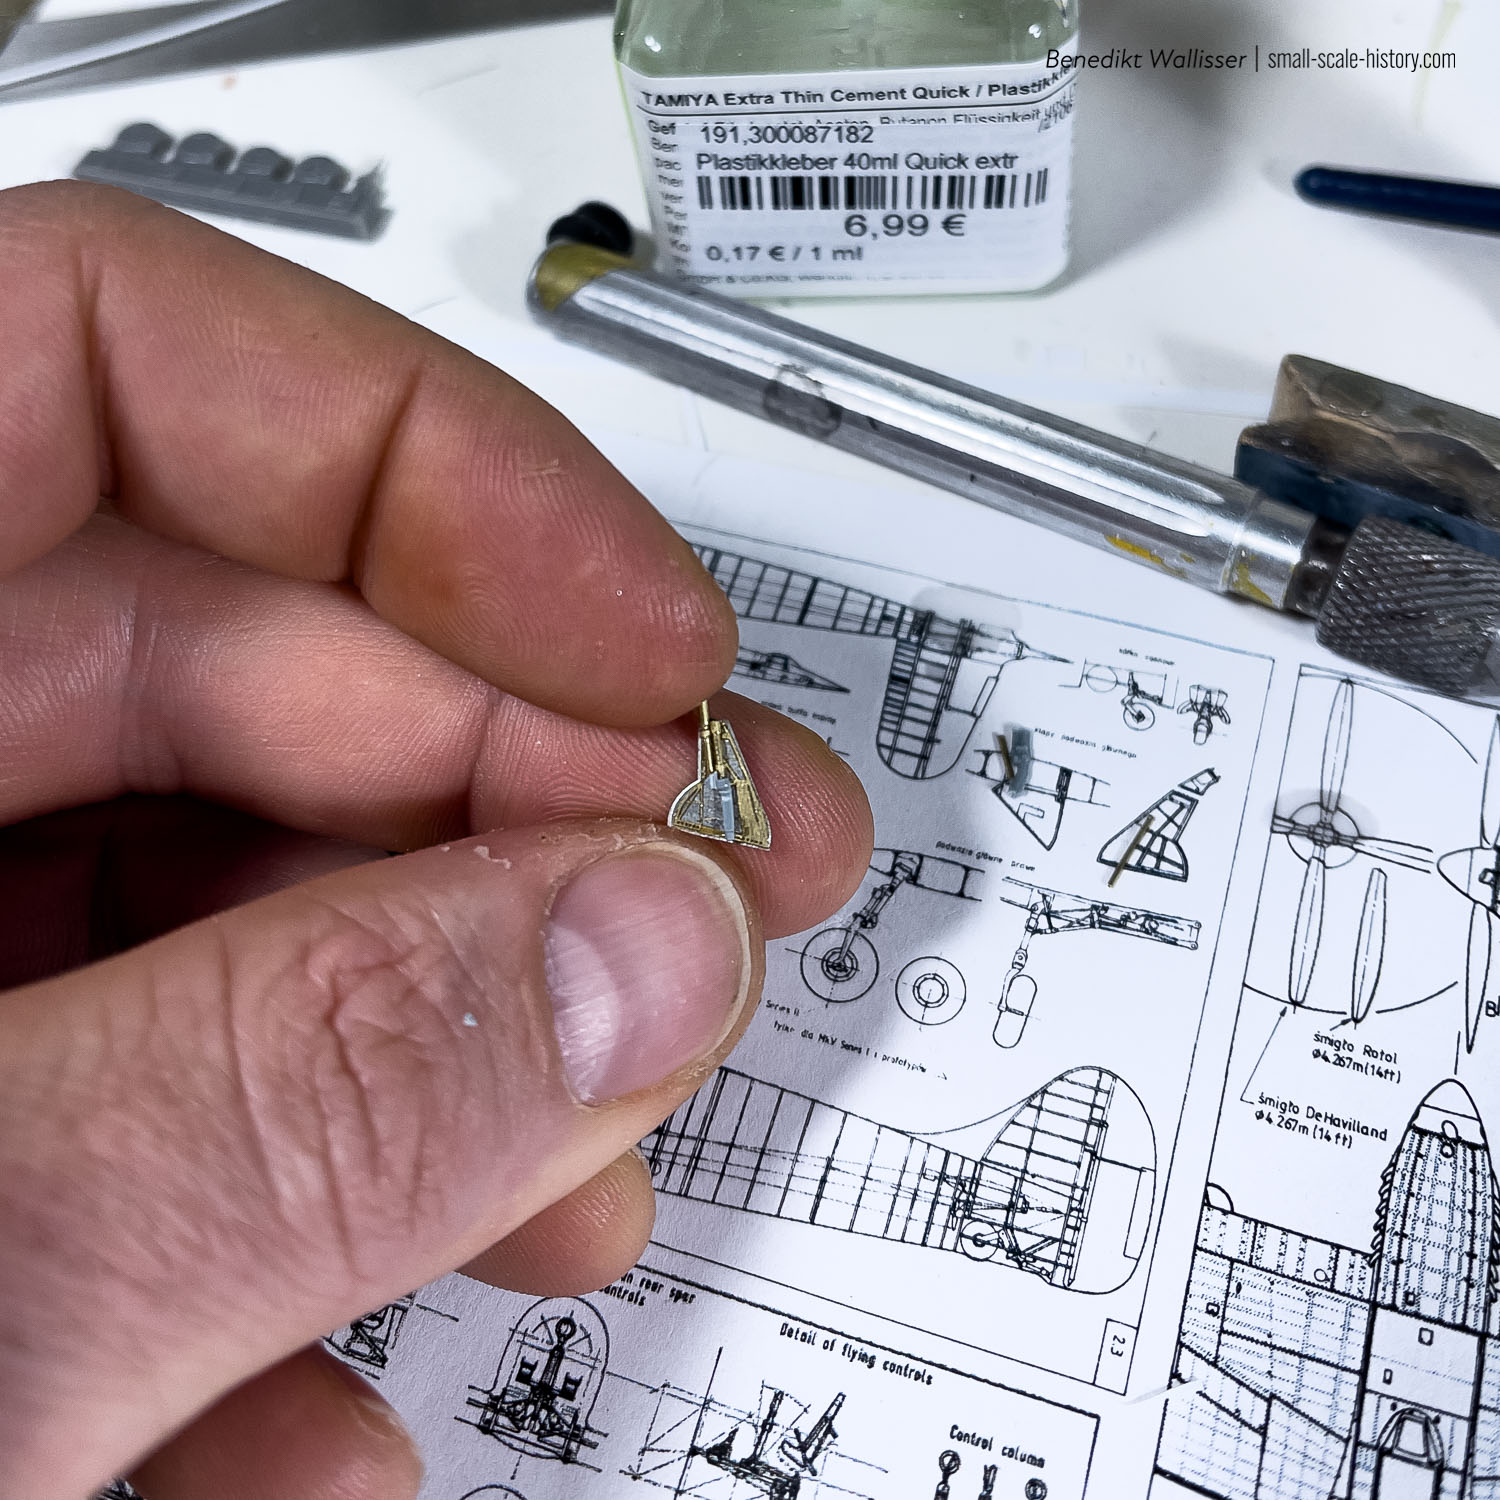
Main Landing Gear
While the top-notch landing gear doors complemented the kit perfectly, the landing gear legs fell short of expectations. Determined to enhance this aspect, I decided to fashion new legs using telescoping brass rods. This modification not only elevated the overall appearance but also ensured a seamless integration with the rest of the model.
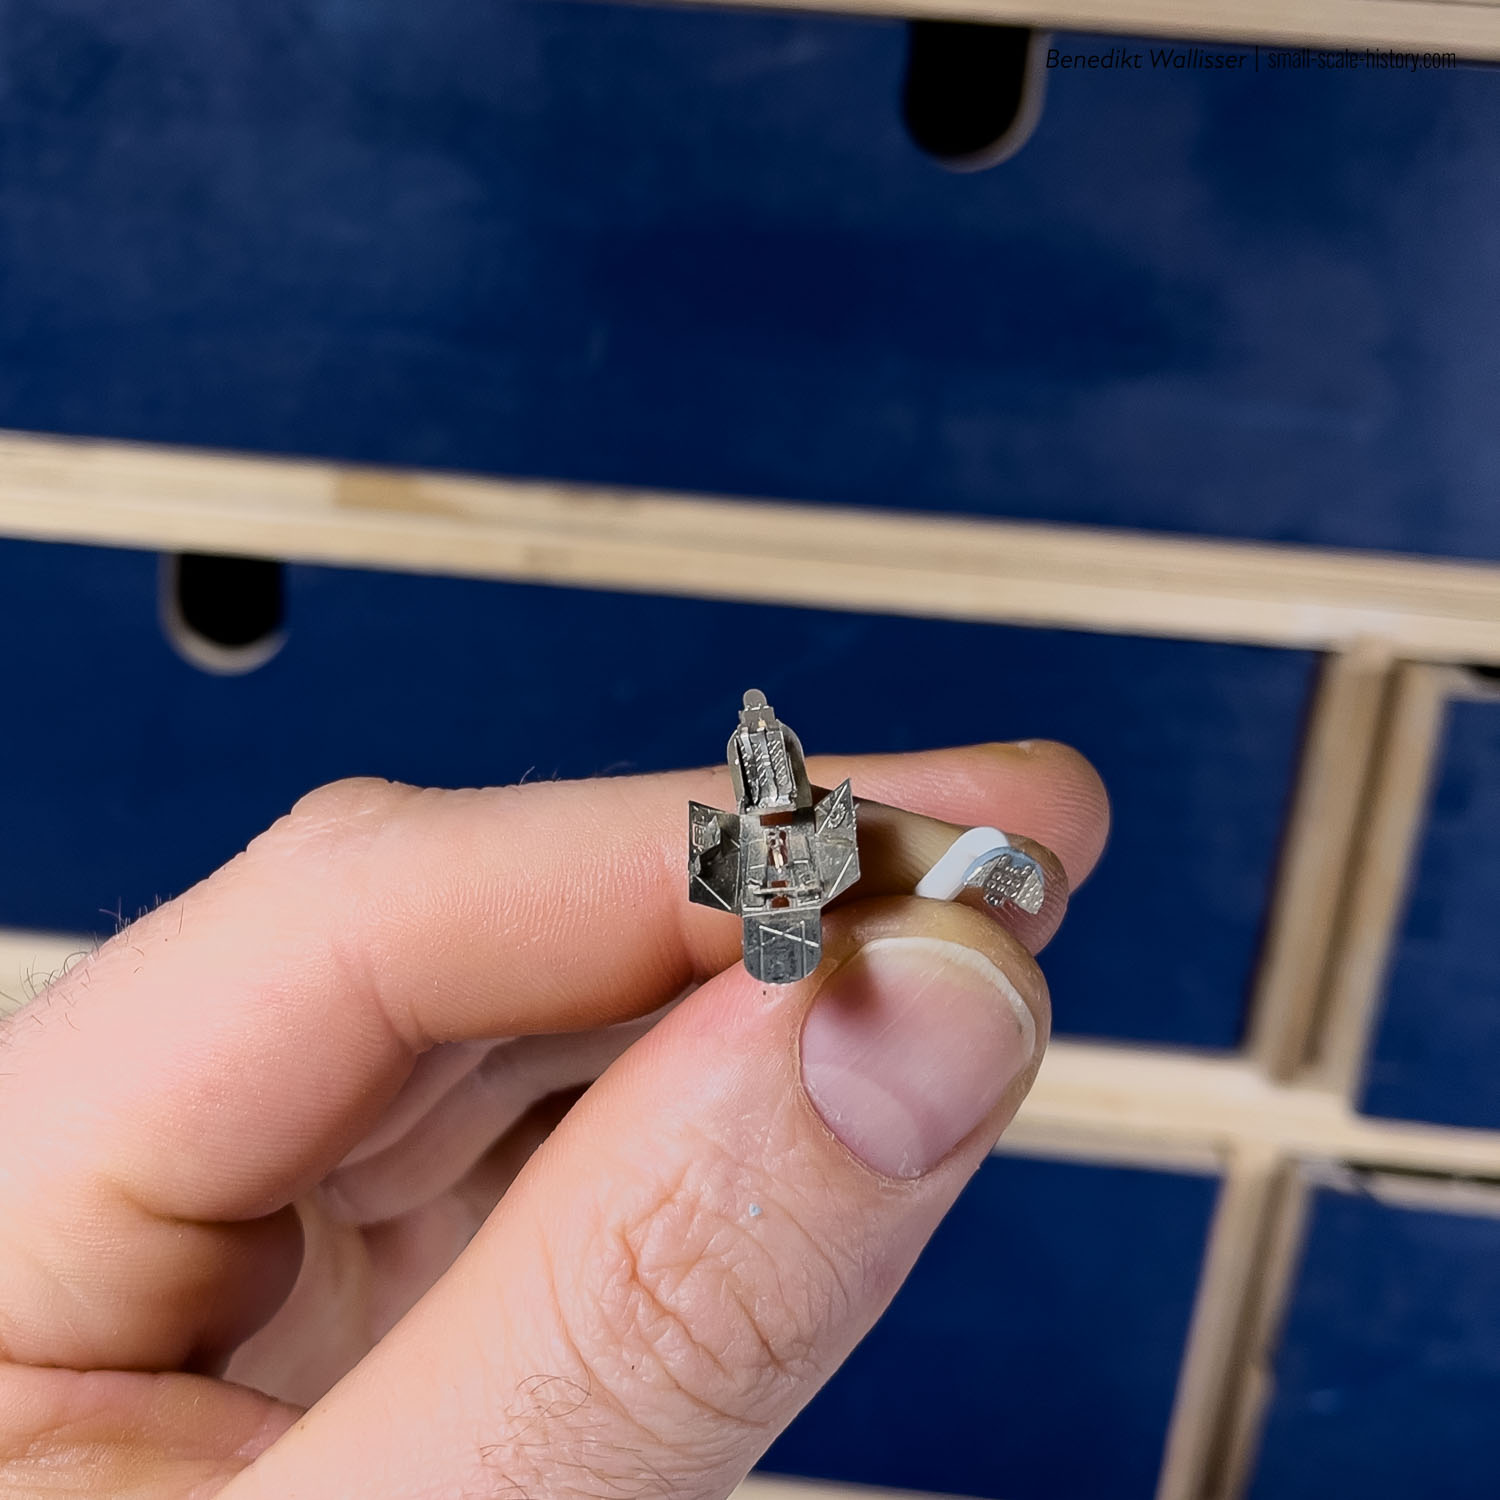
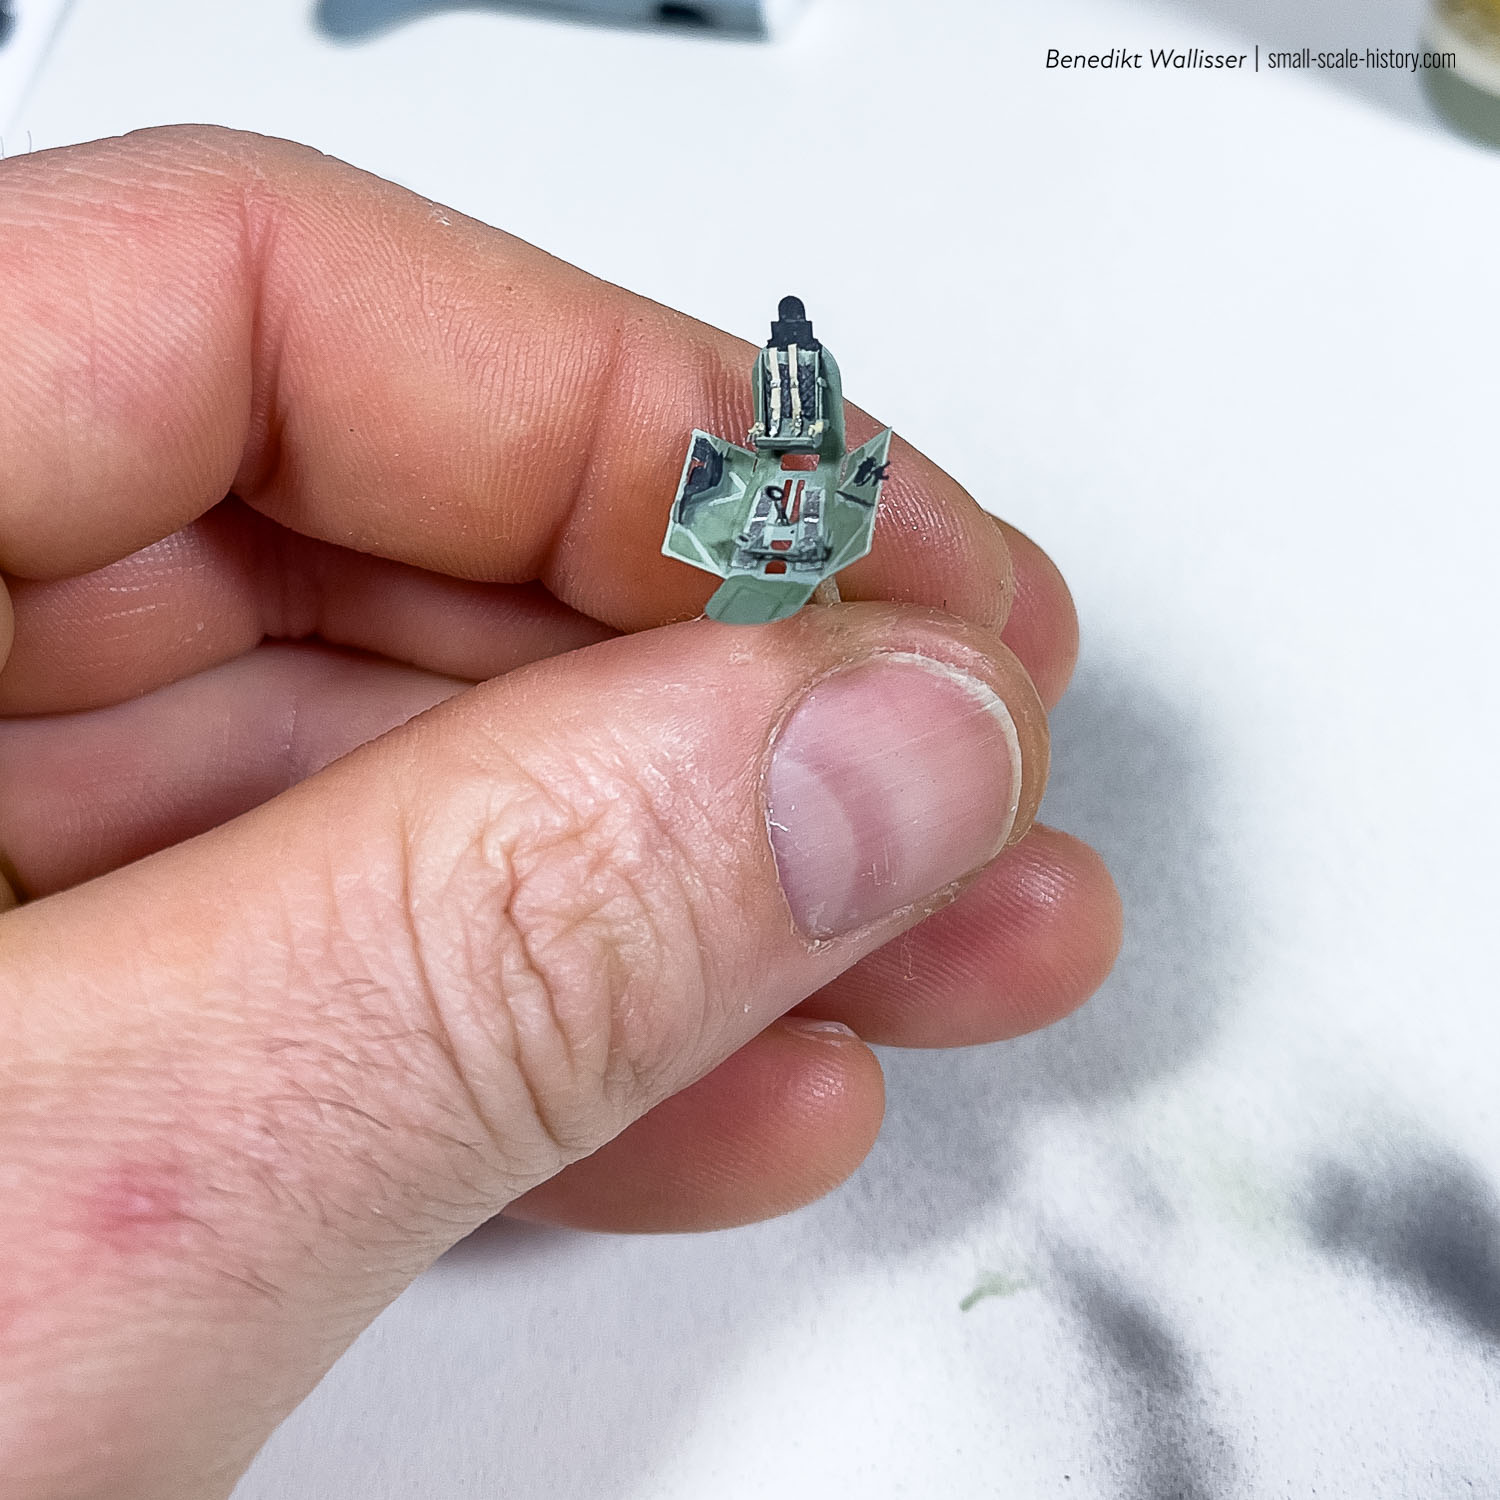
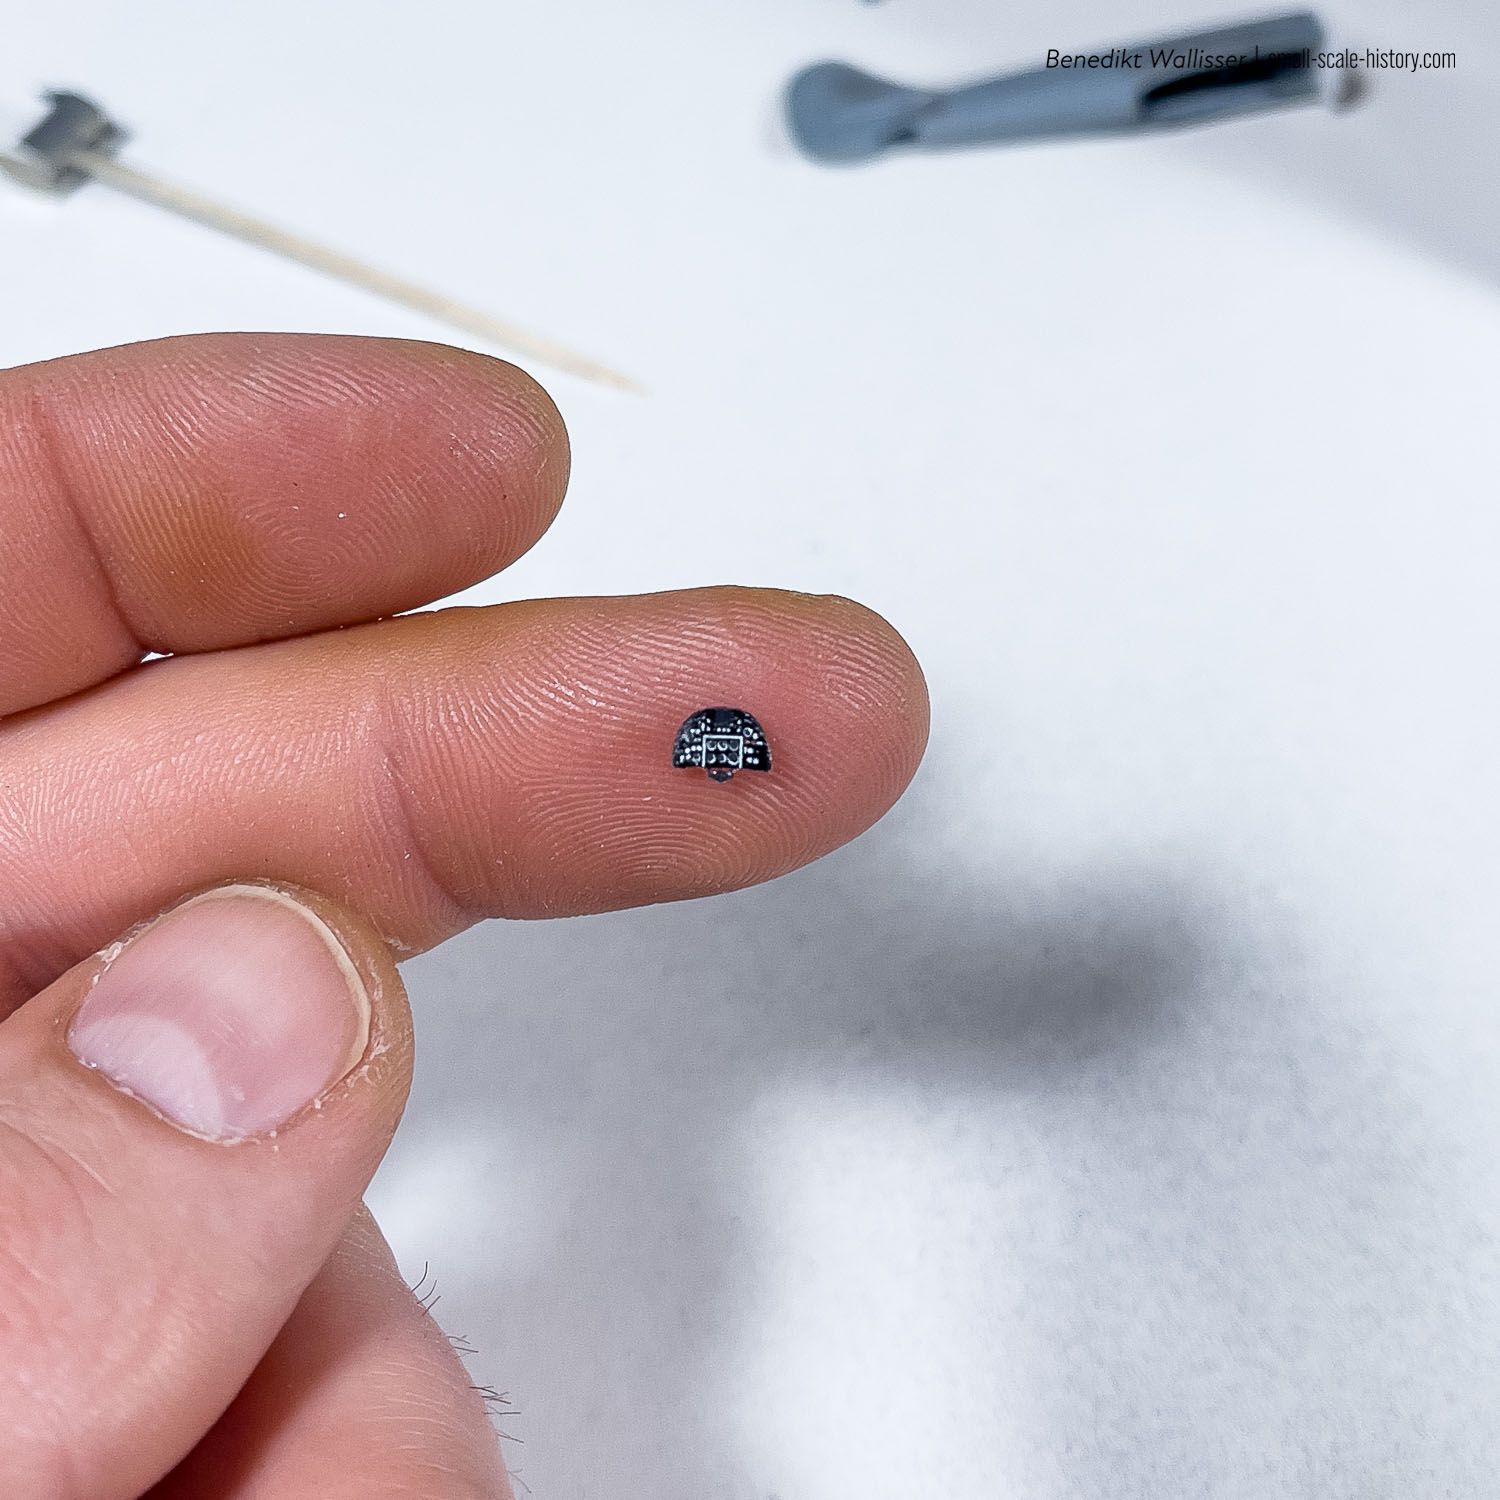
Brengun Photo-Etched Cockpit
For the cockpit, I relied entirely on the meticulously detailed Brengun PE parts. Their impeccable quality and precise fit posed no significant challenges during assembly. Applying Vallejo acrylic paints and adding oil accents brought the cockpit to life, setting the stage for the final stage of construction.

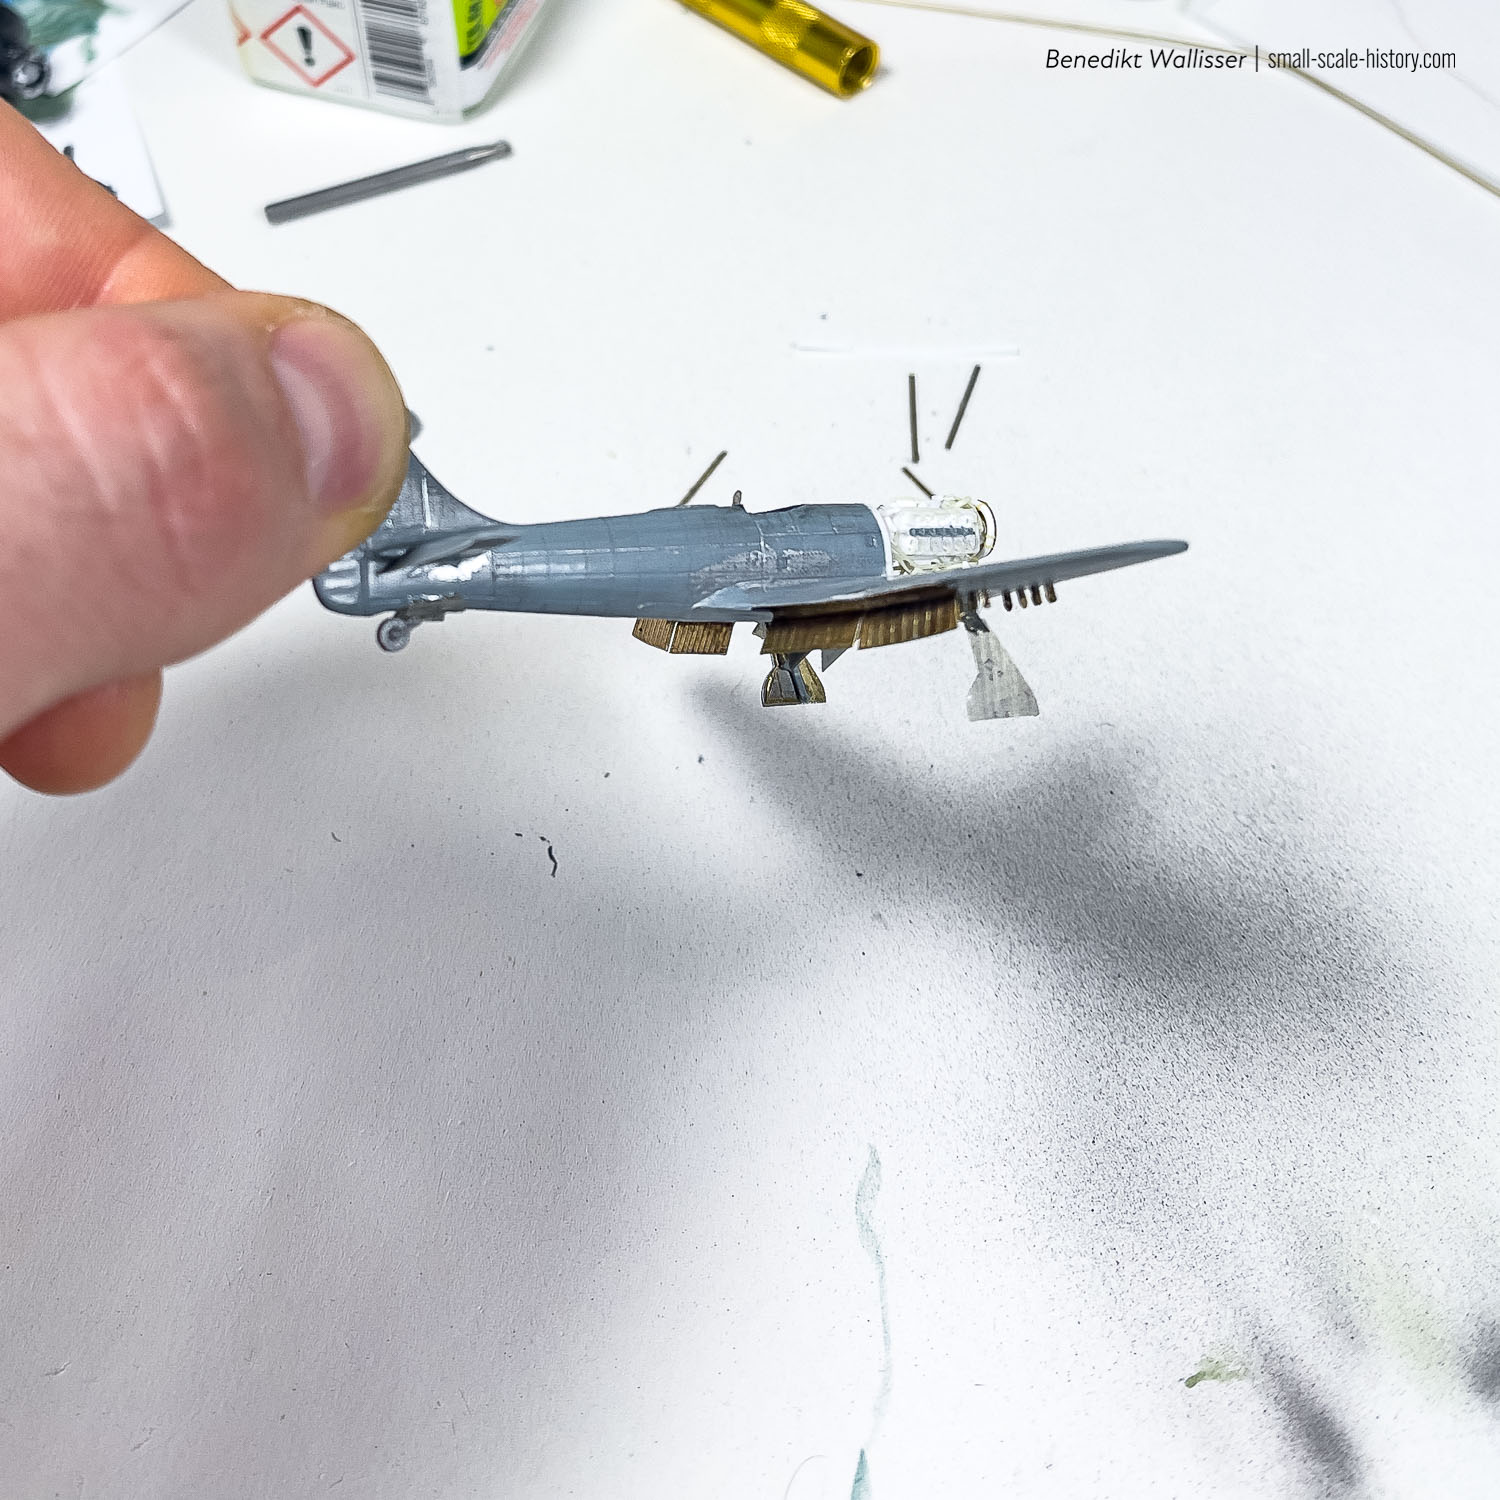

Final Assembly
The wing joint seamlessly merged with the fuselage, requiring minimal putty work to achieve a smooth finish. To enhance the model's versatility, I added the rocket mounts from the Shelf Oddity PE fret and installed the missing landing gear doors.
Finally, the Hawker Tempest emerged, ready to receive a lustrous coat of High-Speed Silver, a testament to the countless hours of meticulous craftsmanship and attention to detail invested in this superdetailing endeavor.
Conclusion:
Superdetailing a 1/144 scale model aircraft is a labor of love that demands patience, precision, and an unwavering commitment to capturing the essence of the real aircraft. Through the integration of Shelf Oddity and Brengun photo-etched parts, as well as scratch-built elements, I was able to elevate the 1/144 scale Mark I Hawker Tempest Mk.V to new heights of realism. The journey was both challenging and rewarding, resulting in a model that perfectly endorses my collection of 1/144 RAF post-war aircraft.
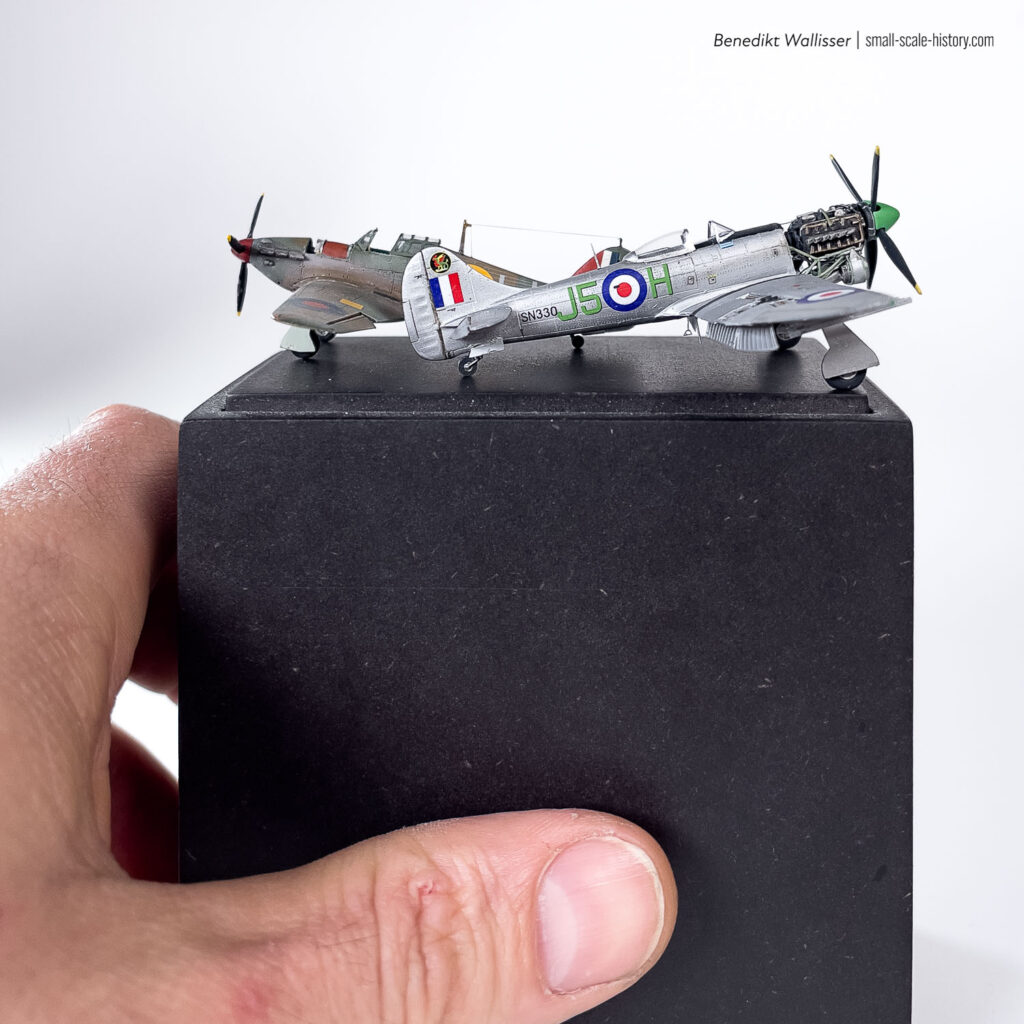
High Speed Silver
1/144 scale, Aircraft, Allied, Hawker Tempest, High Speed Silver, Models & History, Post War, Royal Air Force, Small Scale History
3 Squadron RAF was stationed at Airfield Wunstorf in Germany and operated Hawker Tempest Mk. V aircraft. They were part of the post-war RAF presence in Germany. – 1/144 super detailed scale model
Superdetailing a 144th scale Hawker Tempest
1/144 scale, Aircraft, Allied, Hawker Tempest, High Speed Silver, Modelling & Kits, Post War, Royal Air Force, Small Scale History
Superdetailing the 1/144 scale Mark 1 Hawker Tempest Mk.V kit with Brengun and Shelf Oddity photo-etched parts, as well as a scratch-built engine.
1/144 Hawker Tempest Mk.V Kit (Mark 1)
Modelling & Kits, 1/144 scale, Aircraft, Hawker Tempest, High Speed Silver, Target Tug
For years F-Toys had been the sole reliable source for a good 1/144 Hawker Tempest kit, but now, Mark I has finally provided a compelling option to the Western markets.
